When a recipe calls for 450°F in a traditional oven, you typically need to reduce the air fryer temperature by 25-50°F (usually to 400-425°F) and shorten the cooking time by 20-30%. This adjustment accounts for the air fryer’s intense, concentrated convection heat. Ignoring this conversion often leads to burnt food, while mastering it unlocks perfectly crisp, evenly cooked results every time.
Key Takeaways
- Reduce Temperature by 25-50°F: For most 450°F oven recipes, start your air fryer at 400-425°F. This prevents burning due to the appliance’s powerful, focused heat.
- Shorten Cooking Time Significantly: Expect to cut the original oven time by 20-30%. Always check food earlier than the recipe suggests – air fryers cook much faster.
- Don’t Skip Preheating: Just like an oven, preheating your air fryer (usually 3-5 minutes) ensures consistent results and proper crisping from the start.
- Shake or Flip Midway: Essential for even cooking in the compact basket. Give foods a good shake or flip at the halfway point (or as needed).
- Rely on Visual Cues & Thermometers: Don’t trust timers blindly. Look for golden brown color, crispness, and use an instant-read thermometer for meats (e.g., 165°F for chicken).
- Adjust Rack Position (If Possible): Place food in the center of the basket for most even airflow and browning.
- Test & Tweak Your Specific Model: Air fryer performance varies. Start with conservative adjustments and refine based on your appliance’s behavior.
Quick Answers to Common Questions
Do I need to reduce the temperature for convection ovens too?
Yes, but less. Convection ovens also use a fan, so they cook faster than standard ovens. A common rule is to reduce the temperature by 25°F when converting a standard oven recipe to convection. However, when moving from any oven (standard or convection) to an air fryer, you still need the larger 25-50°F reduction because air fryers have much more powerful, concentrated convection.
Can I use 450°F in my air fryer for anything?
Rarely, and with extreme caution. Very small, thin items like certain frozen appetizers (e.g., mozzarella sticks) or reheating very thin pizza slices might use 450°F for just 2-4 minutes. However, for almost all standard cooking (meats, veggies, baking), 450°F is almost guaranteed to burn food. Stick to 400-425°F as your high-heat starting point.
Why do some air fryer recipes still say 450°F?
Some manufacturers or recipe creators might specify 450°F for very short cook times (under 10 minutes) on specific, small items, or they might be writing for a particular model known to run cooler. However, for the vast majority of home cooks and standard recipes converted from oven instructions, 450°F is too high. Always be skeptical and ready to reduce temp/time.
Does the conversion differ for frozen foods?
Frozen foods often benefit from the slightly higher end of the range (425°F) compared to fresh foods (400°F), as the ice needs to melt and evaporate first. However, the **time reduction is still critical** – frozen foods cook faster in an air fryer than in an oven. Always check early, as frozen items can go from frozen to burnt very quickly.
How do I convert baking recipes (like cookies or muffins) that use 450°F?
Baking is trickier! For items like cookies or muffins, reducing the temperature to 375-400°F is usually necessary, and time reduction might be less dramatic (10-20%) because the internal structure needs time to set. However, the intense top heat can cause excessive browning or rising before the center sets. Small batch testing is essential, and consider using the air fryer’s bake function (if available) which might cycle heat differently.
📑 Table of Contents
- Why 450°F in Oven Isn’t 450°F in Air Fryer (And What To Do Instead)
- The Heat is On: Ovens vs. Air Fryers – A Fundamental Difference
- Decoding the Conversion: 450°F Oven to Air Fryer Temperature
- Practical Application: Converting Your Favorite 450°F Recipes
- Mastering the Air Fryer: Pro Tips Beyond Temperature
- Avoiding Common Air Fryer Conversion Catastrophes
- Conclusion: Unlock Your Air Fryer’s True Potential
Why 450°F in Oven Isn’t 450°F in Air Fryer (And What To Do Instead)
You’ve found the perfect recipe. It promises crispy chicken wings, golden-brown roasted vegetables, or maybe even a decadent dessert. The instructions are clear: “Bake at 450°F for 25 minutes.” Excited, you preheat your oven… but then you remember you have an air fryer sitting on the counter. It’s faster, uses less energy, and supposedly gives even better crispness. So, you think, “Easy! I’ll just set the air fryer to 450°F for 25 minutes.” You load it up, press start, and walk away, confident in your culinary shortcut.
Twenty minutes later, you open the basket to a scene of culinary disaster. Your wings are charred black on the outside, raw inside. Your vegetables are shriveled, burnt sticks. Your dessert? A smoking, inedible mess. Sound familiar? This is the classic pitfall of the “direct temperature transfer.” The harsh truth is: **450 in oven is definitely NOT 450 in air fryer.** Trying to use the same high temperature leads to consistently overcooked, burnt food. The reason boils down to one fundamental difference: how these appliances generate and distribute heat. Understanding this difference is the key to unlocking your air fryer’s full potential and avoiding those frustrating kitchen fails.
The Heat is On: Ovens vs. Air Fryers – A Fundamental Difference
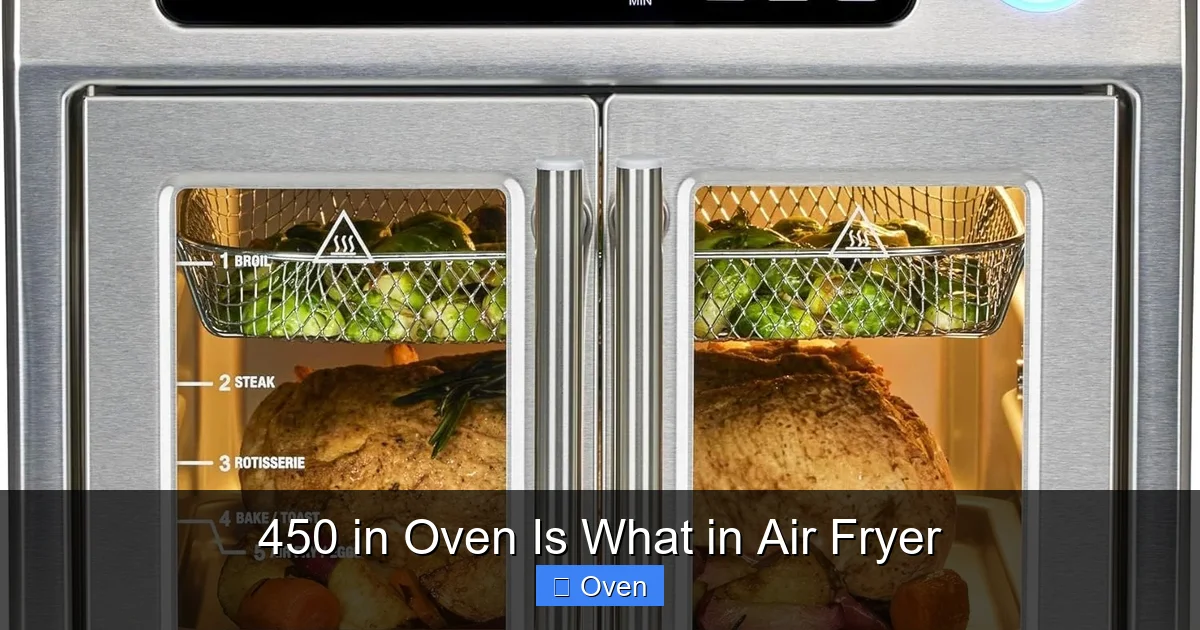
To grasp why 450°F means something completely different in an air fryer, we need to peek under the hood (or rather, inside the basket) of how these appliances work. It’s not just about the number on the dial; it’s about the intensity and delivery of that heat.
Visual guide about 450 in Oven Is What in Air Fryer
Image source: m.media-amazon.com
How a Traditional Oven Works
Think of your conventional oven as a large, relatively slow-heating chamber. Heating elements (usually at the top and bottom) warm the air inside the cavity. This hot air then slowly circulates, primarily through natural convection (hot air rises, cold air sinks), to cook your food. The process is:
- Gradual Heating: It takes time for the entire oven cavity to reach the set temperature.
- Gentle Convection: Air movement is relatively slow and diffuse.
- Large Volume: The heat is spread out over a significant space, meaning the intensity hitting any single point on your food is lower.
- Indirect Heat: Food is primarily cooked by the surrounding hot air, not direct radiant heat (though the elements do emit some).
This method is great for even baking large items like cakes or roasting whole chickens, but it can be slower and less efficient for achieving deep crispness on smaller items.
How an Air Fryer Works (The Game Changer)
An air fryer is essentially a mini, high-powered convection oven on steroids. Here’s the magic:
- Powerful Heating Element: A strong element heats up very quickly.
- High-Speed Fan: This is the critical component. A powerful fan sits directly above or behind the heating element. It forcefully pulls in hot air and blasts it down onto the food in the basket at high velocity.
- Compact Cavity: The entire cooking chamber is tiny compared to an oven. This concentrates the hot air directly onto your food.
- Intense, Directed Convection: The combination of the powerful fan and small space creates incredibly turbulent, high-velocity hot air that surrounds the food from all sides. This rapid air movement dramatically increases the rate of heat transfer to the food’s surface.
The result? Food cooks significantly faster, and the intense surface heat promotes rapid Maillard reaction (browning) and evaporation of surface moisture, leading to that coveted crispy exterior – often with little to no added oil. **This intense, concentrated convection is why 450°F in an air fryer feels like a much higher effective temperature than 450°F in a large oven.** The heat isn’t just surrounding the food; it’s actively pounding it from all angles in a confined space.
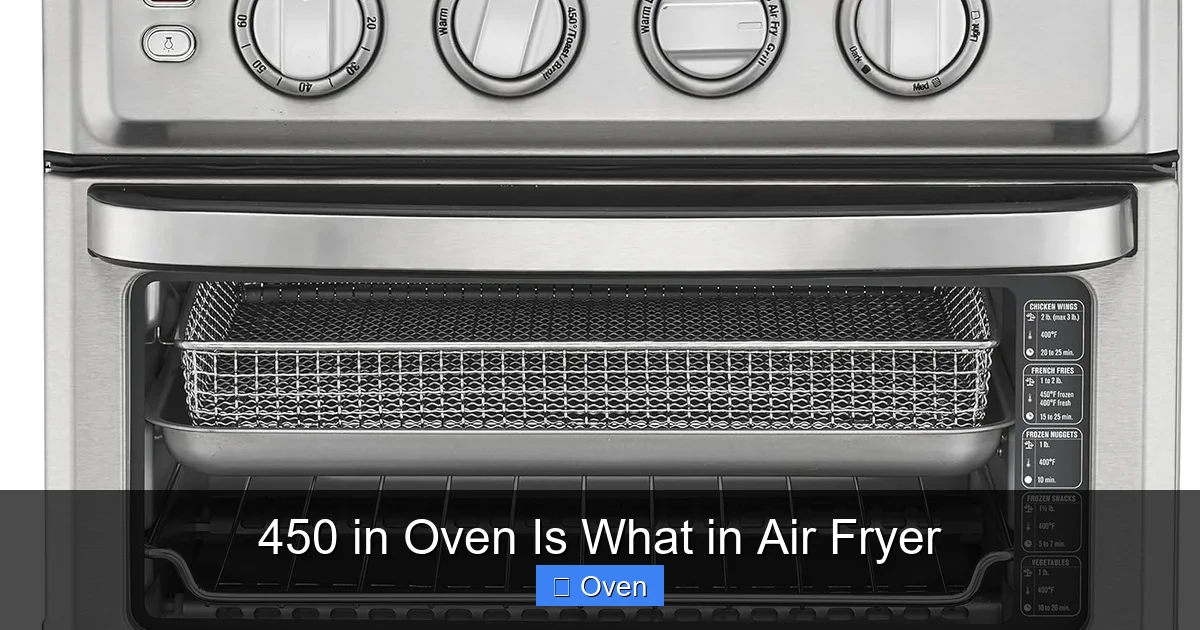
Decoding the Conversion: 450°F Oven to Air Fryer Temperature
Now that we understand why direct temperature transfer fails, let’s tackle the core question: **What is 450 in oven is what in air fryer?** The answer isn’t a single magic number, but a reliable adjustment principle.

Visual guide about 450 in Oven Is What in Air Fryer
Image source: costlesswholesale.com
The Golden Rule: Reduce Temperature by 25-50°F
For the vast majority of recipes calling for 450°F in a traditional oven, **you should start by setting your air fryer to 400°F to 425°F.** This 25-50°F reduction is the critical first step. Why this range?
- 25°F Reduction (to 425°F): Often ideal for foods that are prone to drying out or have a delicate structure (e.g., certain fish fillets, thin-cut vegetables, some baked goods). It provides a slightly gentler approach while still leveraging the air fryer’s speed.
- 50°F Reduction (to 400°F): The most common and safest starting point, especially for foods with high moisture content, thicker cuts, or those very susceptible to burning (e.g., chicken wings, french fries, roasted root vegetables, reheating pizza). This significant reduction directly counteracts the air fryer’s intense heat concentration.
Think of it this way: The air fryer’s powerful fan and small size effectively “amplify” the heat intensity. Reducing the set temperature by 25-50°F brings the actual cooking intensity closer to what the food would experience in the larger, slower oven at 450°F.
Why Timing is Equally Crucial (and Often More Impactful)
While temperature reduction is vital, **adjusting the cooking time is arguably even more important and where most people still go wrong.** Because the air fryer’s convection is so much more efficient, food cooks significantly faster. Here’s the guideline:
- Reduce Time by 20-30%: This is the standard rule of thumb. If the oven recipe says 25 minutes at 450°F, start checking your air fryer food at the 17-20 minute mark (25 mins * 0.7 = 17.5 mins; 25 mins * 0.8 = 20 mins).
- Check EARLY and OFTEN: Never just set the timer and walk away like you might with an oven. Start checking 5-10 minutes before the adjusted time is up. Visual cues (golden brown color, crispness) and internal temperature (for meats) are your best friends.
- Smaller Batches Cook Faster: Air fryers work best with food in a single layer. Overcrowding drastically reduces airflow and cooking efficiency, potentially negating the time reduction. Cook in batches if needed, but remember each batch might cook slightly faster than the previous one as the appliance stays hot.
Ignoring the time reduction while only lowering the temperature slightly often results in food that’s cooked through but lacks the perfect crispness, or is still slightly underdone because the intense surface heat sealed it too quickly. The combination of lower temp *and* significantly less time is key.
Practical Application: Converting Your Favorite 450°F Recipes
The theory is great, but let’s get concrete. Here’s how to apply the conversion to common scenarios calling for 450°F in the oven:

Visual guide about 450 in Oven Is What in Air Fryer
Image source: realfoodwithsarah.com
Crispy Chicken Wings (The Ultimate Test)
- Oven Recipe: 450°F for 45-50 minutes, until crispy and internal temp 165°F.
- Air Fryer Conversion:
- Temperature: 400°F (50°F reduction is safest for wings).
- Time: 25-35 minutes (40-50% reduction! Start checking at 25 mins).
- Key Steps: Pat wings VERY dry. Toss lightly in oil/salt. Arrange in single layer, don’t overcrowd (cook in batches if needed). **Shake basket vigorously at 15 minutes.** Check internal temp at 25 mins. They’re done when skin is deeply golden, crispy, and internal temp hits 165°F. *Why it works:* The lower temp prevents the skin from charring before the meat cooks through, while the intense air flow ensures crispness. The significant time reduction accounts for the speed.
- Oven Recipe: Toss veggies with oil, salt, pepper. Roast at 450°F for 25-35 minutes, until tender and caramelized.
- Air Fryer Conversion:
- Temperature: 400-425°F (425°F for denser veggies like potatoes/carrots; 400°F for quicker-cooking like broccoli/asparagus).
- Time: 12-20 minutes (30-50% reduction! Check early).
- Key Steps: Cut veggies into even sizes. Don’t overcrowd – single layer is crucial. **Shake basket well at the halfway point (e.g., at 6-8 mins for a 15-min cook).** Check for tenderness and desired browning at the minimum time. *Why it works:* The intense heat rapidly evaporates surface moisture, promoting caramelization and crisp edges much faster than the oven. Shaking ensures even exposure.
- Oven Method (if used): Often 450°F for 5-10 minutes, but can dry out crust.
- Air Fryer Conversion (Superior Method!):
- Temperature: 375-400°F (Even lower than the 450°F oven temp!).
- Time: 3-5 minutes.
- Key Steps: Place pizza slice(s) directly in basket (no rack needed). Heat until cheese is melted and bubbly, and crust edges are crisp and golden. *Why it works:* The intense, direct heat quickly revives the crust’s crispness without overheating the toppings or drying out the cheese, something a regular oven often struggles with at high temps.
- Oven Recipe: Often 450°F for 15-20 minutes for items like falafel or potstickers.
- Air Fryer Conversion:
- Temperature: 400-425°F.
- Time: 8-15 minutes (25-40% reduction).
- Key Steps: Ensure items aren’t touching. For potstickers, spray lightly with oil. **Flip or rotate items at the halfway point.** Check for golden brown color and cooked-through center. *Why it works:* The rapid convection ensures even browning and cooking without the need for prolonged high heat that can dry out baked goods.
- Traps steam, preventing crispness (food steams instead of roasts).
- Blocks airflow, leading to uneven cooking.
- Forces you to cook longer, which can dry out food or cause burning on exposed surfaces.
- Look: Is the food developing a deep, even golden brown? Are edges crisp? Is oil bubbling vigorously (a sign of high heat and good browning)?
- Listen: A satisfying sizzle indicates active cooking and moisture evaporation.
- Touch (Carefully!): For items like chicken breasts or fish, gently press – it should feel firm, not squishy.
- Thermometer is King (for Meats): An instant-read meat thermometer is the most reliable tool. For chicken, 165°F internal temp is the safe target, regardless of color or time. For pork, 145°F. Don’t guess – measure!
- Does it run hotter or cooler than others? (Test with a standalone oven thermometer inside the preheated basket).
- Where are the hot spots? (Notice if one side consistently browns faster).
- How quickly does it recover temperature after adding food?
Roasted Vegetables (Potatoes, Broccoli, Carrots)
Reheating Pizza (The Crispness Savior)
Baking Small Items (Muffins, Potstickers, Falafel)
Mastering the Air Fryer: Pro Tips Beyond Temperature
Converting the temperature and time is the foundation, but these pro tips will elevate your air fryer game from good to exceptional, especially when tackling those converted 450°F recipes:
Preheat is Non-Negotiable
Just like your oven, **always preheat your air fryer for 3-5 minutes** before adding food. Why? Starting with a cold basket means the first few minutes of cooking are spent just heating the appliance itself, not your food. This leads to uneven cooking, less crispness, and throws off your timing calculations. Preheating ensures the intense convection heat hits your food immediately for consistent, predictable results. It’s a small step that makes a huge difference.
The Shaking/Flipping Imperative
Remember that powerful fan blasting air from one direction? Food closest to the fan element will cook faster than food further away or shielded by other pieces. **Shaking the basket or flipping items midway through cooking is absolutely essential for even results.** Don’t just set it and forget it. Give everything a good toss or turn at the halfway point (or even more frequently for very small items like nuts or seeds). This ensures all surfaces get equal exposure to that intense airflow, preventing burnt spots and undercooked areas.
Respect the Single Layer Rule
Air fryers rely on rapid, turbulent airflow around each piece of food. **Piling food on top of itself is the #1 mistake that ruins air fryer results.** Overcrowding:
Always arrange food in a single layer with a little space between pieces. It might mean cooking in batches, but the superior results are worth it. Your air fryer’s capacity is designed for this – use it properly!
Leverage Visual Cues and Thermometers
Recipes are guides, not gospel, especially after conversion. **Become a detective in your kitchen:**
Relying solely on the timer, especially after converting from an oven recipe, is a recipe for disappointment (pun intended).
Know Your Air Fryer’s Quirks
Not all air fryers are created equal. Some have more powerful fans, different basket shapes, or varying heating element placements. **Become familiar with your specific model:**
Start with the standard 25-50°F reduction and 20-30% time cut, but use your first few converted recipes as learning opportunities. Take notes! Did 400°F work better than 425°F for your wings? Did they need 22 minutes instead of 25? Refine your approach based on your appliance’s behavior.
Avoiding Common Air Fryer Conversion Catastrophes
Even with the best intentions, mistakes happen. Here’s how to steer clear of the most frequent air fryer conversion disasters, especially when dealing with high oven temperatures like 450°F:
The Burnt Offering (Using Oven Temp/Time Directly)
This is the classic error we discussed. Setting the air fryer to 450°F for the full oven time guarantees charred exteriors and raw or undercooked interiors. **Solution:** Always apply the 25-50°F temperature reduction AND the 20-30% time reduction as your starting point. Preheat, don’t overcrowd, and check early.
The Soggy Mess (Overcrowding the Basket)
Piling in too much food traps steam, preventing the evaporation needed for crispness. Food steams instead of roasting, resulting in limp, soggy results – the opposite of what an air fryer should deliver. **Solution:** Strictly adhere to the single-layer rule. Cook in batches. Pat food dry before cooking (especially proteins and veggies) to remove excess surface moisture.
The Unevenly Cooked Puzzle (Skipping the Shake/Flip)
Food closest to the heating element and fan cooks much faster. Without shaking or flipping, you’ll have one side burnt and the other pale and underdone. **Solution:** Make shaking or flipping at the halfway point (or as needed) a non-negotiable step in every air fryer cooking session. Set a timer reminder if you tend to forget.
The Dry, Tough Disaster (Overcooking Due to Ignoring Visual Cues)
Even with reduced time, air fryers cook fast. Walking away and relying solely on the timer, especially after conversion, often leads to overcooking, particularly for lean proteins like chicken breast or fish. **Solution:** Start checking 5-10 minutes before your adjusted time is up. Use visual cues (color, crispness) and, crucially, an instant-read thermometer for meats. Pull food out when it reaches the safe internal temp, even if it’s slightly before the timer.
The False Sense of Security (Assuming All Recipes Convert the Same)
A 450°F recipe for thin fish fillets converts very differently than one for a dense beef roast. Delicate items need the full 50°F reduction and significant time cut, while denser items might only need 25°F and a smaller time reduction. **Solution:** Consider the food type. Use the 25-50°F range as a guide, leaning towards 50°F for moisture-rich or delicate items, and 25°F for denser cuts (though 400°F is often still safer for 450°F oven recipes). Always prioritize checking early.
Conclusion: Unlock Your Air Fryer’s True Potential
So, what is 450 in oven is what in air fryer? It’s not a simple number swap. It’s a fundamental shift in understanding how your appliance works. **450°F in a traditional oven translates to approximately 400-425°F in your air fryer, coupled with a significant 20-30% reduction in cooking time.** This adjustment isn’t arbitrary; it’s a necessary response to the air fryer’s supercharged convection system that delivers intense, concentrated heat in a compact space.
Mastering this conversion is the gateway to unlocking your air fryer’s incredible potential. No more burnt wings, soggy veggies, or dry reheated pizza. Instead, you’ll achieve that elusive perfect balance: a shatteringly crisp exterior giving way to juicy, tender interiors, all in a fraction of the time and with less energy than your oven. It’s faster, often healthier (less oil needed), and delivers results that frequently surpass traditional oven cooking for many everyday foods.
The key lies in respecting the appliance’s power. Reduce that temperature, slash that time, preheat diligently, shake that basket, and trust your eyes and thermometer more than the timer. Start with the conservative adjustments (400°F, 20-30% less time), observe how your air fryer performs, and refine from there. Embrace the learning curve – it’s short and incredibly rewarding. Once you internalize that **450 in oven is what in air fryer** means (a cooler setting and a quicker cook), you’ll confidently convert countless recipes, transforming your air fryer from a countertop novelty into your most indispensable kitchen workhorse. Happy (and perfectly cooked) air frying!
Frequently Asked Questions
What temperature should I use in my air fryer if a recipe says 450°F in the oven?
Start by setting your air fryer to 400°F to 425°F. A 50°F reduction (to 400°F) is the safest starting point for most foods like meats and vegetables, while a 25°F reduction (to 425°F) might work better for denser items. Always reduce the cooking time by 20-30% and check your food early.
Why can’t I just use the same 450°F temperature in my air fryer?
Air fryers use a powerful fan to blast intensely hot air in a very small space, creating much more concentrated heat than a large oven. Using 450°F directly would cause the outside of your food to burn long before the inside is cooked through, resulting in charred, inedible results.
How much should I reduce the cooking time when converting from 450°F oven to air fryer?
Reduce the original oven cooking time by 20-30%. For example, if a recipe calls for 30 minutes at 450°F in the oven, start checking your air fryer at the 21-24 minute mark. Always rely on visual cues (golden brown color, crispness) and internal temperature (for meats) rather than just the timer.
Do I need to preheat my air fryer when converting oven recipes?
Yes, absolutely! Preheating your air fryer for 3-5 minutes ensures consistent cooking and proper crisping from the moment food enters the basket. Skipping preheating leads to uneven results and throws off your timing calculations, especially critical when converting high-heat oven recipes.
Is the 25-50°F temperature reduction the same for all air fryer models?
The principle applies to all models, but the exact reduction needed can vary slightly. Some air fryers run hotter or cooler. Start with a 50°F reduction (to 400°F) for 450°F oven recipes as a safe baseline, then adjust based on results with your specific appliance – you might find 425°F works better for certain foods.
Can I use the air fryer for recipes that require long baking times at 450°F?
Air fryers excel at shorter, high-heat cooking. For very long baking times (over 45-60 minutes), a traditional oven is usually better. The air fryer’s small size and intense heat aren’t ideal for prolonged baking, and the basket capacity might be insufficient. Stick to air frying for roasting, reheating, and cooking smaller items quickly.