Induction cookers heat rice faster than traditional methods, but timing varies significantly based on rice type, quantity, and cooker power. Most rice cooks in 15-25 minutes total, with crucial resting time afterward. Mastering water ratios and power settings is key to perfect, non-mushy results every single time.
Key Takeaways
- Rice Type Dictates Time: Short-grain rice (like sushi rice) cooks fastest (15-18 mins), while long-grain varieties (like basmati) take 18-25 mins; brown rice requires significantly longer (35-45 mins).
- Water Ratio is Non-Negotiable: Use 1:1.25 for white rice (1 cup rice to 1.25 cups water) and 1:1.5 for brown rice; precise measurement prevents mushiness or undercooking.
- Pre-Soaking Saves Time & Improves Texture: Soaking white rice for 20-30 minutes reduces active cooking time by 3-5 minutes and yields fluffier grains; essential for brown rice (soak 30-60 mins).
- Power Settings Control the Process: Start on high (80-100%) to bring to boil, then immediately reduce to low (20-40%) for gentle simmering; never cook rice on full power.
- Resting Time is Critical: Always let rice sit covered off-heat for 10-15 minutes after cooking; this allows steam to finish the process and grains to separate perfectly.
- Troubleshoot Common Issues: Mushy rice? Reduce water slightly next time. Undercooked? Add 1-2 tbsp water and simmer 2-3 more mins. Burnt bottom? Use lower power and ensure even pot contact.
- Induction Requires a Compatible Pot: Use flat-bottomed, magnetic stainless steel or cast iron pots; warped or non-magnetic pots won’t heat properly, ruining your rice.
📑 Table of Contents
- Why Induction Cooking Rice is Different (and Awesome!)
- What Actually Determines Your Rice Cooking Time?
- Your Step-by-Step Guide to Perfect Induction Rice (With Timing!)
- Cooking Brown Rice & Other Varieties on Induction
- Troubleshooting Common Induction Rice Problems
- Pro Tips for Induction Rice Mastery
- Conclusion: Fluffy Rice is Just Minutes Away
Why Induction Cooking Rice is Different (and Awesome!)
So, you’ve got your shiny new induction cooktop and you’re ready to make rice. Maybe you’re used to the old gas stove method or that trusty rice cooker. But induction? It’s a whole new ballgame, and honestly, it’s fantastic for rice – once you know the tricks. The biggest difference? Speed and precision. Induction heats the pot directly through magnetic fields, not the air or a coil. This means it gets hot incredibly fast and responds instantly to changes in power settings. No more waiting forever for the water to boil, and no more guessing if the flame is “medium-low.” It’s like having a dimmer switch for your heat source.
This speed is a double-edged sword, though. Because induction heats so rapidly and intensely, it’s easy to accidentally scorch the bottom of your rice if you’re not careful. Traditional methods often had a bit of “buffer” time. Induction demands more attention, especially during the initial boiling phase. But don’t sweat it! Once you grasp the core principles – the right water ratio, the critical power shifts, and the non-negotiable resting time – you’ll be making restaurant-quality rice faster than ever. The payoff is perfectly separate, fluffy grains every single time, with none of the guesswork. It’s efficient, consistent, and surprisingly simple once you crack the code. Let’s dive into exactly how much time you really need and how to nail it.
What Actually Determines Your Rice Cooking Time?
Forget memorizing one magic number. The “how much time to cook rice in induction cooker” question doesn’t have a single answer. It’s like asking how long it takes to drive somewhere – it depends on the car, the traffic, and the route! Several key factors interact to determine your specific cooking time. Understanding these is the foundation for success.

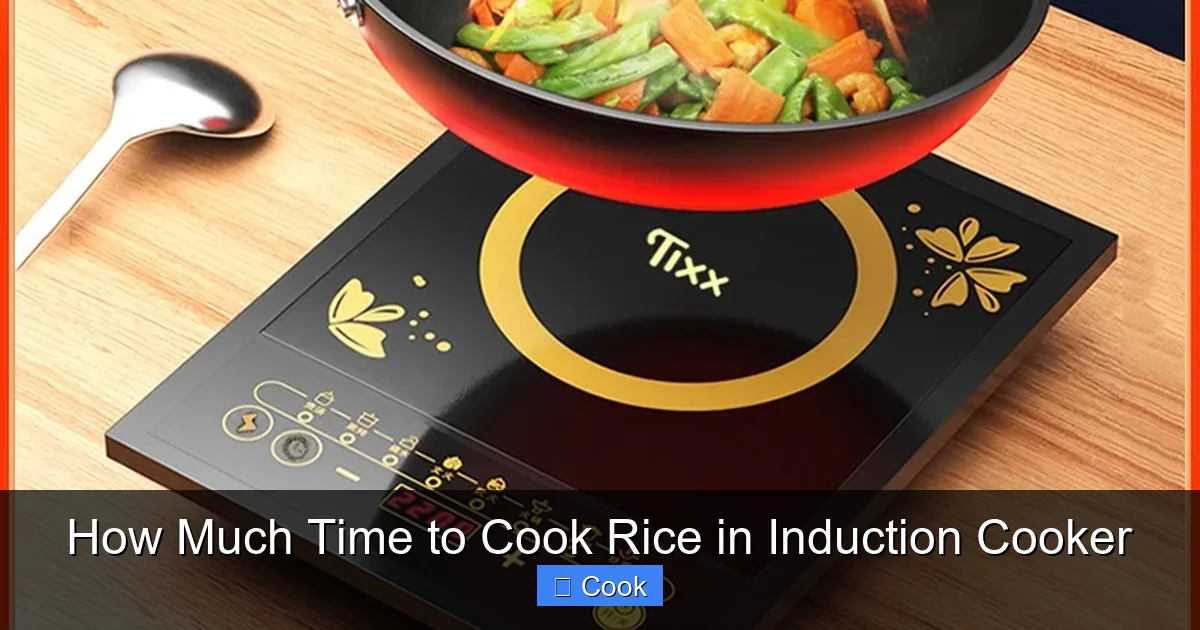
Visual guide about How Much Time to Cook Rice in Induction Cooker
Image source: expertreviewsbestricecooker.com
Rice Type is the #1 Factor
This is the biggest variable. Different rice varieties have distinct structures, starch content, and water absorption needs. White rice (like jasmine, basmati, or sushi rice) is milled, removing the bran and germ, making it cook relatively quickly. Brown rice and other whole grains retain their fibrous bran layer, acting like a barrier that slows water penetration, requiring much longer cooking times and often pre-soaking. Here’s a quick breakdown:
- Short-Grain White Rice (Sushi Rice): Cooks fastest due to higher starch content. Expect 15-18 minutes total (including resting).
- Long-Grain White Rice (Basmati, Jasmine): Slightly longer than short-grain, usually 18-22 minutes total. Basmati often benefits from a pre-rinse and soak.
- Brown Rice: Requires significantly more time – typically 35-45 minutes total active cooking, plus essential soaking. Don’t rush this!
- Specialty Rice (Wild, Black, Red): Varies widely, but generally falls between brown and white rice times. Check package instructions as a starting point.
Always check the package for baseline times, but treat them as a rough guide. Induction’s speed often means you might need slightly less time than package directions suggest for stovetop cooking.
Quantity Matters (But Not as Much as You Think)
Doubling the rice doesn’t quite double the time, but it does impact it. A small pot (1 cup rice) heats up and boils faster than a large pot (3 cups rice). However, once boiling, the simmering time for the rice itself doesn’t increase linearly. The main extra time comes from the initial heating phase. Cooking 1 cup of rice might take 18 minutes total, while 2 cups might take 22-25 minutes. The key is ensuring your pot isn’t overcrowded – rice needs space to expand and steam properly. A good rule: don’t fill your pot more than halfway with the dry rice and water mixture.
Your Induction Cooker’s Power & Your Pot
Not all induction cookers are created equal. High-powered units (1800W+) will bring water to a boil much faster than lower-powered models (1200W). This affects the *initial* boiling time, but the simmering phase is more about consistent low heat. Crucially, your pot must be induction-compatible. It needs a flat, magnetic base (stainless steel with a magnetic layer, cast iron, or enameled cast iron). A warped bottom or a non-magnetic pot (like pure aluminum or copper) won’t heat efficiently, leading to uneven cooking, hot spots, and potentially much longer times or failure. Always use a pot with a perfectly flat bottom that makes full contact with the cooker surface.
The Water Ratio: Your Secret Weapon
This is where most home cooks go wrong, regardless of the heat source. Using too much water is the #1 cause of mushy rice. Induction’s efficiency means it evaporates water faster than older methods. The standard stovetop ratio (often 1:2 for white rice) is usually too much for induction. For most white rice, start with a 1:1.25 ratio (1 cup rice to 1.25 cups water). For brown rice, it’s typically 1:1.5. Precision matters – use a liquid measuring cup, not a dry one. Slight adjustments (±1-2 tbsp) might be needed based on your specific rice variety, altitude, and humidity, but 1:1.25 is the golden starting point for white rice on induction.
Your Step-by-Step Guide to Perfect Induction Rice (With Timing!)
Ready to put it all together? This method works for most white rice varieties (jasmine, basmati, sushi). Adjust water and time for brown rice as noted later. The total time includes active cooking *and* the essential resting period.
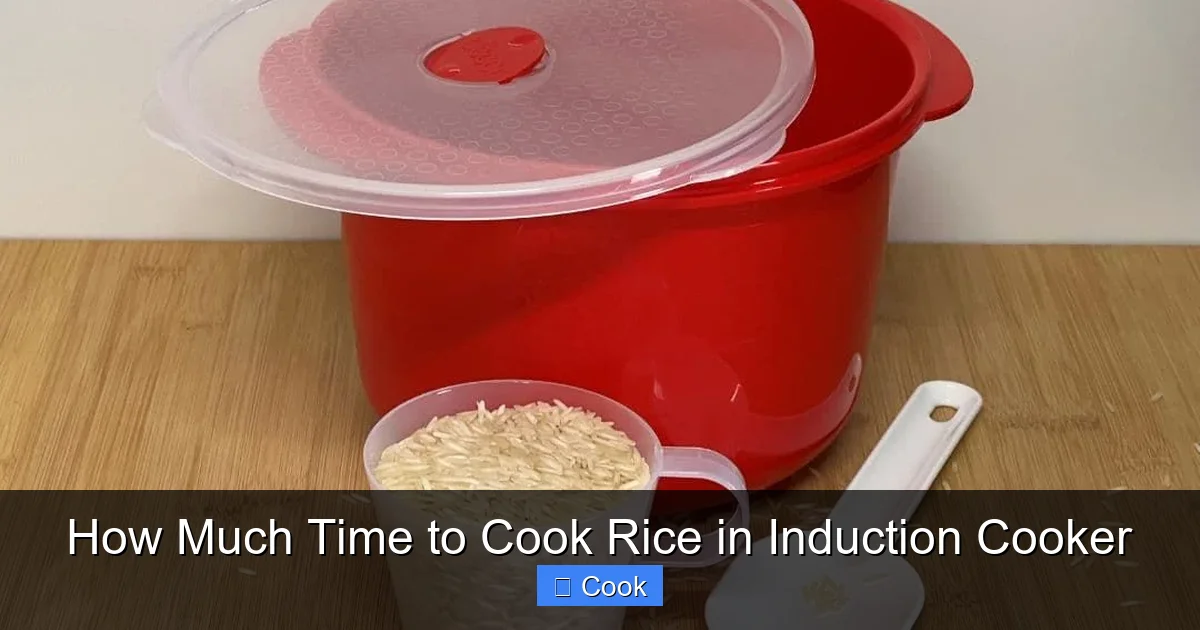
Visual guide about How Much Time to Cook Rice in Induction Cooker
Image source: i.pinimg.com
Prep is Everything (5 Minutes)
Rinse your rice thoroughly in a fine-mesh strainer under cold water until the water runs mostly clear. This removes excess surface starch, preventing gumminess. For basmati or jasmine, soaking for 20-30 minutes after rinsing is highly recommended – it plumps the grains and reduces cooking time by 3-5 minutes. Drain well before cooking. Measure your water precisely using the 1:1.25 ratio. Have your lid ready!
Bringing to Boil: The High-Power Sprint (3-5 Minutes)
Place your dry, rinsed (and soaked/drained, if applicable) rice into your induction-compatible pot. Add the measured water. Place the pot on the induction cooker. Turn the power to High (80-100%). This is the only time you’ll use high power. Watch it closely! Induction brings water to a rolling boil incredibly fast – often in under 3 minutes for 1 cup of rice. Do not walk away. You want to see vigorous bubbles breaking the surface consistently.
The Critical Power Drop & Simmer (12-18 Minutes)
The moment you see that full, rolling boil, it’s time for the most crucial step: immediately reduce the power to Low (20-40%). This gentle simmer is where the magic happens. Cover the pot tightly with a lid. Why low power? High power at this stage would cause violent bubbling, potentially boiling over, and scorching the bottom layer of rice before the top is cooked. A gentle simmer allows heat and steam to penetrate the grains evenly. Set your timer now for the simmer time:
- Short-Grain White Rice: 12-15 minutes
- Long-Grain White Rice (Basmati/Jasmine): 15-18 minutes
Resist the urge to peek! Lifting the lid releases precious steam, which is essential for cooking the rice through. Trust the timer and the process.
The Non-Negotiable Rest (10-15 Minutes)
When the timer goes off, turn off the induction cooker completely. Do NOT remove the lid. Let the rice sit, covered, on the warm (but off) cooker for 10-15 minutes. This resting phase is absolutely critical. The residual heat and trapped steam finish cooking the rice gently from the inside out, allowing the grains to fully absorb moisture and become perfectly tender and separate. Skipping this step almost guarantees slightly undercooked or gummy rice. It’s the difference between good and great.
Fluff and Serve (1 Minute)
After resting, remove the lid. You should see the rice is plump and the water is fully absorbed. Using a fork, gently fluff the rice from the bottom up. This separates the grains without mashing them. Serve immediately! Total time from start to fluffing: approximately 15-25 minutes for white rice, depending on the variety and your specific cooker.
Cooking Brown Rice & Other Varieties on Induction
Brown rice is a different beast entirely. Its tough bran layer requires more time, water, and often pre-soaking to become tender. Trying to cook it like white rice will result in crunchy, inedible grains. Here’s how to adapt the method.
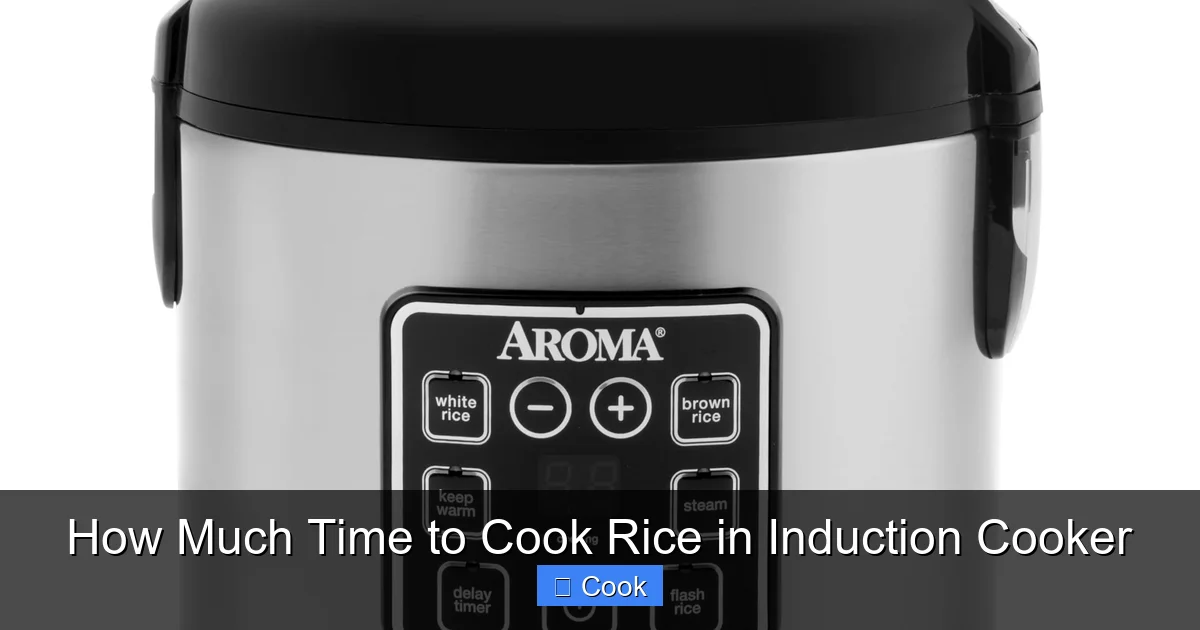
Visual guide about How Much Time to Cook Rice in Induction Cooker
Image source: m.media-amazon.com
Essential Pre-Soaking (30-60 Minutes)
Soaking is not optional for brown rice on induction; it’s mandatory. Place rinsed brown rice in a bowl, cover with plenty of water (at least 2 inches above the rice), and soak for 30-60 minutes. This softens the bran layer, significantly reducing cooking time and improving digestibility. Drain thoroughly before cooking.
Adjusted Water Ratio & Longer Simmer
Brown rice needs more water: use a 1:1.5 ratio (1 cup rice to 1.5 cups water). After bringing to a boil on high power (3-5 mins), immediately reduce to low power (20-30%) and cover tightly. Simmer time is much longer: 35-45 minutes. Don’t be tempted to increase the power to speed it up – low and slow is essential to avoid a burnt bottom and undercooked center. Check around the 35-minute mark: the water should be mostly absorbed, and the rice should be tender but still have a slight bite (it will finish cooking during resting).
Extended Resting Time
Brown rice benefits from an even longer rest. After the simmer time, turn off the cooker and let it sit, covered, for 15-20 minutes. This allows the dense grains to fully soften using the residual heat. Total time for brown rice: 50-70 minutes (including soaking and resting). Patience is key!
Specialty Rice Tips
Wild rice, black rice (forbidden rice), and red rice often have cooking times closer to brown rice. Always check the package, but generally:
- Rinse thoroughly.
- Soak for 20-30 minutes (check package).
- Use a 1:1.5 water ratio.
- Simmer on low for 25-40 minutes (wild rice is often longest).
- Rest for 10-15 minutes.
These varieties can be more forgiving than white rice if slightly overcooked, but precise water and low power are still vital.
Troubleshooting Common Induction Rice Problems
Even with the best method, things can go sideways. Here’s how to diagnose and fix the most frequent issues, so your next batch is perfect.
Mushy or Gummy Rice: Too Much Water!
This is the classic mistake. Induction evaporates water faster than gas or coil. If your rice is consistently mushy:
- Reduce water slightly next time: Try 1:1.15 or 1:1.2 for white rice (e.g., 1 cup rice to 1.15 cups water).
- Ensure you rinsed well: Excess surface starch contributes to gumminess.
- Don’t overfill the pot: Crowding traps steam and leads to uneven cooking.
- Check your power setting: Was the simmer too vigorous? Next time, drop to an even lower setting (15-25%).
Once cooked, mushy rice is hard to fix, but fluffing gently with a fork might salvage it slightly.
Undercooked or Crunchy Rice: Not Enough Time/Water
If the grains are hard in the center:
- Add water during cooking (carefully!): If you catch it early (within the first 5 mins of simmering), add 1-2 tablespoons of HOT water, cover, and simmer 2-3 more minutes.
- Extend the simmer time: Next time, add 1-3 minutes to your simmer timer.
- Check water ratio: Did you accidentally use less water? Stick to 1:1.25 for white rice.
- Ensure proper resting: Skipping the rest leaves the center undercooked.
For brown rice, undercooking is more common – ensure adequate soaking and longer simmer time.
Burnt Bottom Layer: Power Too High or Poor Pot Contact
A scorched bottom ruins the whole pot. Prevention is key:
- Power drop is critical: Must go from High to Low IMMEDIATELY at the boil.
- Use the lowest effective simmer setting: 20-30% is usually sufficient; experiment to find your cooker’s “gentle simmer” level.
- Ensure perfect pot contact: Use a perfectly flat-bottomed pot. Test it on the cooker – it shouldn’t wobble.
- Avoid thin pots: Thicker-bottomed pots (like clad stainless steel) distribute heat better and resist scorching.
If you smell burning early, quickly add a splash of HOT water and reduce power further, but prevention is always better.
Rice is Starchy or Watery After Cooking
This usually means excess water wasn’t absorbed or evaporated:
- Drain excess water: If there’s visible water sitting on top after the simmer time, carefully pour it off (like pasta water) before resting. Do this ONLY if you’re sure it’s excess and not needed for cooking.
- Extend resting time: Sometimes an extra 5 minutes covered allows more absorption.
- Reduce water next time: Go down to 1:1.15 ratio.
Never drain water *during* the simmering phase – the rice needs it to cook!
Pro Tips for Induction Rice Mastery
Ready to elevate your rice game beyond the basics? These advanced tips will make your induction-cooked rice consistently exceptional, rivaling any restaurant.
Master Your Cooker’s “Sweet Spot”
Induction cookers vary. Spend one batch figuring out your specific unit:
- Find the true “Low”: What power level (e.g., 3 on a 1-10 scale, or 20%) gives a *barely* visible simmer with tiny bubbles occasionally breaking the surface? This is your rice setting. It might be lower than you think.
- Note boiling speed: How long does 1 cup of water take to boil on High? This helps estimate prep time.
- Test pot compatibility: Ensure your favorite rice pot heats evenly across the base.
Once you know your cooker’s quirks, timing becomes incredibly predictable.
Flavor Infusion Made Easy
Induction’s precise control is perfect for infusing flavor:
- Toast the rice first: After rinsing/draining, add rice to the dry pot on Medium power (50-60%). Stir constantly for 2-3 minutes until fragrant and slightly golden. *Then* add water and proceed. Adds incredible nuttiness.
- Infuse the water: Add aromatics (bay leaf, star anise, garlic clove, ginger slice) to the water *before* adding rice. Remove before serving.
- Finish with fat: After resting, fluff with a tiny bit of butter, ghee, or toasted sesame oil for richness.
These steps take minimal extra time but transform plain rice.
Batch Cooking & Storage Wisdom
Cooking a big batch? Induction is great for this:
- Scale carefully: Don’t exceed half the pot’s capacity with the rice/water mix. Use a larger pot if needed.
- Cool quickly for storage: After fluffing, spread rice thinly on a baking sheet. Cool to room temp within 2 hours, then portion and refrigerate (up to 5 days) or freeze.
- Reheat perfectly: Reheat portions in a covered dish in the microwave with a splash of water, or gently in a covered pot on the induction cooker over very low heat, adding a tsp of water.
Never leave cooked rice at room temperature for more than 2 hours.
Why Induction Beats a Rice Cooker (Sometimes!)
While rice cookers are convenient, induction offers advantages:
- Speed: Boils water much faster than most rice cookers.
- Control: Adjust power instantly if needed (e.g., if it starts to boil over).
- Versatility: Use the same pot for other dishes (soups, grains, boiling pasta).
- No “Keep Warm” drying: Rice cookers can dry out rice over time; induction lets you serve immediately after resting.
For absolute hands-off convenience, a rice cooker wins. For speed, control, and using existing cookware, induction is a fantastic choice.
Conclusion: Fluffy Rice is Just Minutes Away
Cooking perfect rice on an induction cooker isn’t about memorizing one rigid time. It’s about understanding the dance between your specific rice, the precise water ratio, and the critical power shifts that induction demands. Remember the core rhythm: a quick high-power sprint to boil, an immediate drop to a gentle low simmer, and the essential resting period where the magic truly finishes. Most white rice will be ready in 15-25 minutes total, while brown rice requires patience with its longer soak and simmer.
The beauty of induction is its responsiveness. Once you grasp these principles – especially that non-negotiable water ratio (1:1.25 for white rice!) and the instant power reduction at the boil – you gain incredible consistency. No more mushy surprises or crunchy centers. You unlock the ability to make flawless, restaurant-quality rice faster than ever before, using the cookware you already own. It’s efficient, precise, and incredibly rewarding. So grab your induction-compatible pot, measure that water carefully, and get ready to enjoy perfectly fluffy, separate grains every single time. Your next meal deserves it!
Frequently Asked Questions
Why does my rice keep coming out mushy on induction?
The most common cause is using too much water. Induction evaporates water faster than gas or electric stoves, so the standard 1:2 ratio is usually too much. Always start with a 1:1.25 ratio for white rice (1 cup rice to 1.25 cups water). Also, ensure you rinse the rice well to remove excess surface starch and never skip the resting time.
Can I cook rice on induction without a rice cooker?
Absolutely! Induction cooktops are excellent for stovetop rice cooking. The key is using a flat-bottomed, induction-compatible pot with a tight-fitting lid and following the specific steps: high power to boil, immediate drop to low power for simmering, and a mandatory 10-15 minute resting period off the heat. It’s often faster than a rice cooker.
How long should I soak rice before cooking on induction?
For most white rice (like basmati or jasmine), soaking for 20-30 minutes after rinsing is highly recommended – it reduces cooking time by 3-5 minutes and yields fluffier grains. For brown rice, soaking is essential: 30-60 minutes in plenty of water. Short-grain sushi rice can be cooked without soaking but benefits from a 10-15 minute soak.
What power setting should I use for simmering rice on induction?
After bringing the water to a rolling boil on High (80-100%), immediately reduce the power to the lowest effective simmer setting, typically 20-40% power (e.g., level 2-4 on a 1-10 scale). You want tiny bubbles occasionally breaking the surface, not a vigorous boil. This gentle heat prevents scorching and ensures even cooking.
Why is the bottom layer of my rice burnt on induction?
This usually happens because the power wasn’t reduced quickly enough after boiling, the simmer setting was too high, or the pot bottom wasn’t making full contact with the cooker. Always drop to low power the *instant* it boils. Use the lowest simmer setting that maintains gentle bubbling, and ensure you have a perfectly flat-bottomed, induction-compatible pot.
Can I use the same timing for all types of rice on induction?
No, rice type is the biggest factor in timing. Short-grain white rice cooks fastest (15-18 mins total), long-grain white rice takes slightly longer (18-22 mins), and brown rice requires significantly more time (35-45 mins active simmer plus longer rest). Always adjust water ratio and time based on the specific rice variety you’re using.