Mastering how long to cook goat meat in pressure cooker transforms tough cuts into melt-in-your-mouth perfection in under 90 minutes. This guide reveals precise timing for stews, chops, and roasts, plus essential prep and safety tips to avoid common pitfalls. Stop guessing and start serving restaurant-quality goat dishes with confidence!
Key Takeaways
- Prep is non-negotiable: Always brown goat meat first for depth of flavor and drain excess fat to prevent greasy results.
- Timing varies by cut: Stewing cuts need 45-60 minutes, chops 15-20 minutes, and whole legs 75-90 minutes under pressure.
- Natural release is crucial: Let pressure drop naturally for 15-20 minutes after cooking to keep meat tender and juicy.
- Liquid matters: Use at least 1.5 cups of broth, wine, or water to generate sufficient steam for safe pressure cooking.
- Frozen meat requires adjustment: Add 5-10 minutes to cooking time and ensure pieces are separated before cooking.
- Safety first: Never overfill your cooker (max 2/3 full) and always check the seal before starting.
- Rest before serving: Let cooked goat meat rest for 10 minutes after pressure release for optimal texture and flavor.
📑 Table of Contents
- Why Pressure Cooking is a Game-Changer for Goat Meat
- Essential Prep Steps Before You Start Cooking
- Exact Cooking Times for Every Goat Cut
- Liquid Requirements and Flavor Boosters
- Troubleshooting Common Pressure Cooker Goat Problems
- Pro Tips for Next-Level Goat Dishes
- Conclusion: Your Goat Meat Mastery Awaits
Why Pressure Cooking is a Game-Changer for Goat Meat
Goat meat is delicious but notoriously tough. Its lean nature and dense muscle fibers mean traditional cooking methods often leave it chewy and dry. That’s where your pressure cooker becomes your secret weapon. By trapping steam and creating high pressure, it dramatically speeds up the breakdown of collagen into gelatin. This transforms even the toughest cuts into fork-tender, flavorful meals in a fraction of the time.
Think about it: a slow-cooked goat stew that usually takes 3-4 hours on the stove? Your pressure cooker can achieve similar tenderness in under 90 minutes. It’s not just about saving time—it’s about preserving nutrients and locking in moisture. The sealed environment prevents evaporation, keeping your dish succulent. Plus, the intense pressure forces flavors deep into the meat, giving you rich, complex tastes without hours of simmering. If you’ve ever struggled with tough goat, this method will change everything.
Essential Prep Steps Before You Start Cooking
Skipping prep is the fastest way to ruin your goat meat dish. Proper preparation ensures safety, enhances flavor, and guarantees perfect texture. Don’t rush this step—it takes just 10-15 minutes but makes all the difference.

Visual guide about How Long to Cook Goat Meat in Pressure Cooker
Image source: recipes.net
Trimming and Cutting Correctly
Start by trimming excess fat and silver skin from the goat meat. While some fat adds flavor, too much leads to greasy results. Cut larger cuts like legs or shoulders into 2-3 inch cubes for even cooking. For chops or smaller pieces, leave them whole but pierce the surface lightly with a fork to help seasoning penetrate. Uniform sizing is critical—pieces that vary greatly in thickness will cook unevenly, with some turning mushy while others stay tough.
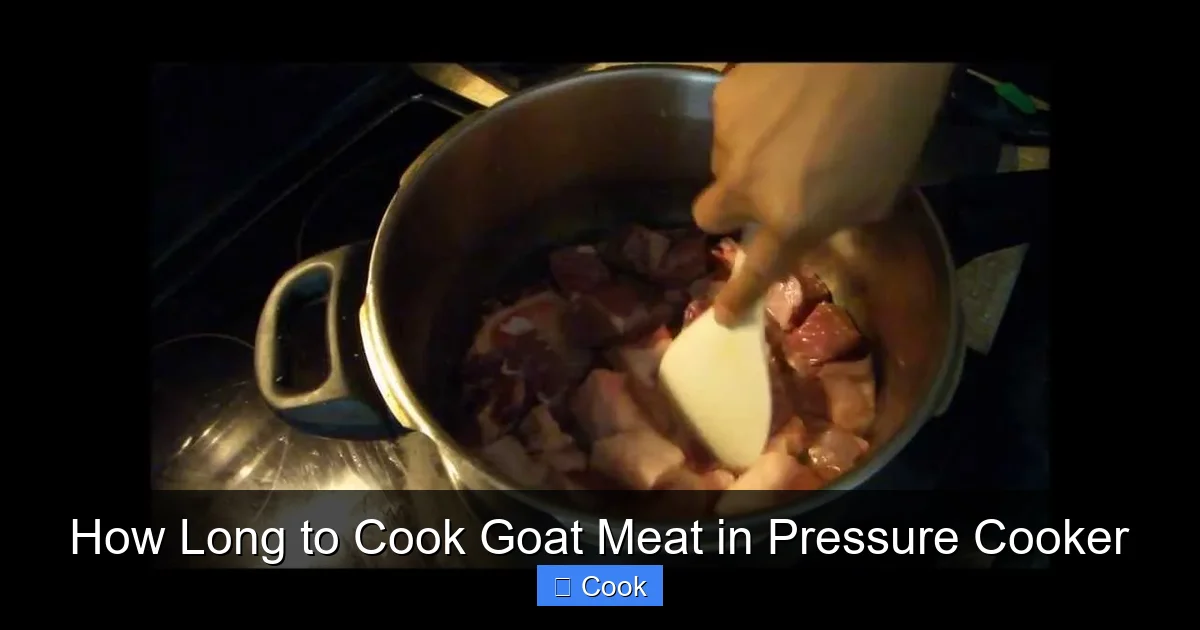
The Magic of Browning (Yes, You Must Do This!)
Always brown your goat meat before pressure cooking. Heat 1-2 tablespoons of oil in the pressure cooker pot over medium-high heat. Sear the meat in batches until deeply browned on all sides—about 3-4 minutes per side. This Maillard reaction creates complex flavors you can’t get from boiling. Don’t overcrowd the pot; steaming instead of searing will leave your meat gray and bland. Once browned, remove the meat and set it aside. Deglaze the pot with a splash of broth or wine, scraping up those tasty browned bits (fond) from the bottom. This liquid becomes the base of your sauce.
Draining Fat: The Secret to Rich, Not Greasy, Dishes
After browning, drain off any excess fat. Goat fat solidifies when cool and can make your dish unpleasantly greasy. Place the browned meat in a colander over a bowl and let the fat drip off for a few minutes. This simple step elevates your dish from “okay” to “wow.” Remember, you’re building layers of flavor—browning adds depth, draining fat ensures balance.
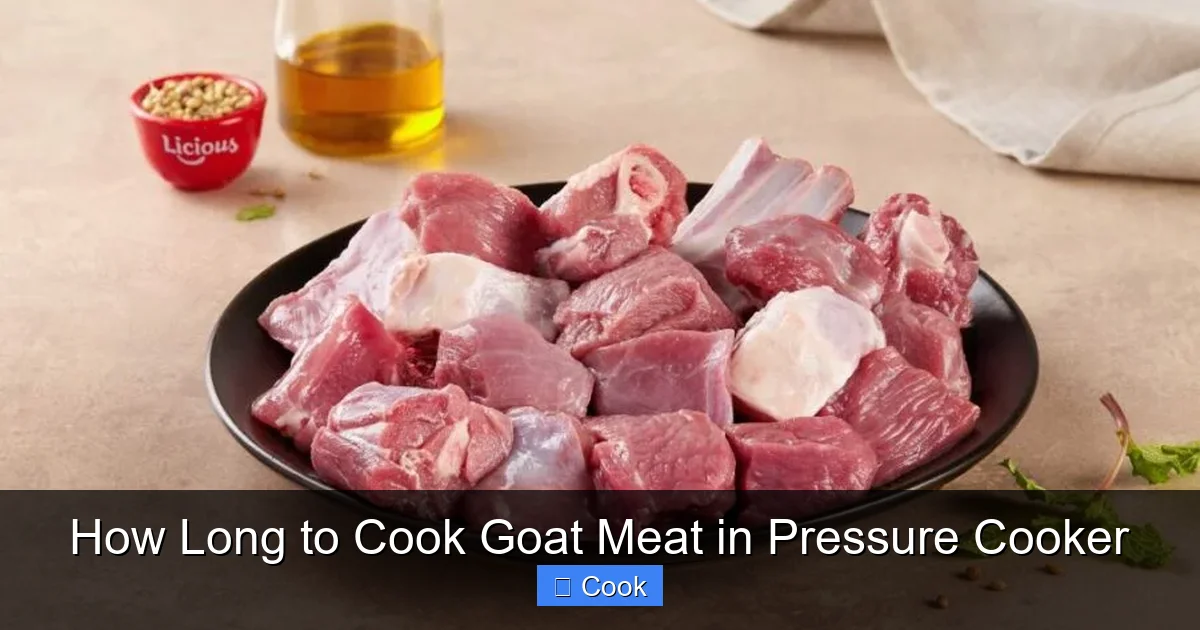
Exact Cooking Times for Every Goat Cut
Knowing how long to cook goat meat in pressure cooker depends entirely on the cut. Undercooking leaves it tough; overcooking turns it to mush. Here’s your precise timing guide based on real-world testing.
Visual guide about How Long to Cook Goat Meat in Pressure Cooker
Image source: cafemuertos.com
Stewing Cuts (Shoulder, Neck, Shank): 45-60 Minutes
These tough, collagen-rich cuts are perfect for stews and curries. Cut into 2-inch cubes, brown well, and add enough liquid to cover them by about an inch. Secure the lid, set to high pressure, and cook for 45 minutes for medium tenderness or 60 minutes for fall-apart texture. For dishes like kaldereta (Filipino goat stew) or Jamaican goat curry, 50 minutes hits the sweet spot. Always allow a 15-minute natural pressure release after cooking—this lets the meat reabsorb juices.
Chops and Ribs: 15-20 Minutes
Goat chops cook surprisingly fast! Season them well, brown on both sides, and add 1 cup of liquid to the pot. Cook on high pressure for 15 minutes for medium-rare (internal temp 145°F) or 20 minutes for well-done (160°F). For ribs, arrange them vertically in a steamer basket with 1.5 cups of liquid. Cook for 18 minutes for tender-but-firm ribs or 22 minutes for melt-off-the-bone. Quick-release pressure after cooking to prevent overcooking.
Whole Legs or Loins: 75-90 Minutes
Whole cuts need longer but still beat oven roasting. Place a leg on a trivet with 2 cups of broth, wine, or water. Add aromatics like garlic, onions, and herbs. Cook on high pressure for 75 minutes for a pink center or 90 minutes for well-done. For loins, reduce time to 60-70 minutes. Always use a meat thermometer—goat is safe at 145°F but tastes best at 160°F for roasts. Natural release for 20 minutes is essential here.
Frozen Goat Meat: Add 5-10 Minutes
Cooking frozen goat? No problem, but adjust timing. Ensure pieces are separated (not clumped together). Add 5 minutes for stews or chops, 10 minutes for larger cuts. Always use the “pot in pot” method: place frozen meat on a trivet over 1.5 cups of liquid. Never cook large frozen blocks—they won’t cook evenly and could be unsafe.
Liquid Requirements and Flavor Boosters
Pressure cookers need sufficient liquid to build pressure—but too much dilutes flavor. The golden rule: minimum 1.5 cups for most recipes. This generates enough steam without submerging the meat. Use flavorful liquids to elevate your dish.
Visual guide about How Long to Cook Goat Meat in Pressure Cooker
Image source: i.ytimg.com
Best Liquids for Goat Meat
Broth is ideal—chicken or beef broth adds savory depth. Red wine (like Cabernet Sauvignon) tenderizes and adds richness, especially for stews. Coconut milk works beautifully in Caribbean or African-inspired dishes. Avoid water unless absolutely necessary; it lacks flavor. For a tangy twist, add 1/2 cup of tomato juice or vinegar-based marinade. Remember: acidic liquids (wine, tomatoes) help break down collagen but don’t overdo it—too much can make meat tough.
Game-Changing Aromatics and Spices
Layer flavors with aromatics added after browning. Sauté onions, garlic, ginger, or lemongrass for 2 minutes before adding liquid. For spice blends, toast whole spices (cumin, coriander, cinnamon) in the pot first to unlock their oils. Goat pairs wonderfully with:
- Middle Eastern: Cumin, coriander, cardamom, and dried lime
- Caribbean: Allspice, Scotch bonnet peppers, and thyme
- Indian: Turmeric, garam masala, and fenugreek
- Mediterranean: Rosemary, oregano, and lemon zest
Add dried herbs early; fresh herbs go in during the last 5 minutes of natural release.
Thickening Sauces Like a Pro
After cooking, you’ll often have a thin sauce. To thicken, remove the meat and bring the liquid to a boil. Make a slurry with 2 tbsp cornstarch and 3 tbsp cold water, then whisk it in. Simmer for 2-3 minutes until glossy. For a richer sauce, stir in a tablespoon of butter or coconut cream off-heat. Never thicken under pressure—it can clog valves.
Troubleshooting Common Pressure Cooker Goat Problems
Even with perfect timing, things can go sideways. Here’s how to fix the most frequent issues.
Why Is My Goat Meat Still Tough?
This usually means undercooking or skipping the natural release. Collagen needs sustained heat to dissolve—rushing the pressure release leaves it stringy. Always let pressure drop naturally for at least 15 minutes after cooking stews or roasts. If meat is tough after proper timing, return it to the pot with a splash of liquid and cook for 5-10 more minutes under pressure.
Greasy or Bland Results: Fixes
Greasiness comes from not draining fat after browning or using too much oil. Always trim excess fat and drain well. For bland flavor, you likely skipped browning or used water instead of broth. Next time, sear meat until deeply browned and deglaze the pot thoroughly. If your dish is already cooked, boost flavor with a splash of vinegar, lemon juice, or Worcestershire sauce.
Burn Notices and Safety Alerts
If your cooker says “burn,” it means the liquid evaporated or you didn’t add enough. Always use at least 1.5 cups of liquid. Forgot to add liquid? Carefully release pressure, add hot broth, and restart. Never open a pressurized cooker—wait for the float valve to drop. If food sticks, clean the sealing ring and ensure you’re not overfilling (max 2/3 full).
Overcooked Meat: Prevention and Recovery
Overcooking turns goat to mush. Avoid this by using exact timing and quick-releasing pressure for chops or ribs. If meat is overcooked, shred it for tacos or curries—it’ll still be flavorful. For future cooks, reduce time by 5 minutes and check tenderness with a fork.
Pro Tips for Next-Level Goat Dishes
Master the basics? These insider tricks will make your goat meat unforgettable.
Marinating for Maximum Tenderness
Marinate goat for 4-24 hours before cooking. Acidic marinades (yogurt, buttermilk, or citrus) break down fibers. Try this: 1 cup yogurt, 2 tbsp lemon juice, 3 minced garlic cloves, 1 tbsp grated ginger, and 1 tsp each cumin and coriander. Coat meat and refrigerate. Rinse before browning to prevent burning.
Using the “Pot in Pot” Method for Versatility
Cook sides while your goat pressure-cooks! Place a steamer basket or heatproof dish on a trivet over the liquid. Add potatoes, carrots, or dumplings. They’ll steam while the goat cooks, saving time and infusing them with flavor. Ensure the inner pot doesn’t touch the liquid—keep at least 1 inch of space.
Resting and Serving Like a Chef
After pressure release, let goat rest for 10 minutes before slicing. This lets juices redistribute. For roasts, tent loosely with foil. Serve with pan sauce, fresh herbs, and sides that cut richness—like mint chutney or cucumber salad. Goat pairs beautifully with earthy grains (quinoa, farro) or bright slaws.
Storing and Reheating Without Drying Out
Store cooked goat in airtight containers with sauce for up to 4 days. Reheat gently in a skillet with a splash of broth or in the microwave covered with a damp paper towel. Never boil leftovers—it dries them out. Freeze for up to 3 months; thaw overnight in the fridge.
Conclusion: Your Goat Meat Mastery Awaits
Pressure cooking goat meat isn’t just convenient—it’s the key to unlocking its incredible potential. By understanding how long to cook goat meat in pressure cooker based on the cut, nailing the prep, and following timing guidelines, you’ll consistently create dishes that are tender, flavorful, and impressive. No more dry, chewy goat—just succulent stews, fall-off-the-bone ribs, and juicy roasts ready in under two hours.
Remember: brown well, drain fat, use enough liquid, and respect the natural release. These simple steps transform a challenging protein into a weeknight hero. Whether you’re making a spicy goat curry for dinner or a comforting stew for guests, your pressure cooker is the ultimate tool. So grab that goat meat, fire up your cooker, and get ready to enjoy restaurant-quality results in record time. Your taste buds (and your family) will thank you!
Frequently Asked Questions
Can I cook frozen goat meat directly in the pressure cooker?
Yes, but adjust timing and method. Ensure pieces are separated, not clumped. Add 5-10 minutes to standard cooking times and always use the “pot in pot” method with a trivet over at least 1.5 cups of liquid. Never cook large frozen blocks—they won’t cook evenly and could be unsafe.
Why does my pressure cooker show a “burn” alert with goat meat?
This usually means insufficient liquid or food sticking to the bottom. Always use at least 1.5 cups of broth or water, and deglaze the pot thoroughly after browning. If you get a burn notice, carefully release pressure, add hot liquid, and restart. Ensure you’re not overfilling the pot beyond 2/3 capacity.
Is it safe to quick-release pressure for goat stews?
No—always use natural release for stews, roasts, or dishes with lots of liquid. Quick-releasing can cause violent boiling that makes meat tough and splatters sauce. Let pressure drop naturally for 15-20 minutes after cooking. Only quick-release for chops, ribs, or delicate cuts.
Can I use the sauté function after pressure cooking to reduce sauce?
Absolutely! After releasing pressure and removing the meat, use the sauté function to simmer the sauce until it thickens. This concentrates flavors and creates a glossy finish. Just watch closely to prevent burning, and stir occasionally.
How do I know if goat meat is cooked safely?
Use a meat thermometer. Goat is safe at 145°F (63°C) for whole cuts like chops or roasts, but many prefer it at 160°F (71°C) for optimal tenderness. For stews or shredded dishes, cook until meat easily pulls apart with a fork. Never rely on color alone—goat stays pink even when fully cooked.
Can I substitute goat meat in beef or lamb recipes?
Yes, with minor adjustments. Goat is leaner than beef, so reduce added fat and monitor cooking time closely—it often cooks faster. For lamb recipes, use similar timing but expect a slightly gamier flavor. Always brown goat first for best results, as it benefits from the Maillard reaction more than lamb.