Pressure cooking beef ribs slashes cooking time from hours to under an hour while delivering incredibly tender, flavorful results. The exact time depends on rib type (short ribs cook faster than back ribs), thickness, and whether they’re frozen. Always use high pressure and allow natural release for best texture.
Key Takeaways
- High pressure is essential: Always cook beef ribs on high pressure for proper tenderness; low pressure won’t break down connective tissue effectively.
- Timing varies by rib type: Beef short ribs need 25-35 minutes, while thicker back ribs require 35-45 minutes under high pressure.
- Natural release is crucial: Allow 10-15 minutes of natural pressure release after cooking to prevent toughness from sudden steam loss.
- Don’t skip the sear: Browning ribs first adds deep flavor and improves texture, even though pressure cooking is fast.
- Liquid is non-negotiable: Always use at least 1 cup of liquid (broth, beer, or water) to create necessary steam for pressure buildup.
- Frozen ribs need extra time: Add 5-10 minutes to cooking time if starting with frozen ribs to ensure thorough cooking.
- Finish for texture: For caramelized bark or crispy edges, broil ribs briefly after pressure cooking.
📑 Table of Contents
- Why Pressure Cooking Beef Ribs is a Game-Changer
- Understanding Beef Rib Types and Their Cooking Times
- Step-by-Step: Perfect Pressure Cooker Beef Ribs Every Time
- Troubleshooting Common Pressure Cooker Rib Problems
- Maximizing Flavor: Sauces, Rubs, and Liquid Choices
- Safety First: Pressure Cooker Best Practices
- Conclusion: Your Foolproof Path to Perfect Ribs
Why Pressure Cooking Beef Ribs is a Game-Changer
Let’s be honest: traditional beef ribs are amazing, but they demand serious patience. Braising or smoking can take 6-8 hours – time most of us don’t have on a Tuesday night. Enter the pressure cooker, your new secret weapon for fall-off-the-bone ribs in under an hour. It’s not magic; it’s science. The sealed environment traps steam, raising the boiling point of water and cooking food at much higher temperatures. This intense heat rapidly breaks down collagen in the ribs into gelatin, transforming tough cuts into melt-in-your-mouth perfection.
You might be thinking, “But will they taste as good?” Absolutely. Pressure cooking actually intensifies flavors because nothing escapes the pot. Spices, herbs, and any marinade you use become deeply infused. Plus, it’s incredibly forgiving – no more worrying about drying out ribs in the oven. Whether you’ve got a fancy Instant Pot or an old-school stovetop model, this method delivers consistent, restaurant-quality results with minimal hands-on time. Imagine having succulent, tender beef ribs ready for dinner while you finish work or help the kids with homework. That’s the pressure cooker promise.
Understanding Beef Rib Types and Their Cooking Times
Not all beef ribs are created equal, and that directly impacts your cooking time. Using the wrong timing leads to disappointment – either tough, chewy ribs or ones that turn to mush. Let’s break down the two main types you’ll encounter:

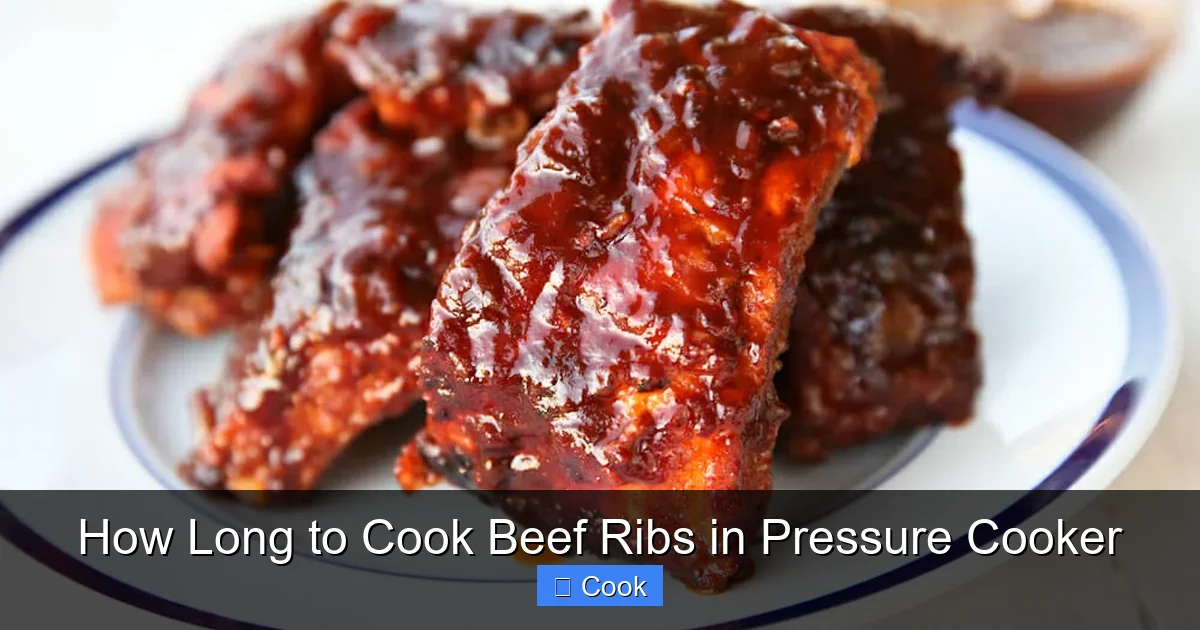
Visual guide about How Long to Cook Beef Ribs in Pressure Cooker
Image source: poshjournal.com
Beef Short Ribs: The Pressure Cooker Favorite
These are cut from the chuck primal, near the shoulder. They’re typically 2-3 inches long with a good amount of meat surrounding a central bone. Short ribs have rich marbling and connective tissue, making them ideal for pressure cooking. For boneless or bone-in short ribs, cook on high pressure for 25-35 minutes. Thinner cuts (like flanken-style) might only need 25 minutes, while thicker English-cut short ribs benefit from 30-35 minutes. Always remember: the goal is tender but not disintegrated. They should pull away from the bone easily but still hold their shape.
Pro tip: If your short ribs are very large or dense, consider cutting them in half crosswise before cooking. This ensures even heat penetration and prevents the outside from overcooking while the inside stays tough.
Beef Back Ribs: The Tougher Challenge
Cut from the loin primal, back ribs are leaner and have less fat and connective tissue than short ribs. They’re often sold as “baby back ribs” (smaller, curved) or “spare ribs” (larger, flatter). Because they’re less marbled, they require slightly longer cooking to become tender without drying out. For beef back ribs, cook on high pressure for 35-45 minutes. Start checking at 35 minutes – they’re done when a fork slides in easily but the meat doesn’t completely fall off the bone. Overcooking back ribs is easy, so err on the side of caution.
Important note: Many recipes confuse beef back ribs with pork ribs. Beef ribs are significantly larger and denser. If you’re using a recipe meant for pork ribs, double the cooking time! Beef ribs need that extra time to soften properly.
Step-by-Step: Perfect Pressure Cooker Beef Ribs Every Time
Follow this foolproof method for consistently amazing results. It’s simpler than you think, but skipping steps can lead to mediocre ribs.
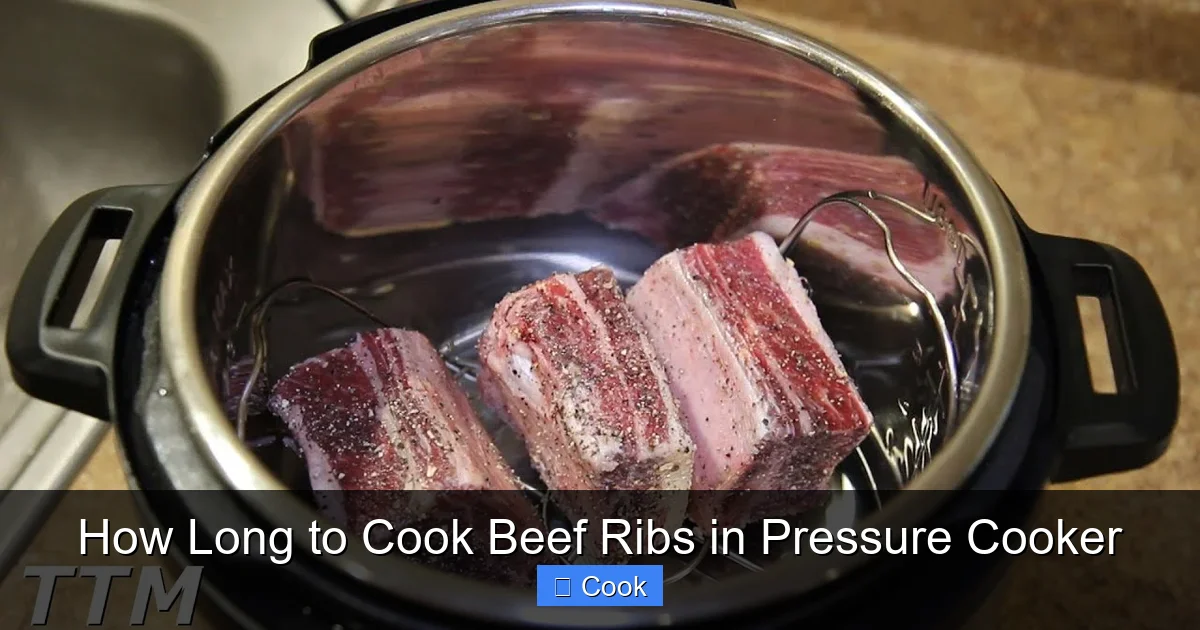
Visual guide about How Long to Cook Beef Ribs in Pressure Cooker
Image source: i.ytimg.com
Prep Work: Setting Up for Success
First, pat your ribs dry with paper towels. Moisture is the enemy of good browning. Season generously with salt, pepper, and any dry rub you like – garlic powder, onion powder, paprika, or cumin work great. Don’t be shy; this is where flavor starts. Next, heat 1-2 tablespoons of oil (avocado or canola) in your pressure cooker on the “Sauté” function. Once hot, sear the ribs in batches for 2-3 minutes per side until deeply browned. This Maillard reaction creates complex flavors no pressure cooker can replicate alone. Remove ribs and set aside.
Now, deglaze the pot! Pour in 1 cup of liquid (beef broth is ideal, but beer, water, or even cola work). Scrape the bottom vigorously to lift all those tasty browned bits – this is pure flavor gold. Add aromatics like chopped onions, garlic, or celery if you like. Return the ribs to the pot, stacking them neatly without overcrowding. Pour in any accumulated juices from the searing plate.
Pressure Cooking: Timing and Technique
Secure the lid and set the valve to “Sealing.” Select “Manual” or “Pressure Cook” and set the time based on your rib type (25-35 min for short ribs, 35-45 min for back ribs). Always use high pressure – low pressure won’t generate enough heat to tenderize properly. Once cooking starts, resist the urge to peek! Pressure needs to build and maintain.
When the timer ends, do not quick-release. Allow natural pressure release for 10-15 minutes. This lets the ribs finish cooking gently and prevents toughness from sudden steam loss. After natural release, carefully quick-release any remaining pressure. Use tongs to transfer ribs to a plate – they’ll be incredibly tender, so handle gently.
The Finishing Touch: Crisp and Caramelized
Pressure-cooked ribs are tender but often lack that appealing bark or caramelized exterior. Fix this in 5 minutes! Preheat your broiler. Place ribs on a baking sheet lined with foil, meat-side up. Brush generously with your favorite barbecue sauce or a simple mix of melted butter and herbs. Broil for 3-5 minutes until the sauce bubbles and edges char slightly. Watch closely – it goes fast! This step transforms good ribs into great ribs with texture and visual appeal.
Troubleshooting Common Pressure Cooker Rib Problems
Even with perfect timing, things can go sideways. Here’s how to fix the most frequent issues:

Visual guide about How Long to Cook Beef Ribs in Pressure Cooker
Image source: cdn.momsdish.com
Ribs Are Still Tough After Cooking
This usually means undercooking or insufficient natural release. If ribs are tough after the timer ends, return them to the pot, add a splash of liquid, reseal, and cook for another 5-10 minutes on high pressure. Always ensure you’re using high pressure – some newer models have confusing settings. Also, verify your ribs weren’t frozen solid when starting; frozen ribs need extra time.
Another culprit? Overcrowding the pot. If ribs are piled too high, heat doesn’t circulate well. Cook in batches if needed, or cut larger ribs into smaller pieces. Finally, check your liquid level – too little liquid prevents proper pressure buildup.
Ribs Are Mushy or Falling Apart
Overcooking is the likely suspect, especially with leaner back ribs. Next time, reduce cooking time by 5 minutes and check early. Also, avoid quick-releasing pressure – that violent steam release can tear delicate meat. Always prioritize natural release. If you’re using a very thick cut, consider whether it’s truly “beef ribs” – some butchers mislabel large pork ribs.
Pro tip: After pressure cooking, let ribs rest in the warm pot (off heat) for 10 minutes before removing. This helps them firm up slightly for easier handling.
Not Enough Flavor or “Bland” Ribs
Pressure cooking concentrates flavors but doesn’t create them from scratch. Skipping the sear is the #1 mistake here. Always brown those ribs first! Also, ensure your seasoning is robust – use 1-2 teaspoons of salt per pound of ribs. Adding aromatics (onions, garlic, herbs) to the cooking liquid boosts depth. Finally, finishing with a flavorful sauce or glaze under the broiler adds that final punch.
Don’t rely solely on the cooking liquid for flavor. Reduce the leftover liquid after cooking (strain it first!) by simmering in a saucepan for 10-15 minutes until slightly thickened. This “jus” makes an incredible gravy for drizzling.
Maximizing Flavor: Sauces, Rubs, and Liquid Choices
The pressure cooker handles the tenderizing, but you control the flavor. These elements make your ribs extraordinary:
Best Liquids for Cooking
While water works, using flavorful liquids elevates everything. Beef broth is the gold standard – it adds richness without overpowering. Dark beer (like stout or porter) contributes malty depth and tenderizes further. Apple cider brings subtle sweetness and acidity, great with smoky rubs. Avoid sugary liquids like regular cola – they can burn under pressure. Always use at least 1 cup to ensure proper steam generation.
Pro tip: Combine liquids! Half broth, half beer creates a complex base. Add a splash of Worcestershire sauce or soy sauce for umami depth.
Rub and Sauce Strategies
Apply dry rubs before searing for maximum adhesion. A simple mix of 2 tbsp brown sugar, 1 tbsp paprika, 1 tsp garlic powder, 1 tsp onion powder, 1 tsp black pepper, and 1 tsp salt works wonders. For wet rubs, apply 30 minutes before cooking to let flavors penetrate.
After pressure cooking, always add sauce during the finishing step. Adding sauce before pressure cooking can cause burning or make ribs soggy. Brush on your favorite BBQ sauce, a spicy harissa glaze, or a teriyaki mix during the broiler phase. This caramelizes the sauce without compromising texture.
Herb and Aromatic Additions
Don’t underestimate aromatics! Toss in whole garlic cloves, onion wedges, celery stalks, or fresh herbs (rosemary, thyme) with the cooking liquid. They infuse the ribs subtly without becoming mushy. Remove them before serving. A cinnamon stick or star anise adds an unexpected warm note that complements beef beautifully.
Safety First: Pressure Cooker Best Practices
Pressure cookers are safe when used correctly, but respect the power of pressurized steam. Follow these non-negotiables:
Essential Safety Checks
Always ensure the sealing ring is clean and properly seated. Check the float valve is clear and moves freely – food debris can block it. Never fill the pot more than 2/3 full, especially with meats that expand (like ribs). Leave at least 1 inch of space below the max fill line. Before sealing, confirm the lid locks correctly – most modern models have alignment markers.
Never force the lid open. If the float valve is down, pressure is still present. Always quick-release only after natural release or when the recipe specifies. Keep hands and face away from the steam vent during release.
Liquid Requirements and Overfilling Risks
The “minimum liquid” rule exists for a reason: without enough liquid, pressure can’t build, or the pot can overheat. Always use at least 1 cup of liquid for electric models, 1.5 cups for stovetop. This is critical with dense meats like ribs. Overfilling is equally dangerous – excess liquid can clog vents. Stick to the 2/3 rule: ribs + liquid should not exceed 2/3 of the pot’s capacity.
Pro tip: If you’re doubling a recipe, don’t double the liquid proportionally. Increase liquid by only 25-50% since the pot’s volume doesn’t scale linearly.
Handling Frozen Ribs Safely
Cooking frozen ribs is possible but requires adjustments. Place frozen ribs directly in the pot with liquid – no need to thaw. Add 5-10 minutes to your cooking time (e.g., 35-45 min for short ribs). Ensure ribs are in a single layer; stacking frozen ribs unevenly can cause undercooking. Always verify internal temperature reaches 145°F (63°C) for safety, though ribs are best at 190°F+ for tenderness.
Warning: Never put frozen ribs in a preheated pot – the sudden temperature change can warp the pot or cause dangerous steam bursts.
Conclusion: Your Foolproof Path to Perfect Ribs
Pressure cooking beef ribs isn’t just about speed – it’s about unlocking tender, flavorful results that rival any slow-cooked method, all while freeing up your time. By understanding the nuances of rib types, respecting timing guidelines (25-45 minutes on high pressure), and mastering the sear-and-finish technique, you’ll consistently create restaurant-quality ribs at home. Remember the golden rules: always use high pressure, prioritize natural release, and never skip that initial sear for depth of flavor.
The beauty of this method is its adaptability. Experiment with different rubs, liquids, and finishing sauces to make it your own. Whether it’s a weeknight dinner with simple salt and pepper or a weekend feast with complex BBQ glazes, your pressure cooker delivers. So next time you crave ribs, ditch the hours-long commitment. In less time than it takes to preheat a conventional oven, you’ll have fall-off-the-bone beef ribs that prove fast cooking doesn’t mean sacrificing quality. Grab your pressure cooker – your taste buds (and your schedule) will thank you.
Frequently Asked Questions
Can I cook beef ribs from frozen in a pressure cooker?
Yes, but add 5-10 minutes to the cooking time. Place frozen ribs directly in the pot with liquid, ensuring they’re in a single layer. Always verify tenderness as frozen ribs may cook unevenly.
Why are my pressure cooker ribs tough?
Tough ribs usually mean undercooking or insufficient natural release. Try cooking 5-10 minutes longer on high pressure next time, and always allow 10-15 minutes of natural pressure release after the timer ends.
Do I need to add liquid to the pressure cooker for ribs?
Absolutely. You need at least 1 cup of liquid (broth, beer, or water) to generate steam and build pressure. Without it, the cooker won’t function properly and could overheat.
Can I skip searing the ribs before pressure cooking?
You can, but you’ll miss out on deep flavor. Searing creates the Maillard reaction, adding complexity. If short on time, at least season generously and deglaze the pot well after a quick sauté of aromatics.
How do I know when pressure-cooked ribs are done?
Ribs are done when a fork slides into the meat easily with little resistance, but the meat still holds its shape. For short ribs, this is around 25-35 minutes; for back ribs, 35-45 minutes on high pressure.
Can I use the quick-release method for beef ribs?
Avoid quick-release for ribs. The sudden pressure drop can make them tough. Always use natural release for 10-15 minutes first, then quick-release any remaining pressure to prevent overcooking.