
Master creamy, nutrient-packed steel cut oats in your pressure cooker in just 15 minutes—no more 30+ minute stovetop simmering! This foolproof method delivers tender-chewy texture every time, with endless customization options for busy mornings. Say goodbye to mushy oats and hello to effortless, delicious breakfasts.
Key Takeaways
- Time Savings: Cook steel cut oats in 15 minutes (vs. 30-40 mins stovetop), perfect for rushed mornings.
- Perfect Texture: Achieve consistent creamy-chewy results without constant stirring or burning risks.
- Simple Ratio: Use a 1:3 oats-to-liquid ratio (e.g., 1 cup oats + 3 cups liquid) for ideal consistency.
- Customization: Easily add spices, sweeteners, or mix-ins during or after cooking for endless flavor variations.
- Nutrient Retention: Pressure cooking preserves more nutrients compared to prolonged boiling methods.
- Make-Ahead Friendly: Cook a large batch for grab-and-go breakfasts throughout the week.
- Safety First: Always use natural release for 10 minutes to prevent overflow and ensure safety.
📑 Table of Contents
- Why Pressure Cooker Steel Cut Oats Are a Game-Changer
- Why Pressure Cooking Beats Stovetop for Steel Cut Oats
- What You Need: Equipment and Ingredients
- Step-by-Step: Perfect Pressure Cooker Steel Cut Oats
- Customization Ideas: Make It Your Own
- Troubleshooting Common Issues
- Make-Ahead and Storage Tips
- Conclusion: Your New Breakfast Best Friend
Why Pressure Cooker Steel Cut Oats Are a Game-Changer
Let’s be real: mornings are chaotic. Between packing lunches, finding lost shoes, and trying to look somewhat human, who has 40 minutes to babysit a pot of oats? That’s where the pressure cooker swoops in like a breakfast superhero. Steel cut oats—those hearty, nutty nuggets of whole grain goodness—are notoriously time-consuming on the stovetop. But in a pressure cooker? They transform from a weekend luxury into a weekday staple in under 15 minutes. No more scorched bottoms, no constant stirring, and absolutely no sacrificing that satisfying chewiness you love.
This method isn’t just fast—it’s foolproof. Pressure cooking creates a sealed environment where steam builds rapidly, cooking oats evenly and efficiently. The result? Creamy, tender-chewy oats with a rich, toasted flavor that stovetop versions often miss. Plus, you retain more nutrients since cooking time is slashed. Forget soggy instant oats or gummy microwave packets. This is the real deal: wholesome, satisfying, and ready before your coffee finishes brewing. If you own an Instant Pot, Ninja Foodi, or any electric pressure cooker, you’re about to revolutionize your breakfast routine.
Why Pressure Cooking Beats Stovetop for Steel Cut Oats
You might wonder: “Why fix what isn’t broken?” But let’s compare. Traditional stovetop steel cut oats require 30-40 minutes of simmering, constant attention, and a watchful eye to prevent boiling over or sticking. One distraction (a crying toddler, a work email) and you’ve got a kitchen disaster. Pressure cooking eliminates those pain points. The sealed pot traps heat and moisture, cooking oats through steam pressure in a fraction of the time. It’s like giving your oats a spa day—gentle, even heat without agitation.
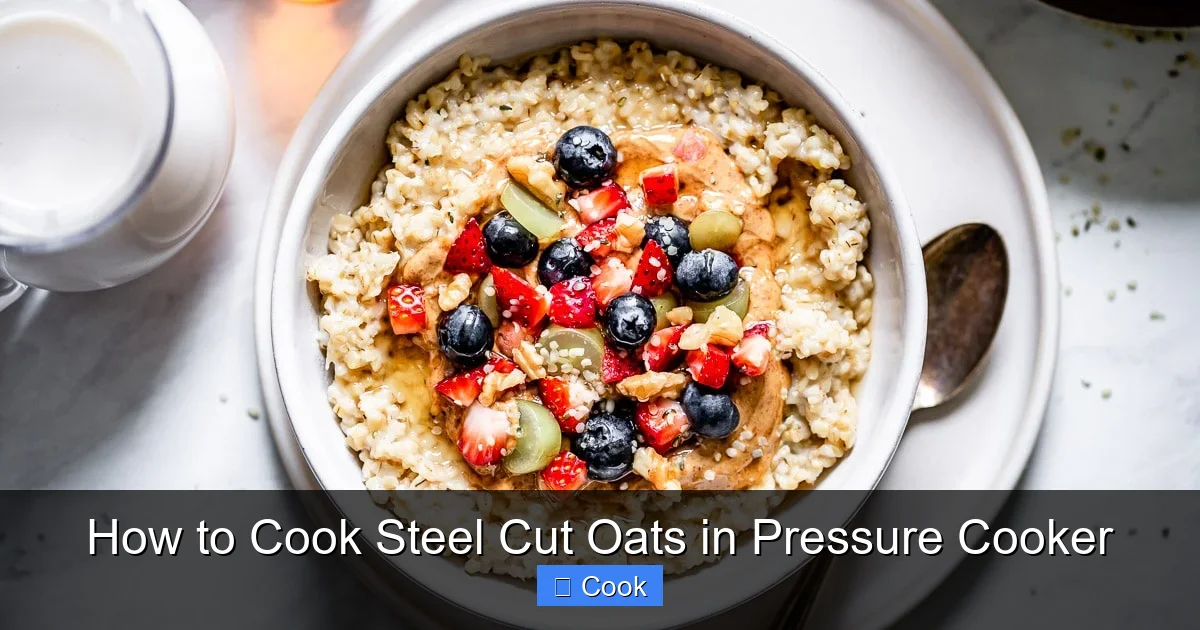
Visual guide about How to Cook Steel Cut Oats in Pressure Cooker
Image source: foolproofliving.com
The Science of Speed and Texture
Pressure cookers operate at higher temperatures (around 250°F/121°C) than boiling water (212°F/100°C). This accelerates starch breakdown, softening oats faster while preserving their structure. The result? Oats that are creamy but still have a slight bite—no mushiness. Plus, the sealed environment prevents evaporation, so your liquid ratio stays perfect. No more guessing if you added too much water. It’s consistency you can count on, batch after batch.
Nutrient Powerhouse
Shorter cooking times mean fewer nutrients lost to heat and water. Steel cut oats are packed with fiber, protein, and B vitamins, but prolonged boiling can leach these into the cooking water. Pressure cooking minimizes this, keeping more goodness in your bowl. A 2020 study in the Journal of Food Science confirmed pressure-cooked grains retain up to 15% more antioxidants than boiled counterparts. Your body (and taste buds) will thank you.
What You Need: Equipment and Ingredients
Don’t stress—this method requires minimal gear. If you own a pressure cooker, you’re 90% of the way there. No fancy tools needed, just basics you likely already have.

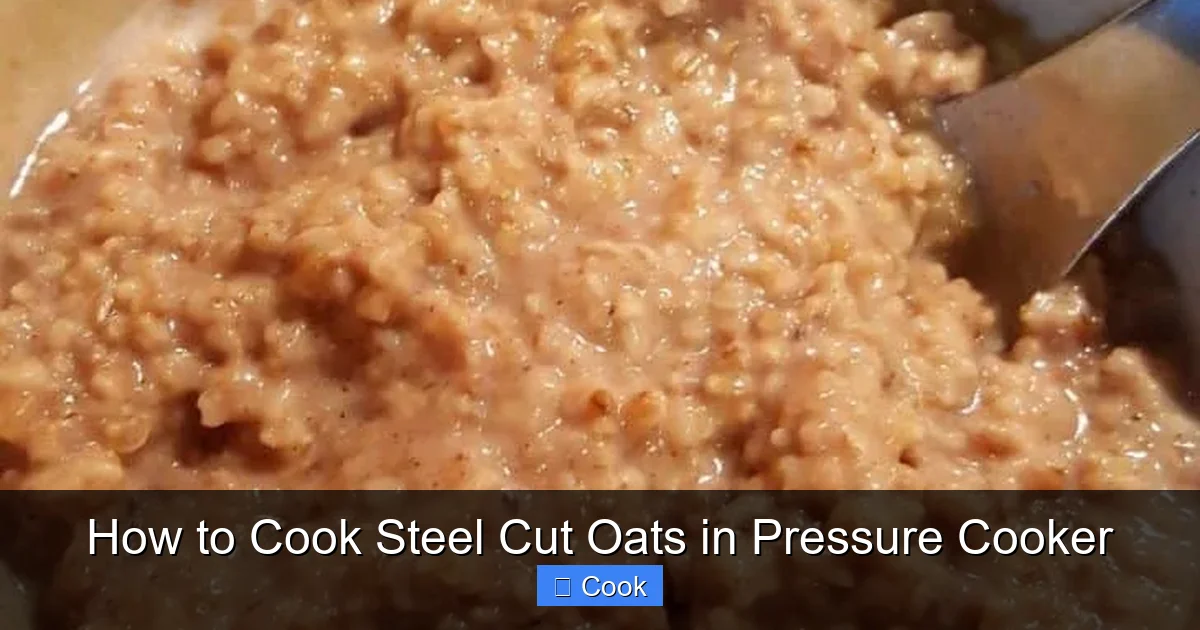
Visual guide about How to Cook Steel Cut Oats in Pressure Cooker
Image source: i2.wp.com
Essential Equipment
- 6-8 quart electric pressure cooker: Instant Pot, Ninja Foodi, or similar. Avoid tiny 3-quart models—they overflow easily with oats.
- Measuring cups: Precision matters for the liquid ratio. Use dry and liquid cups separately.
- Wooden spoon or silicone spatula: For stirring pre-cook and serving.
- Heat-safe bowl (optional): For making overnight oats in the pot.
Core Ingredients
- Steel cut oats: Not rolled or quick oats! These are whole oat groats chopped into pieces. Look for “steel cut” or “Irish oats” on the package. 1 cup dry makes ~3 servings.
- Liquid: Water, broth, or milk (dairy or plant-based). Water is neutral; broth adds savory depth; milk makes it creamier. Stick to 3 cups liquid per 1 cup oats.
- Salt: A pinch (¼ tsp) enhances flavor. Skip if using salted broth.
Flavor Boosters (Add Later!)
Hold the sweeteners and mix-ins until after pressure release! Adding them too early can cause burning or weird textures. Stock these for post-cook magic:
- Sweeteners: Maple syrup, honey, brown sugar
- Spices: Cinnamon, nutmeg, cardamom
- Fruit: Fresh berries, banana slices, diced apple
- Nuts/Seeds: Walnuts, almonds, chia seeds, flax
- Creaminess: Greek yogurt, coconut milk, nut butter
Step-by-Step: Perfect Pressure Cooker Steel Cut Oats
Ready for the magic? This method works for electric pressure cookers (Instant Pot etc.). Total time: 25 minutes (including prep and release). Serves 3-4.
Visual guide about How to Cook Steel Cut Oats in Pressure Cooker
Image source: thisoldgal.com
Prep Work: 5 Minutes
Measure 1 cup steel cut oats and 3 cups liquid (water, broth, or milk). Rinse oats briefly in a fine-mesh strainer if they look dusty—this removes excess starch that can cause foaming. Add oats, liquid, and ¼ tsp salt to the pressure cooker pot. Give it a gentle stir. That’s it! No sautéing needed.
Pressure Cooking: 15 Minutes
Secure the lid and set the valve to “Sealing.” Select “Pressure Cook” or “Manual” mode. Set time to 15 minutes on high pressure. The cooker will take 8-12 minutes to come to pressure (that’s normal—don’t rush it!). Once the timer starts, let it run uninterrupted.
Natural Release: Crucial Step!
When the timer beeps, DO NOT quick-release. Let the pressure drop naturally for 10 minutes. This prevents oats from splattering through the valve and ensures even cooking. After 10 minutes, carefully do a quick release for any remaining pressure (stand back!). Remove the lid away from you to avoid steam burns.
Finishing Touches: 2 Minutes
Give oats a stir—they’ll look thick and creamy. If too thick, add splashes of milk or water. Now add your flavor boosters: 2 tbsp maple syrup, ½ tsp cinnamon, or a handful of berries. Stir gently. Let sit 2-3 minutes off-heat for flavors to meld. Serve hot!
Pro Tips for Success
- Foam warning: Oats create foam! Always use the 1:3 ratio and don’t fill the pot past halfway.
- No dairy during cook: Adding milk before pressure can scorch. Stir it in after release.
- Texture tweak: Prefer softer oats? Add 1-2 extra minutes. Prefer chewier? Stick to 15 minutes.
- Double batches: Cook 2 cups oats + 6 cups liquid. Store extras for meal prep.
Customization Ideas: Make It Your Own
Steel cut oats are a blank canvas. Once you master the base recipe, experiment fearlessly. Here’s how to tailor them to any craving:
Sweet & Cozy Breakfast Bowls
Stir in 1 tbsp nut butter after cooking for protein-rich creaminess. Top with sliced banana, walnuts, and a drizzle of honey. For apple pie vibes: add ¼ cup diced apples and ½ tsp cinnamon before serving. Pumpkin spice lovers? Mix in 2 tbsp pumpkin purée + ¼ tsp pumpkin pie spice post-cook.
Savory Steel Cut Oats (Yes, Really!)
Swap water for vegetable or chicken broth. Skip sweeteners. After cooking, stir in a fried egg, sautéed spinach, and a sprinkle of everything bagel seasoning. Top with avocado slices and hot sauce for a protein-packed savory breakfast. Add leftover roasted veggies for a hearty lunch.
Overnight Oats Hack
Make a big batch Sunday night. Portion into jars while warm, then refrigerate. In the morning, microwave 60-90 seconds or eat cold. Add fresh fruit and seeds before serving. Perfect for grab-and-go mornings!
Dairy-Free & Vegan Options
Use water or unsweetened almond/oat milk as the liquid. Sweeten with maple syrup or dates. Top with coconut yogurt, chia seeds, and fresh mango. For extra richness, stir in 1 tbsp tahini after cooking.
Protein Power-Ups
Mix in a scoop of collagen peptides or unflavored protein powder after pressure release. Add Greek yogurt for 15g extra protein per serving. Sprinkle hemp seeds for a complete protein boost.
Troubleshooting Common Issues
Even pros hit snags. Here’s how to fix the most frequent pressure cooker oat problems:
Too Thick or Dry
Cause: Too little liquid or overcooking. Fix: Stir in warm milk, water, or broth 2 tbsp at a time until creamy. Next time, add ¼ cup extra liquid. Avoid cooking beyond 15 minutes.
Too Watery or Mushy
Cause: Too much liquid or undercooking. Fix: Simmer uncovered on “Sauté” mode for 3-5 minutes to thicken. Next time, reduce liquid by ¼ cup. Ensure you’re using steel cut oats—not rolled!
Burnt Taste or Bottom Scorching
Cause: Dairy added before pressure, overfilling pot, or cooking on “Sauté” too long. Fix: Always add dairy after release. Never fill pot past halfway. If scorching happens, transfer unburnt oats to a new bowl—don’t scrape the bottom.
Overflow or Foaming Issues
Cause: Oats create foam that can clog valves. Fix: Stick to 1:3 ratio. Rinse oats first. Never fill pot beyond ½ full. Use natural release for 10 minutes. Clean valves regularly.
Oats Not Tender Enough
Cause: Undercooking or old oats. Fix: Cook 1-2 extra minutes. Check oat freshness—old oats take longer. Ensure liquid ratio is correct.
Safety Reminders
- Always ensure the float valve moves freely before sealing.
- Never force the lid open—wait for pressure to release fully.
- Keep hands/face away from steam vents during quick release.
Make-Ahead and Storage Tips
One of the best perks of pressure cooker oats? They’re meal-prep champions. Cook once, eat all week without sacrificing quality.
Refrigerator Storage
Cool oats completely before storing in airtight containers. They’ll keep for 5 days in the fridge. Portion into single servings for easy access. Reheat in the microwave with a splash of milk or water to restore creaminess (2-3 minutes, stirring halfway).
Freezer Friendly
Freeze portions in freezer-safe jars or bags for up to 3 months. Leave 1-inch headspace for expansion. Thaw overnight in the fridge, then reheat. Add fresh toppings after warming.
Overnight Oats Upgrade
Make a large batch Sunday night. In the morning, portion cold oats into jars, top with yogurt, fruit, and seeds. No reheating needed—perfect for hot days or busy schedules.
Batch Cooking Wisdom
Cook 2-3 cups dry oats at once (max ½ pot full). Double the liquid accordingly. Store extras plain—add sweeteners/toppings per serving to keep flavors fresh. Label containers with dates to track freshness.
Conclusion: Your New Breakfast Best Friend
Pressure cooker steel cut oats aren’t just a shortcut—they’re a revelation. What once felt like a weekend chore is now a 15-minute weekday ritual that fuels your body right. You get all the heart-healthy benefits of whole grains—fiber for digestion, protein for satiety, complex carbs for steady energy—without the time sink. Plus, that irresistible chewy texture? Impossible to replicate with instant packets.
Remember: rinse your oats, stick to the 1:3 ratio, and always natural release for 10 minutes. Customize wildly—sweet, savory, protein-packed, or vegan. Cook a big batch Sunday and conquer your week with zero morning stress. Your pressure cooker isn’t just for chili and ribs anymore. It’s your secret weapon for breakfasts that are nourishing, delicious, and actually ready when you are. So grab that pot, measure your oats, and get ready to fall in love with mornings again. Your taste buds (and your schedule) will thank you.
Frequently Asked Questions
Can I use quick or rolled oats instead of steel cut?
No—quick and rolled oats will turn to mush under pressure. Steel cut oats hold their shape because they’re whole groats chopped into pieces. Using other types requires drastically different timing and ratios, defeating the purpose of this method.
Why do I need to natural release for 10 minutes?
Natural release prevents oats from violently foaming up and clogging the pressure valve. Steel cut oats create significant foam during cooking, and a quick release could cause overflow or unsafe pressure buildup. The 10-minute wait ensures gentle, even finishing.
Can I add milk or sweeteners before pressure cooking?
Avoid adding dairy milk before pressure—it can scorch and create off-flavors. Sweeteners like honey or maple syrup are fine added after release. For creaminess, stir in milk, cream, or plant-based alternatives once the oats are done.
My oats are always too thick—what’s wrong?
You likely need more liquid. Stick to a strict 1:3 oats-to-liquid ratio (e.g., 1 cup oats + 3 cups liquid). If oats thicken too much after cooking, stir in warm milk or water 2 tbsp at a time until creamy. Avoid overcooking beyond 15 minutes.
Can I cook steel cut oats with other grains like quinoa or barley?
Yes! Add hard grains like quinoa or barley with the oats and liquid. Increase cooking time by 3-5 minutes (e.g., 18 minutes total). Softer grains like millet should be added after pressure release to avoid mushiness.
How do I prevent oats from sticking to the bottom?
Always rinse oats first to remove excess starch. Use enough liquid (1:3 ratio) and avoid filling the pot past halfway. Never use the “Sauté” function for extended periods. If sticking occurs, transfer unburnt oats to a new bowl—don’t scrape the bottom.