Calibrating your oven temperature ensures perfect baking every time by fixing inaccurate heat settings. This guide shows you how to test and adjust your oven using a simple thermometer, solving common issues like burnt edges or undercooked centers. Stop guessing and start baking with confidence!
Key Takeaways
- Use a dedicated oven thermometer: Your oven’s built-in dial is often wrong—rely on a separate thermometer for accuracy.
- Test at multiple temperatures: Check calibration at 350°F, 400°F, and 450°F since ovens drift differently at various heats.
- Adjust incrementally: Make small dial changes (5-10°F) and retest—overcorrecting causes bigger problems.
- Gas vs. electric matters: Gas ovens may need vent adjustments; electric ovens often require element calibration.
- Calibrate quarterly: Ovens drift over time—check every 3 months even if baking seems fine.
- Don’t skip preheating: Always preheat fully before testing—accuracy depends on stable heat.
- Professional help isn’t always needed: 80% of calibration issues can be fixed DIY with this guide.
Quick Answers to Common Questions
Can I use my phone’s thermometer app to calibrate my oven?
No—phone apps aren’t designed for oven heat and give wildly inaccurate readings. Always use a dedicated oven thermometer rated for 600°F+.
How long does oven calibration take?
Testing takes 30 minutes (20 to preheat + 10 to read). Adjusting the dial or digital offset takes 5 minutes. Total time: under 45 minutes.
Why does my oven run hotter at higher temperatures?
Heating elements or gas burners work harder at high temps, causing sensors to drift. This is common in older ovens—calibrate at your most-used temperature (e.g., 350°F).
Can I calibrate a convection oven the same way?
Yes! Test with the fan off first. If it’s off, calibrate normally. If the fan causes uneven heat, adjust recipes instead (reduce temp by 25°F).
What if my oven won’t calibrate no matter what?
If it’s over 25°F off after adjustments, the thermostat or sensor may be faulty. Call a technician—replacing parts costs less than ruined meals.
📑 Table of Contents
- Why Your Oven Temperature is Probably Lying to You (And Why It Matters)
- The One Tool You Absolutely Need (No Exceptions!)
- Step-by-Step: How to Test Your Oven Temperature
- How to Calibrate an Oven Temperature: 3 Methods That Actually Work
- Gas vs. Electric Ovens: Calibration Differences You Must Know
- Maintaining Accuracy: How Often to Recalibrate & Pro Tips
- Conclusion: Bake Confidently, Not Casually
Why Your Oven Temperature is Probably Lying to You (And Why It Matters)
Hey there, fellow baker! Ever pulled out cookies that are burnt on the edges but raw in the middle? Or watched your carefully risen cake collapse because the oven was too hot? You’re not alone. Most home ovens run 25-50°F off their set temperature—and that tiny gap ruins recipes. I learned this the hard way when my “perfect” sourdough loaf turned into a charcoal briquette. Turns out, my oven thought 350°F felt more like 400°F. Oops.
Here’s the kicker: your oven’s dial or digital display isn’t a thermometer. It’s just a control switch telling heating elements to turn on/off. Over time, sensors wear out, vents get clogged, or electrical currents shift. Even new ovens can be off by 20°F out of the box. That’s why learning how to calibrate an oven temperature isn’t just helpful—it’s essential for consistent results. Whether you’re baking bread, roasting veggies, or reheating pizza, accurate heat means no more guesswork. Let’s fix this together.
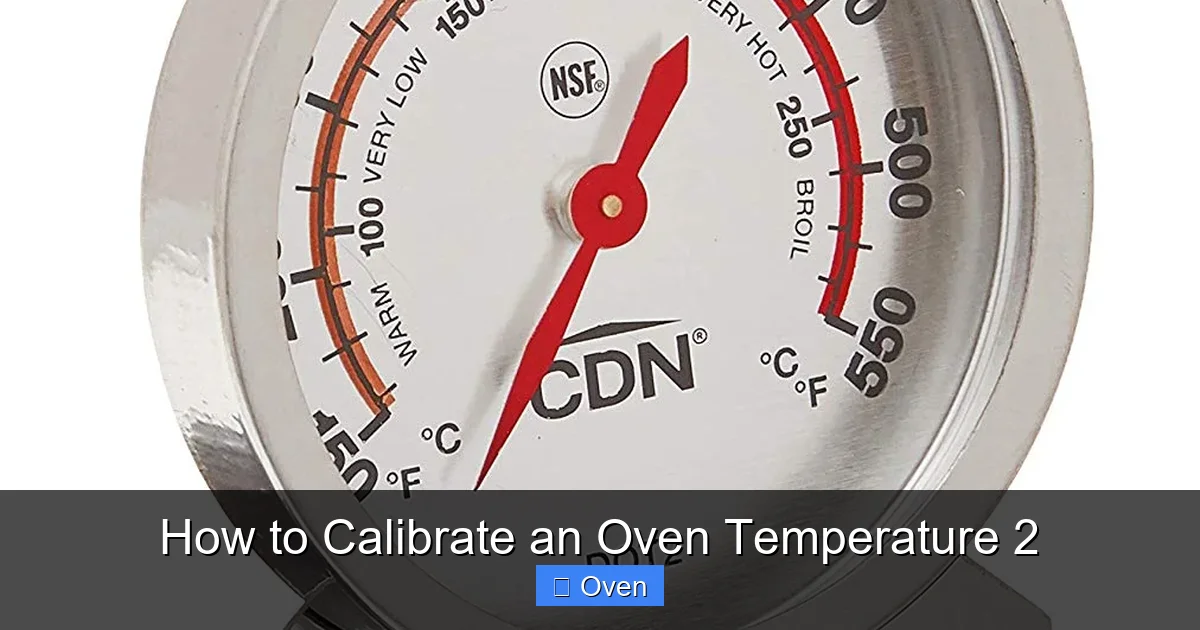
The One Tool You Absolutely Need (No Exceptions!)
Before we dive into calibration, let’s talk tools. You might be tempted to use your meat thermometer or even a candy thermometer. Don’t. Those aren’t designed for oven heat and can shatter or give false readings. What you need is a dedicated oven thermometer—the unsung hero of every serious kitchen.
Visual guide about How to Calibrate an Oven Temperature 2
Image source: wikihow.com
Why a Special Oven Thermometer?
Oven thermometers are built to withstand constant high heat (usually up to 600°F) without melting or breaking. They use bimetal coils or digital sensors calibrated specifically for oven environments. Cheap versions cost $10-$15 on Amazon or at kitchen stores—worth every penny. I recommend the CDN ProAccurate or ThermoWorks DOT. Avoid “oven-safe” meat thermometers; they’re not precise enough for calibration.
Pro Tips for Thermometer Placement
Where you put the thermometer changes everything. For accurate results:
- Place it on the center rack—never touching walls or the door.
- Hang it from a hook (most come with one) so it’s suspended in airflow.
- Avoid spots near heating elements (top/bottom of oven).
Why? Heat rises unevenly. If your thermometer sits too close to the top element, it’ll read hotter than food actually gets. I once tested my oven with the thermometer on the bottom rack—it showed 375°F while the center rack was 350°F. Placement matters!
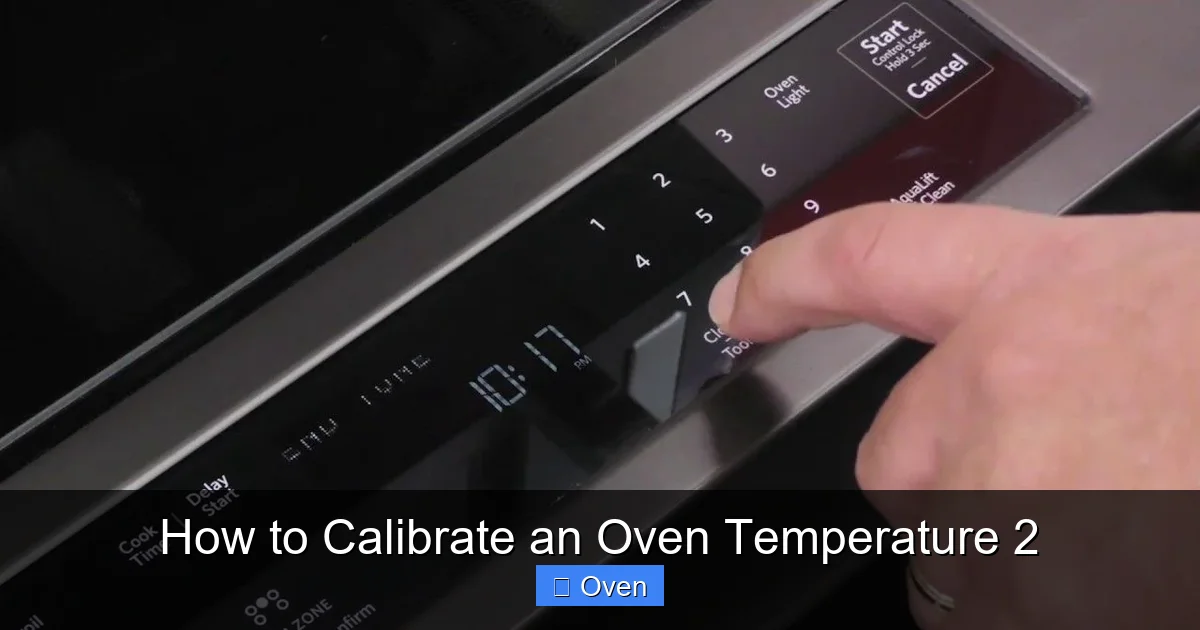
Step-by-Step: How to Test Your Oven Temperature
Ready to see if your oven’s lying? This test takes 30 minutes but saves hours of failed baking. Grab your oven thermometer and let’s go.

Visual guide about How to Calibrate an Oven Temperature 2
Image source: homekitchtech.com
Prep Work: Don’t Skip These Steps
First, clean your oven. Grease buildup affects heat distribution. Wipe racks and interior with a damp cloth (cool oven only!). Next, remove all bakeware—pans and trays create hot spots. Finally, preheat your oven to 350°F for 20 minutes. Why 20? Ovens need time to stabilize. Rushing this gives false readings.
The Actual Test: What to Look For
Once preheated, place your thermometer on the center rack. Close the door and wait 10 minutes—don’t peek! Ovens lose heat fast when opened. After 10 minutes, note the temperature. Is it 350°F? Higher? Lower? Repeat at 400°F and 450°F. Most ovens drift most at high temps (like 450°F for roasting).
Here’s a real example: My oven read 375°F at the 350°F setting. At 400°F, it hit 425°F. That’s why my cookies spread too fast—they were baking at 425°F instead of 400°F!
Interpreting Your Results
Got your numbers? Compare them to your oven’s set temperature:
- Within 10°F: Your oven is fine—no calibration needed.
- 10-25°F off: Time to calibrate (this is most common).
- Over 25°F off: You might need a pro—or your oven’s dying.
Don’t panic if it’s off. Most ovens drift 15-20°F over 5 years. The goal isn’t perfection—it’s consistency.
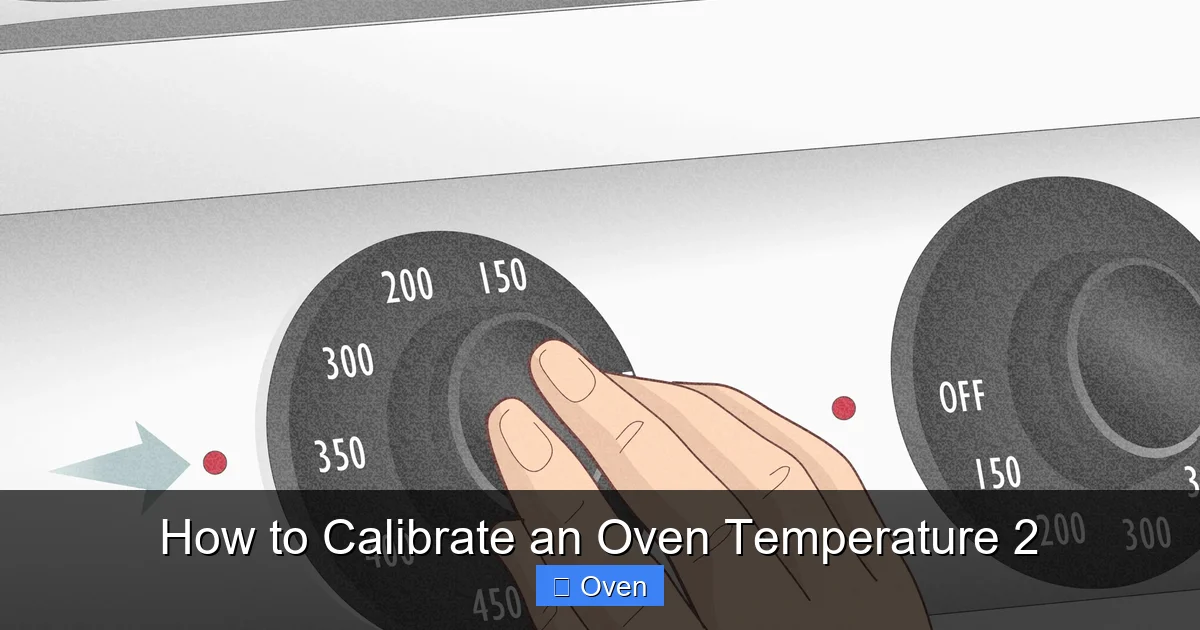
How to Calibrate an Oven Temperature: 3 Methods That Actually Work
Now for the magic: fixing that temperature gap. There’s no universal method—it depends on your oven type. Let’s break it down.
Visual guide about How to Calibrate an Oven Temperature 2
Image source: garynsmith.net
Method 1: The Dial Adjustment (For Older Ovens)
If your oven has a physical dial (common in pre-2010 models), you can tweak it yourself. Here’s how:
- Locate the calibration screw behind the dial. It’s usually a small slotted screw on the back of the control panel.
- Use a screwdriver to turn it clockwise to lower temperature, counterclockwise to raise it.
- Adjust in 5°F increments. Turn 1/8 of a full rotation = ~5°F change.
- Retest with your thermometer after each tweak.
Pro tip: Mark your dial with a sticker after calibrating. I put a tiny dot at “350” so I know where the real 350°F is.
Method 2: Digital Offset (For Modern Ovens)
Many newer ovens (like Samsung or Bosch) have hidden calibration menus. To access:
- Press and hold “Bake” + “Broil” for 3 seconds.
- Enter a code like “0350” to set offset.
- Use +/– buttons to adjust (e.g., +25 if oven runs cold).
Check your manual for exact steps—codes vary by brand. If you can’t find it, search “[Your Oven Model] calibration mode”.
Method 3: The Workaround (When You Can’t Adjust)
Stuck with an oven that won’t calibrate? Adjust recipes instead:
- If your oven runs hot: Reduce recipe temp by 25°F.
- If it runs cold: Increase temp by 25°F.
- Always use your oven thermometer to verify.
For example, if your oven reads 375°F at 350°F setting, bake cookies at 325°F instead of 350°F. Works like a charm!
Gas vs. Electric Ovens: Calibration Differences You Must Know
Gas and electric ovens heat differently—so calibration isn’t one-size-fits-all. Ignoring this leads to frustration.
Gas Oven Calibration Quirks
Gas ovens use flames that can shift position over time. If your oven runs hot:
- Check the air shutter near the burner. A clogged shutter makes flames too yellow (hotter).
- Adjust the shutter screw to get a blue flame (ideal heat).
- Clean burner ports with a needle if clogged.
I had a gas oven that ran 40°F hot because the shutter was stuck open. A 5-minute fix!
Electric Oven Calibration Tips
Electric ovens rely on heating elements. If they’re weak or misaligned:
- Look for “cold spots”—areas where elements don’t glow red.
- Replace faulty elements (YouTube has great tutorials).
- Ensure racks aren’t blocking element paths.
Pro tip: If your oven runs cold, the bottom element might be failing. Test by setting to 400°F—if only the top heats, the bottom element needs replacing.
Maintaining Accuracy: How Often to Recalibrate & Pro Tips
Calibrating once isn’t enough. Ovens drift with use—here’s how to stay on track.
The Calibration Schedule
Check your oven quarterly. Why? Sensors degrade, grease builds up, and usage patterns change. After moving homes or power surges, test immediately. I calibrate mine every 3 months like clockwork—it takes 20 minutes but prevents so many baking disasters.
5 Signs Your Oven Needs Recalibration
Don’t wait for your thermometer! Watch for:
- Food browning too fast/slow.
- Uneven cooking (e.g., one side burnt).
- Longer cook times than recipes suggest.
- Oven cycling on/off too frequently.
- Smoke or burning smells at normal temps.
My “aha” moment? My roast chicken was always dry. After calibrating, I realized my oven ran 30°F hot—now it’s juicy perfection.
Long-Term Care for Oven Accuracy
Keep your oven honest with these habits:
- Clean spills immediately—they create hot spots.
- Don’t overload the oven; airflow matters.
- Replace oven lights—they can warp temperature readings.
- Use an oven thermometer religiously, even after calibrating.
Bonus: Place a baking stone on the bottom rack. It absorbs and radiates heat evenly, reducing hot/cold zones.
Conclusion: Bake Confidently, Not Casually
There you have it—your complete guide to how to calibrate an oven temperature. It’s not rocket science, but it is kitchen science. That 20-minute test and adjustment can transform your baking from “meh” to “mind-blowing.” No more sunken cakes, no more charcoal cookies, no more guessing.
Remember: Your oven’s dial is a suggestion, not a promise. By using a thermometer, adjusting incrementally, and maintaining regularly, you take control. I’ve seen home bakers go from frustrated to fearless just by nailing this one skill. So grab that thermometer, test your oven today, and taste the difference accuracy makes. Your future perfectly baked self will thank you!
Frequently Asked Questions
How often should I calibrate my oven?
Check calibration every 3 months, or after moving homes, power surges, or noticeable baking issues. Ovens drift gradually, so quarterly tests prevent big gaps.
Can I calibrate my oven without a thermometer?
Not accurately. Visual cues like flame color (gas) or element glow (electric) are unreliable. A $15 oven thermometer is the only trustworthy tool.
Why is my oven temperature inconsistent across racks?
Heat rises, so top racks run hotter. Always bake on the center rack for calibration tests. For multi-rack baking, rotate pans halfway through cooking.
Do self-cleaning ovens need more frequent calibration?
Yes! The extreme heat of self-cleaning cycles can warp sensors. Test calibration 1-2 weeks after a self-clean cycle.
Is it safe to adjust the calibration screw myself?
Yes, if you’re careful. Turn screws slowly in 1/8 rotations. If unsure, consult your manual or call a pro—forcing it can break the dial.
Can humidity affect oven temperature accuracy?
Indirectly. Steam from wet foods can cool the oven cavity, causing the thermostat to overcompensate. Always preheat fully and avoid opening the door frequently.