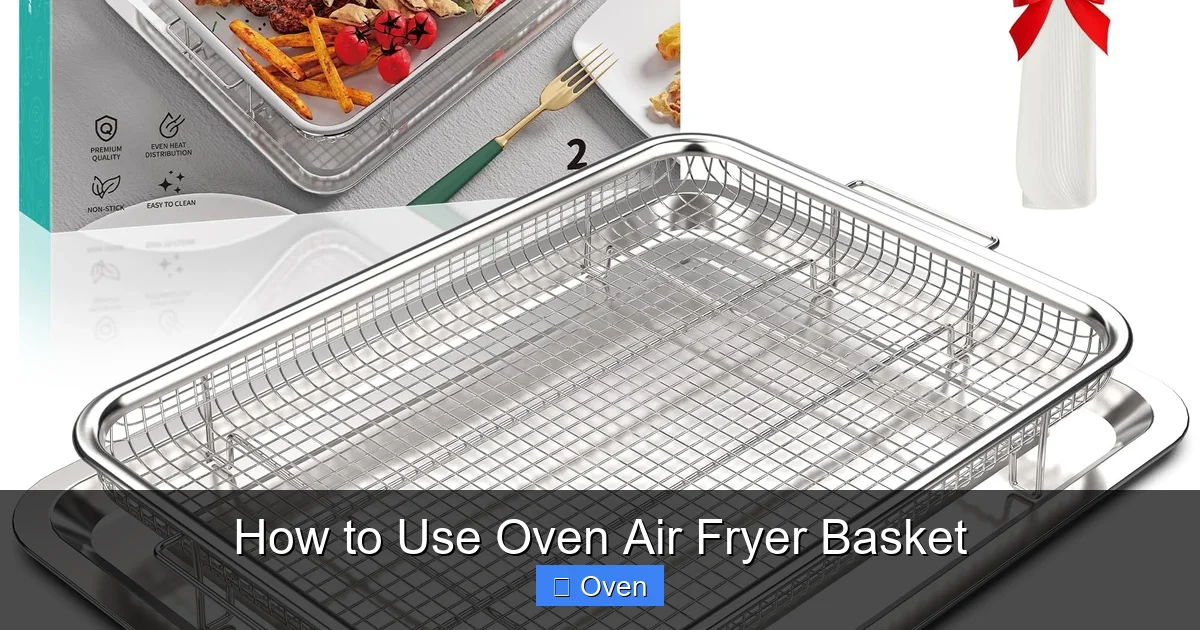
Unlock crispy, healthy meals using your regular oven with an air fryer basket! This simple accessory circulates hot air like a countertop air fryer, transforming soggy baked goods into golden perfection. Learn setup, cooking tricks, and cleaning secrets for effortless results.
Key Takeaways
- Preheat is non-negotiable: Always preheat your oven with the basket inside for even, crispy cooking from the first minute.
- Less oil, more crunch: Use a light spray (1-2 tsp) instead of drenching food – the basket’s design maximizes air flow for natural crispness.
- Shake or flip mid-cook: Stop halfway to rearrange items; this prevents steaming and ensures all sides get evenly crispy.
- Don’t overcrowd the basket: Leave space between pieces for hot air circulation – cook in batches for perfect results.
- Adjust time & temp: Reduce conventional oven temp by 25°F and check food 5-10 minutes early; air frying cooks faster.
- Clean immediately after use: Soak the basket while warm for easy scrubbing; avoid harsh abrasives to protect the non-stick coating.
- Versatility is key: Reheat leftovers, roast veggies, cook frozen foods, and even bake small batches with this one tool.
Quick Answers to Common Questions
Can I put the oven air fryer basket on the bottom rack?
It’s not recommended. The bottom rack is too close to the heating element, causing uneven cooking and burning. Always use the middle rack for optimal air circulation and even results.
Do I need to use oil with the basket?
Yes, but very little! A light spray (1-2 tsp total) on both the food and the basket prevents sticking and promotes browning. Skipping oil often leads to dry, less crispy results.
Can I cook a whole chicken in the oven air fryer basket?
It’s possible for smaller chickens (under 4 lbs), but tricky. Ensure it fits without touching the sides. Cook at 375°F, tent loosely with foil after 30 mins to prevent burning, and use a meat thermometer (165°F internal). A roasting pan is often better for whole birds.
Why is my basket smoking?
Smoke usually means excess oil dripping onto the heating element or food debris burning. Use minimal oil, clean the basket thoroughly after each use, and ensure your oven interior is clean. Reduce temperature if using fatty foods.
Can I use parchment paper or foil in the basket?
Avoid parchment paper – it blocks air flow and prevents crispness. Small pieces of foil *can* be used to shield very delicate areas (like wing tips), but don’t cover the entire basket. The holes need to stay open!
📑 Table of Contents
- Your Oven’s Secret Weapon: The Air Fryer Basket Unveiled
- Why Bother With an Oven Air Fryer Basket? (Spoiler: It’s Awesome!)
- Getting Started: Setting Up Your Oven Air Fryer Basket Like a Pro
- Mastering the Art: Cooking Techniques for Perfect Results Every Time
- Beyond Fries: Delicious Recipes & Food Ideas for Your Basket
- Cleaning & Care: Keeping Your Basket in Top Shape
- Troubleshooting Common Oven Air Fryer Basket Problems
- Conclusion: Your Crispy, Healthy Kitchen Revolution Starts Now
Your Oven’s Secret Weapon: The Air Fryer Basket Unveiled
Ever pulled soggy french fries or limp roasted veggies from your regular oven and wished for that magical air fryer crisp? What if I told you your oven air fryer basket could deliver those same results without buying a bulky new appliance? That’s right – that perforated metal basket collecting dust in your cabinet is your ticket to guilt-free, crispy perfection. Forget complicated gadgets; this simple accessory transforms your standard oven into a powerhouse for quick, healthy cooking.
Unlike countertop air fryers that require precious counter space, the oven air fryer basket slides right into your existing oven. It works by creating a mini convection environment: hot air rapidly circulates *around* your food through the basket’s holes, mimicking the intense, dry heat of a dedicated air fryer. The result? Food cooks faster, gets beautifully browned and crispy on the outside while staying juicy inside, and uses significantly less oil than traditional roasting. Think of it as giving your oven superpowers – no extra electricity, no learning curve, just smarter cooking.
Why Bother With an Oven Air Fryer Basket? (Spoiler: It’s Awesome!)
You might be wondering, “Isn’t my oven already good enough?” While conventional ovens are great for many things, they often struggle with achieving that signature air-fried texture. Here’s why the basket is a game-changer:
Visual guide about How to Use Oven Air Fryer Basket
Image source: ilrorwxhojkili5q.ldycdn.com
The Crisp Factor: Goodbye Sogginess!
Traditional baking can trap steam, leading to soft, unappetizing results. The basket’s open design allows steam to escape instantly. Hot air blasts *all around* your food – top, bottom, and sides – creating an even, shatteringly crisp crust. Imagine biting into a chicken wing with skin so crisp it crackles, roasted Brussels sprouts with caramelized edges, or reheated pizza that tastes *better* than fresh. That’s the magic of the oven air fryer basket.
Speed & Energy Savings: Cook Smarter, Not Harder
Air frying principles mean food cooks 20-30% faster than standard baking. Why? The concentrated, circulating hot air transfers heat more efficiently. Preheating is quicker too, since the basket heats up rapidly with the oven. This translates to lower energy bills and less time waiting for dinner. Need crispy tofu in 15 minutes instead of 30? The basket delivers.
Healthier Results, Naturally
You’ll use minimal oil – often just a light spray (1-2 teaspoons total) – yet achieve deep-fried texture. The basket’s design ensures food doesn’t sit in pooled oil, reducing fat absorption significantly compared to deep frying. Enjoy your favorite indulgences with a fraction of the guilt.
Space-Saving & Budget-Friendly
No need to justify another countertop appliance. This basket costs a fraction of a dedicated air fryer and stores easily in a drawer or cabinet. It’s the ultimate kitchen hack for small spaces or budget-conscious cooks who refuse to compromise on quality.
Getting Started: Setting Up Your Oven Air Fryer Basket Like a Pro
Using the basket isn’t complicated, but skipping these steps guarantees disappointment. Let’s set you up for success:
Visual guide about How to Use Oven Air Fryer Basket
Image source: i.ytimg.com
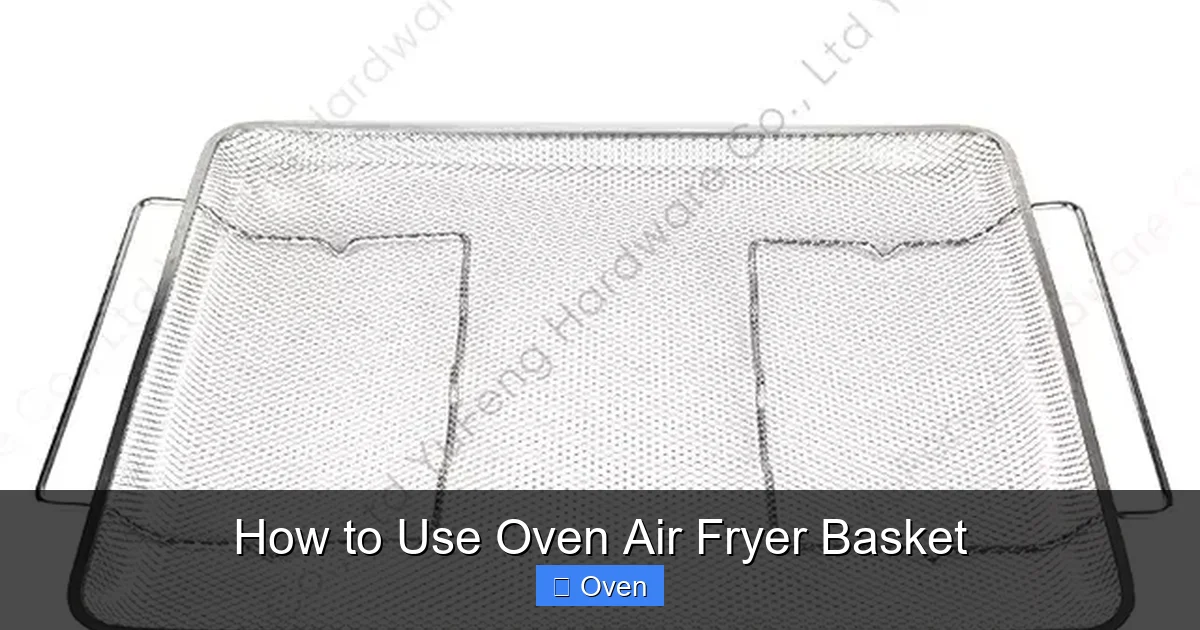
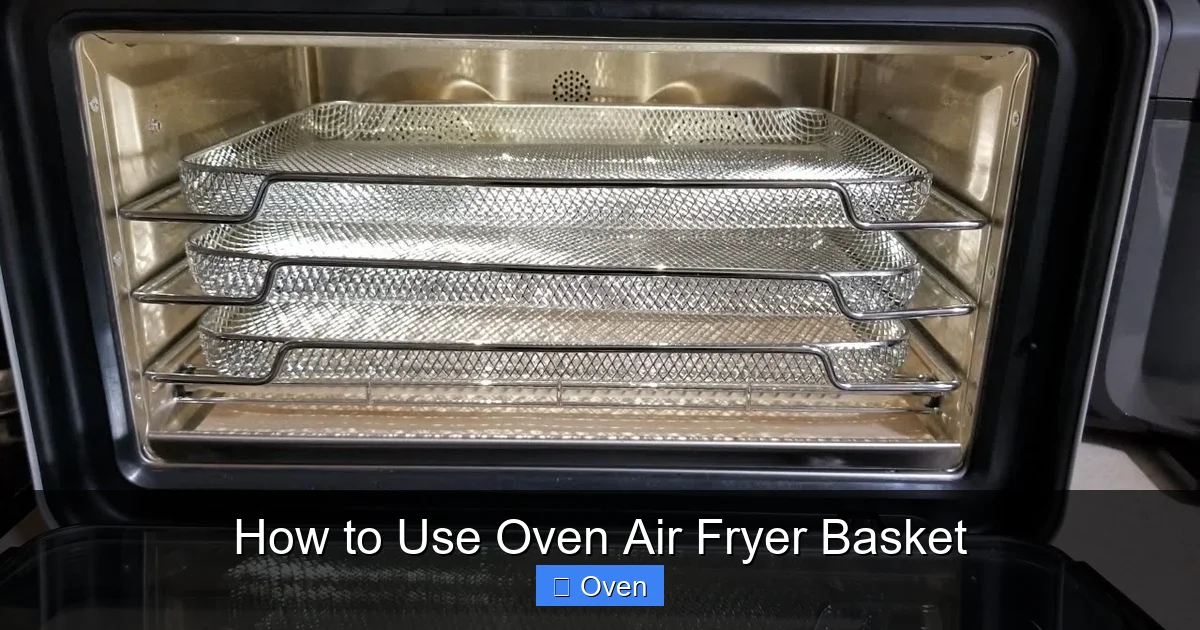
Step 1: Know Your Basket & Oven
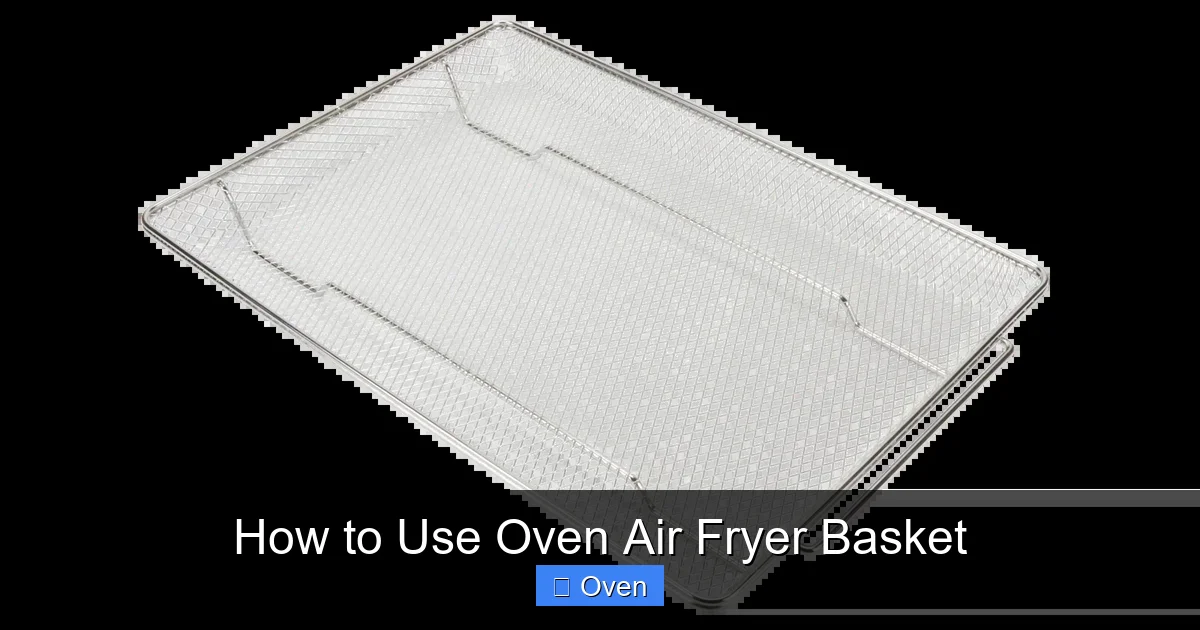
First, identify your basket type. Most are made of durable, non-stick coated steel with a handle. Ensure it fits *comfortably* on your oven rack – there should be at least 1-2 inches of space above and below for air flow. Never force it in! Check your oven manual; some models have specific rack positions ideal for convection (usually the middle rack).
Step 2: The Non-Negotiable Preheat
This is where most people fail. Always preheat your oven WITH THE EMPTY BASKET INSIDE. Place the basket on the correct rack position, then set your oven to the temperature specified in your recipe (usually 375°F-425°F). Let it preheat for the full time (typically 10-15 minutes). Why? A cold basket steals heat from your food, causing uneven cooking and sogginess. Preheating ensures immediate, intense heat hits your food the moment it goes in.
Step 3: Prep Your Food & Basket
While the oven preheats, prep your ingredients. Pat proteins and veggies *thoroughly* dry with paper towels – moisture is the enemy of crispness! For best results, toss food in a *tiny* amount of oil (avocado, canola, or olive oil spray works best) and seasonings. Lightly spray the *inside* of the basket with oil too – this prevents sticking, especially for delicate items like fish or tofu. Avoid using butter or oils with low smoke points (like unrefined olive oil) at high temps.
Step 4: Loading the Basket Correctly
This is crucial: DO NOT OVERCROWD! Arrange food in a single layer with space between pieces. Overloading traps steam, leading to boiled or steamed food, not crispy air-fried goodness. If cooking multiple batches, keep the first batch warm on a baking sheet in a low oven (200°F) while the second cooks. Remember, the basket needs room for air to circulate freely around every piece.
Mastering the Art: Cooking Techniques for Perfect Results Every Time
Now for the fun part – cooking! The principles are simple, but mastering the nuances makes all the difference.
Visual guide about How to Use Oven Air Fryer Basket
Image source: coastappliances.ca
Temperature & Time Tweaks: The Air Fryer Adjustment
When adapting a standard oven recipe for the basket, make these key adjustments:
- Reduce Temperature: Lower the recipe temp by 25°F. Air frying is more efficient, so high heat can easily burn food.
- Reduce Time: Start checking food 5-10 minutes *before* the original recipe’s end time. Most things cook significantly faster.
- Example: A recipe calling for roasted potatoes at 400°F for 30 minutes? Try 375°F for 20-25 minutes in the basket.
Always use an oven thermometer! Oven dials are often inaccurate, and precise temp is vital for air frying success.
The Mid-Cook Shake: Your Secret Weapon
Set a timer for halfway through the estimated cooking time. When it dings, carefully pull out the basket (use oven mitts – it’s HOT!). Shake the basket gently or use tongs to flip/turn each piece. This ensures even exposure to the hot air and prevents one side from burning while the other steams. For delicate items like fish fillets, use a thin spatula to flip carefully. Skipping this step is the #1 reason for unevenly cooked food.
Oil: Less is Definitely More
Remember that light spray? That’s it. Drenching food in oil defeats the purpose and can cause smoking. A fine mist from a spray bottle ensures even, minimal coverage. For very dry foods (like tofu or certain veggies), a *tiny* toss in oil before loading helps seasoning stick and promotes browning. Trust the process – the basket’s design does the heavy lifting for crispness.
Knowing When It’s Done: The Visual & Tactile Cues
Don’t rely solely on timers. Look for:
- Color: Deep golden brown or caramelized edges.
- Texture: Food should feel firm and crisp to the touch (use tongs!).
- Internal Temp: For proteins, use a meat thermometer (chicken: 165°F, burgers: 160°F).
- Sound: Crispy foods often make a slight crackling sound as they cool.
If food looks done but isn’t crispy enough, give it 2-3 more minutes. Better slightly underdone (you can add time) than burnt.
Beyond Fries: Delicious Recipes & Food Ideas for Your Basket
The oven air fryer basket isn’t just for frozen snacks. Unleash its potential with these ideas:
Proteins That Shine
- Chicken Wings: Toss dry wings in baking powder (1 tsp per lb) and salt. Cook at 380°F for 25-30 mins, shaking once. Crispier than deep-fried!
- Salmon Fillets: Pat dry, season, light oil spray. 400°F for 8-12 mins (depending on thickness). Flaky and moist inside, crispy skin.
- Shrimp: Toss with garlic powder, paprika, lemon zest. 400°F for 5-7 mins. Perfectly pink and snappy.
- Tofu: Press extra-firm tofu, cube, toss in cornstarch + spices. 400°F for 15-20 mins, shaking twice. Crisp exterior, tender inside.
Vegetable Victory
- Brussels Sprouts: Halve, toss with balsamic glaze & oil. 400°F for 15-20 mins until charred edges.
- Sweet Potato Fries: Soak cut fries in cold water 30 mins, dry *thoroughly*, toss with oil & spices. 425°F for 15-20 mins, shake once.
- Broccoli: Toss florets with garlic powder & red pepper flakes. 400°F for 12-15 mins until edges are crispy.
- Mushrooms: Whole creminis, tossed in soy sauce & thyme. 380°F for 10-12 mins. Meaty and savory.
Reheating & Small Batch Magic
- Pizza: Single slice at 375°F for 3-5 mins. Crisp crust, melty cheese – no soggy microwave mess!
- Fried Foods: Reheat leftover fried chicken or spring rolls at 350°F for 5-8 mins to restore crispness.
- Small Baked Goods: Make 2-3 muffins or cookies. The basket prevents spreading and ensures even baking.
- Frozen Foods: Follow package temps/times but *reduce by 25°F and check early*. Perfect mozzarella sticks, nuggets, or taquitos.
Cleaning & Care: Keeping Your Basket in Top Shape
A clean basket is a happy basket (and ensures better-tasting food!). Follow these steps:
Immediate Post-Cook Soak
As soon as you remove the basket (carefully – it’s scorching!), place it in your sink. Fill it with *hot* water and a drop of dish soap. Let it soak for 10-15 minutes while you eat. This loosens grease and food particles before they bake on hard.
Gentle Cleaning Techniques
After soaking, use a soft sponge or nylon brush (NEVER steel wool or harsh scouring pads – they ruin the non-stick coating). For stubborn bits, make a paste of baking soda and water, apply, and let sit 5 mins before scrubbing gently. Rinse thoroughly. Avoid soaking for hours – prolonged water exposure can damage the coating over time.
Drying & Storage
Dry the basket *completely* with a towel before storing. Moisture trapped inside can cause rust or mildew. Store it in a dry cabinet or drawer. If stacking, place a paper towel between baskets to prevent scratching. Never put a wet basket away!
Dealing with Stubborn Stains or Odors
For baked-on grease, fill the basket with equal parts water and white vinegar. Bring to a simmer on the stovetop (if the handle is heat-safe) or place in a 200°F oven for 20 mins. Let cool slightly, then scrub gently. Baking soda paste also works wonders on odors.
Troubleshooting Common Oven Air Fryer Basket Problems
Hit a snag? Don’t panic! Here’s how to fix the most common issues:
Problem: Food is Soggy or Not Crispy
Likely Causes & Fixes:
- Overcrowding: Cook in smaller batches. Give food space!
- Insufficient Preheat: Always preheat the *empty* basket with the oven.
- Too Much Moisture: Pat food DRY before cooking. Avoid wet marinades right before baking.
- Not Enough Oil: A light spray is essential for browning and crispness.
- Wrong Temperature: Ensure your oven is actually at the set temp (use a thermometer).
Problem: Food is Burning on the Outside, Raw Inside
Likely Causes & Fixes:
- Oven Temp Too High: Reduce temp by 25°F next time.
- Didn’t Shake/Flip: Always shake or flip halfway through cooking.
- Food Pieces Too Thick: Cut food into uniform, smaller pieces for even cooking.
- Basket Too Close to Heating Element: Use the middle rack position for best air flow.
Problem: Food is Sticking to the Basket
Likely Causes & Fixes:
- Insufficient Oil on Basket: Always give the basket a light spray before adding food.
- Food Not Dry Enough: Pat proteins and veggies meticulously dry.
- Removed Too Early: Let food cook until it naturally releases from the basket (usually 5-10 mins for most items).
- Damaged Non-Stick Coating: If coating is chipped, replace the basket for safety.
Problem: Smoke or Burning Smell
Likely Causes & Fixes:
- Excess Oil Dripping: Use minimal oil. Avoid butter or low-smoke-point oils.
- Food Debris in Basket: Clean the basket thoroughly after *every* use.
- Oven Needs Cleaning: Built-up grease in your oven can smoke. Give it a clean.
- Temp Too High for Food: Reduce temperature, especially for fatty foods like bacon.
If smoking persists, turn off the oven immediately and investigate.
Conclusion: Your Crispy, Healthy Kitchen Revolution Starts Now
That oven air fryer basket isn’t just another kitchen gadget – it’s a transformative tool hiding in plain sight. By harnessing the power of rapid air circulation within your existing oven, it unlocks a world of crispy, delicious, and healthier meals without the cost or clutter of a separate appliance. Remember the golden rules: preheat religiously, don’t overcrowd, shake mid-cook, and use minimal oil. These simple steps turn potential frustration into consistent, mouthwatering success.
Whether you’re craving perfectly roasted vegetables, juicy chicken with crackling skin, or resurrecting leftover pizza, the basket delivers. It saves time, energy, and money while expanding your culinary repertoire. Stop settling for soggy results. Grab that basket, fire up your oven, and experience the joy of effortless, crispy cooking. Your taste buds (and your waistline) will thank you. The journey to your best oven-cooked meals ever begins with one simple slide of that basket onto the rack. Happy air frying!
Frequently Asked Questions
What’s the difference between an oven air fryer basket and a countertop air fryer?
The basket uses your existing oven’s heating elements and convection fan (if available) to create air-frying conditions, while a countertop unit has its own dedicated heating coil and powerful fan in a smaller chamber. The basket is more space-efficient and cost-effective, but countertop models offer slightly faster cook times and more precise control for very small batches.
Can I use the basket for baking cakes or cookies?
It’s not ideal for traditional baking. The intense, dry air can cause cakes to dry out or crack and cookies to spread too much. However, it works great for small batches of items like brownies, muffins, or biscotti where a slightly crisp edge is desirable. Reduce temp by 25°F and monitor closely.
How often should I clean the oven air fryer basket?
Clean it after *every single use*. Grease and food particles bake on harder the longer they sit, making cleaning difficult and potentially causing smoke or off-flavors in future cooking. A quick soak and gentle scrub while warm takes minimal effort.
Is the oven air fryer basket dishwasher safe?
Most manufacturers recommend hand washing only. Dishwashers can degrade the non-stick coating over time due to harsh detergents and high heat. Hand washing with a soft sponge and mild soap preserves the coating’s lifespan significantly.
Can I use the basket with a convection oven?
Absolutely! Convection ovens already circulate air, so the basket enhances this effect beautifully. You might need to reduce the temperature by an additional 10-15°F compared to a standard oven recipe when using the basket in convection mode, as the combination is very efficient.
Why does my food cook faster in the basket than my regular baking sheet?
The basket’s perforated design allows hot air to circulate *all around* the food – top, bottom, and sides – instead of just from the top and bottom like a solid pan. This 360-degree heat exposure significantly speeds up cooking and promotes even browning and crispness.