Skip the thawing! Cook frozen enchiladas directly in your oven for crispy tortillas and perfectly melted cheese every single time. This simple, no-fuss method delivers restaurant-quality results in under an hour, making it the ultimate solution for busy weeknights or last-minute cravings. You’ll get hot, bubbling enchiladas without any soggy disasters.
Key Takeaways
- No Thawing Required: Cook enchiladas straight from the freezer – saves time and prevents texture issues.
- Foil is Your Friend: Cover tightly with foil for the first 2/3 of baking to heat through without drying out.
- High Heat is Key: Bake at 375°F (190°C) to crisp the tortillas and melt the cheese properly.
- Rest Before Serving: Let enchiladas sit for 10 minutes after baking so the filling sets and cheese firms up.
- Customize Easily: Add fresh toppings like cilantro, avocado, or sour cream after baking for extra flavor.
- Avoid Overcrowding: Ensure enchiladas aren’t touching in the dish for even cooking and crispness.
- Check Doneness Visually: Look for bubbling sauce, golden cheese, and slightly crisped tortilla edges.
Quick Answers to Common Questions
Can I cook frozen enchiladas straight from the freezer?
Absolutely! Cooking frozen enchiladas directly from the freezer is not only possible, it’s the recommended method. Thawing first often leads to soggy tortillas and uneven cooking. The oven’s dry heat gently thaws and cooks them perfectly in one step.
Why do my frozen enchiladas get soggy in the oven?
Sogginess usually happens due to overcrowding the dish (enchiladas touching), adding too much extra liquid, underbaking the covered phase (so the frozen center releases excess water as it thaws), or skipping the final uncovered crisp phase to evaporate surface moisture. Ensure proper spacing and follow the timing.
How long do I bake frozen enchiladas covered vs. uncovered?
Bake covered tightly with foil for 25-35 minutes (until the sauce is bubbling vigorously and the filling is hot throughout). Then, uncover and bake for an additional 5-10 minutes (or 2-4 minutes under the broiler) until the cheese is melted and the tortilla edges are golden and crisp.
Can I use a microwave instead of the oven?
While possible, microwaving frozen enchiladas almost always results in soggy, unevenly cooked, and unappetizing results. The microwave steams them rather than baking, destroying the texture. The oven method is significantly superior for quality.
Why is resting for 10 minutes so important after baking?
Resting allows the intensely hot filling to settle and the cheese to set slightly. Cutting into them immediately causes the filling to spill out messily and the cheese to be runny. Resting ensures neat slices and the perfect, cohesive texture in every bite.
📑 Table of Contents
- Why Bother Cooking Frozen Enchiladas in the Oven? (Spoiler: It’s Magic!)
- What You Absolutely Need (It’s Simpler Than You Think)
- Step-by-Step: Cooking Frozen Enchiladas in the Oven (The Foolproof Method)
- Troubleshooting Common Frozen Enchilada Problems (Solved!)
- Level Up Your Frozen Enchiladas: Easy Customizations
- Storing & Reheating Leftovers (Yes, They’re Amazing!)
- Why This Method Beats Every Other Way (The Final Verdict)
Why Bother Cooking Frozen Enchiladas in the Oven? (Spoiler: It’s Magic!)
Let’s be real: frozen enchiladas are a lifesaver. That box tucked away in your freezer? It’s your secret weapon against “what’s for dinner?” panic. But here’s the thing – cooking frozen enchiladas in the oven isn’t just convenient; it’s the only way to get truly great results. Forget soggy tortillas or lukewarm centers. The oven gives you control, even heating, and that irresistible crispy-cheesy top we all crave.
You might be tempted to zap them in the microwave for speed. Don’t. Microwaves steam the enchiladas, turning them into a mushy, sad mess. Boiling them? Disaster waiting to happen – the tortillas fall apart. The oven? It’s your golden ticket. It gently heats the filling from the outside in, crisps the tortilla edges, and melts the cheese into gooey perfection. Plus, it’s incredibly hands-off. Pop them in, set a timer, and you’re free to set the table, make a quick salad, or just sit down for five minutes. Seriously, mastering how to cook frozen enchiladas in the oven is a game-changer for stress-free, delicious meals.
What You Absolutely Need (It’s Simpler Than You Think)
Before you preheat that oven, let’s gather your gear. The beauty of this method is you likely already have everything. No fancy tools required!

Visual guide about How to Cook Frozen Enchiladas in the Oven
Image source: crunchycreamysweet.com
The Right Baking Dish
Size matters! Grab an oven-safe dish that fits your enchiladas snugly but not tightly. A standard 9×13-inch (23×33 cm) glass or ceramic baking dish is perfect for most family-sized frozen enchilada packs (usually 4-6 enchiladas). Why snug? If they’re swimming in a huge dish, the sauce evaporates too fast, drying them out. If they’re crammed together, they steam instead of bake, leading to sogginess. Pro tip: If your dish is slightly too big, lay a strip of foil across the top before adding the enchiladas to create a tighter seal later.
Foil: Your Secret Weapon
Heavy-duty aluminum foil is non-negotiable. You need a piece large enough to cover the dish completely with a good overhang (at least 2-3 inches on each side). This creates a tight seal, trapping steam to heat the frozen filling thoroughly without drying out the tortillas or cheese. Regular foil works in a pinch, but heavy-duty is less likely to tear and provides a better seal. Don’t skip this step – it’s the difference between hot, melty enchiladas and dry, disappointing ones.
Basic Tools
You’ll also need:
- A oven mitt (safety first!)
- A knife and cutting board (for pre-sauce if desired)
- Spatula or tongs (for handling)
- Timer (phone works, but a dedicated one is handy)
That’s it! No special equipment. Just your trusty oven, a dish, foil, and maybe an extra spoon of sauce if your package seems light.
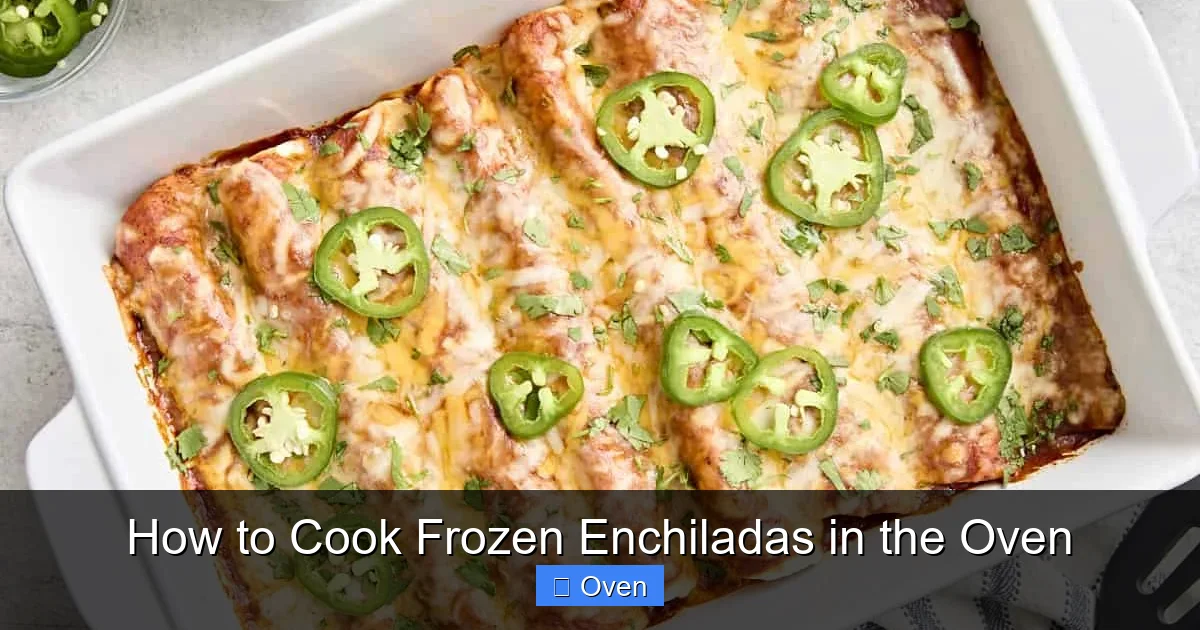
Step-by-Step: Cooking Frozen Enchiladas in the Oven (The Foolproof Method)
Ready for the magic? This method works for any frozen enchilada – chicken, beef, cheese, veggie, red sauce, green sauce. The steps are universal. Let’s get cooking!
Visual guide about How to Cook Frozen Enchiladas in the Oven
Image source: budgetbytes.com
Step 1: Preheat & Prep (5 Minutes)
Turn your oven on to 375°F (190°C). This is the sweet spot – hot enough to crisp and melt, but not so hot it burns the outside before the inside thaws. While the oven heats, take your frozen enchiladas straight from the freezer. Do not thaw them. Thawing leads to soggy tortillas and uneven cooking. If your package includes a separate sauce packet, have it ready. If not, check if there’s sauce already layered in the dish (most frozen enchiladas are pre-sauced).
Step 2: Arrange in the Dish (2 Minutes)
Place the frozen enchiladas seam-side down in your baking dish. They should fit comfortably without overlapping or touching each other. Gaps are good! They allow heat and steam to circulate, ensuring even cooking and preventing sogginess. If your package has extra sauce, spoon it evenly over the top now. If it seems dry, add 1/4 to 1/2 cup of your favorite enchilada sauce (store-bought or homemade) or even some broth or water to keep things moist during baking.
Step 3: Seal Tightly with Foil (1 Minute)
This is CRUCIAL. Cover the dish completely with your heavy-duty foil. Press the foil down firmly around the edges of the dish to create a tight seal. This trapped steam is what gently heats the frozen filling all the way through without drying out the tortillas. A loose foil tent won’t cut it – you need that seal!
Step 4: Bake Covered (25-35 Minutes)
Place the sealed dish on the center rack of your preheated oven. Bake for 25-35 minutes. The exact time depends on your oven and the size/thickness of the enchiladas. Start checking at 25 minutes. You’re looking for the sauce to be bubbling vigorously around the edges and the enchiladas to feel hot when you carefully lift a corner of the foil (use an oven mitt!). The filling should be steaming hot throughout. Do not skip this covered baking phase! It’s what cooks the frozen center.
Step 5: Uncover & Crisp (5-10 Minutes)
Carefully remove the dish from the oven (remember, it’s HOT!). Using oven mitts, peel back the foil (watch for steam!). Now, you have two options for that perfect finish:
- Standard Crisp: Leave uncovered and bake for another 5-8 minutes. Watch closely! You want the cheese to be fully melted and bubbly, and the tortilla edges to turn golden brown and slightly crisp.
- Extra Crisp (Broiler Method): For an even faster, more intense crisp, switch your oven to broil (high). Place the dish back in the oven, uncovered, for 2-4 minutes ONLY. STAND BY THE OVEN! Broiling works fast and can burn in seconds. Remove as soon as the cheese is golden and bubbly.
How do you know they’re done? The sauce should be bubbling, the cheese melted and possibly slightly browned, and the tortilla edges should look set and not pale or doughy.
Step 6: The Essential Rest (10 Minutes)
This step is NON-NEGOTIABLE for perfect texture. Remove the enchiladas from the oven and let them rest, uncovered, for at least 10 minutes before serving. Why? The filling is molten hot inside. Resting allows the heat to distribute evenly, the cheese to set slightly (so it doesn’t slide off when you cut), and the tortillas to firm up. Cutting into them too soon = messy, runny disaster. Trust the rest – it makes all the difference.
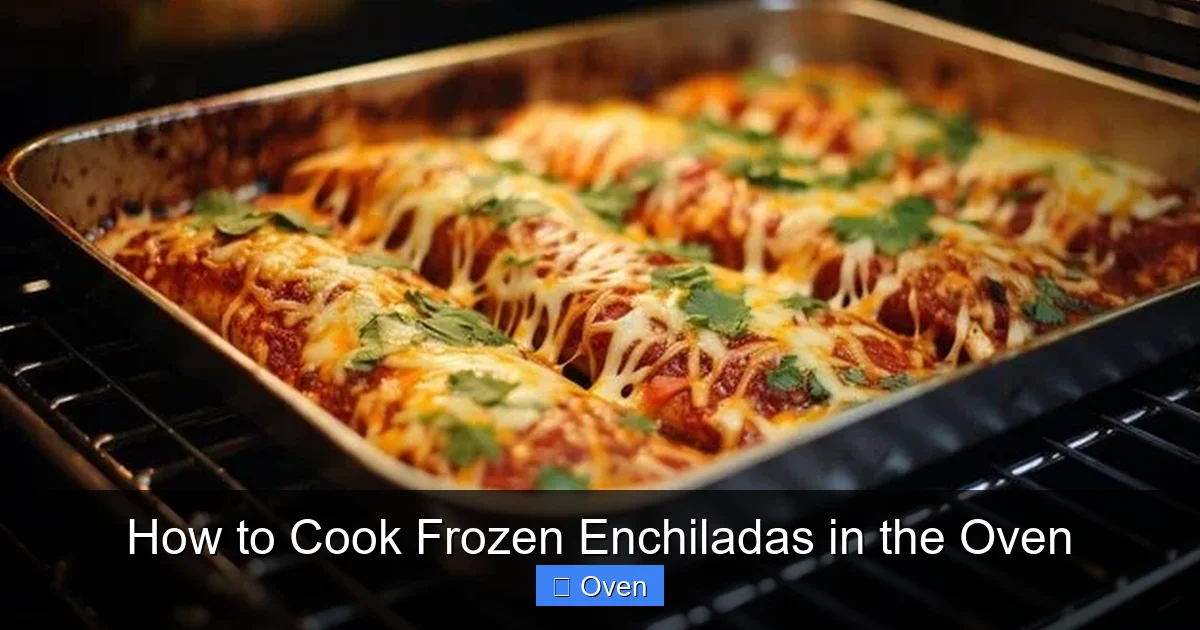
Troubleshooting Common Frozen Enchilada Problems (Solved!)
Even with the best method, things can go sideways. Don’t panic! Here’s how to fix the most common issues when cooking frozen enchiladas in the oven.
Visual guide about How to Cook Frozen Enchiladas in the Oven
Image source: img.freepik.com
Soggy Tortillas? Here’s Why & How to Fix It
Sogginess usually means too much moisture or not enough heat/time to evaporate it. Causes:
- Overcrowding the Dish: Enchiladas touching = steaming, not baking. Always leave space!
- Too Much Added Liquid: Only add extra sauce/broth if the package looks very dry. Start with 1/4 cup max.
- Underbaking (Covered Phase): If the center isn’t fully hot, the frozen filling releases more water as it thaws. Ensure you bake covered long enough (25-35 mins) until bubbling hot.
- Skipping the Uncovered Crisp: The final uncovered bake evaporates excess surface moisture. Don’t skip it!
- Loose Foil Seal: Steam escapes, drying everything out. Always press foil tightly to the dish edges.
- Baking at Too High a Temp: 375°F is ideal. Higher temps (like 400°F+) dry them out fast.
- Baking Uncovered Too Long: The final crisp phase should be just 5-10 minutes, not 20!
- Package Was Naturally Dry: Some frozen brands use less sauce.
- Don’t Shorten the Covered Time: 25-35 minutes is the range for a reason. Larger packs or very cold freezers need the full 35 mins.
- Check Oven Temp: Use an oven thermometer. Many home ovens run cool.
- Ensure Tight Seal: Steam is essential for even heating.
- Use Freshly Shredded Cheese: If adding your own, shred blocks of cheddar, Monterey Jack, or queso fresco. Pre-shredded has starches that inhibit melting.
- Ensure Enough Heat: The uncovered bake phase is crucial for melting. Don’t skip it!
- Add Cheese Later (Rarely Needed): Most frozen enchiladas have cheese inside and sometimes on top. If the top seems bare, sprinkle a little freshly shredded cheese during the last 5 minutes of uncovered baking.
- Cooling Creaminess: A dollop of sour cream or Mexican crema. Swirl it on!
- Bright Freshness: Chopped fresh cilantro, diced red onion, or thinly sliced radishes.
- Creamy Avocado: Sliced avocado, guacamole, or a sprinkle of cotija cheese.
- Zesty Kick: A squeeze of fresh lime juice or a spoonful of pico de gallo.
- Heat Lover? Add pickled jalapeños, hot sauce, or a sprinkle of chili powder.
- Classic Refried Beans: Warm a can with a pinch of cumin and garlic powder.
- Cilantro-Lime Rice: Cook white rice, stir in chopped cilantro and lime zest/juice at the end.
- Simple Salad: Mixed greens with a lime vinaigrette.
- Corn on the Cob: Grill or boil, slather with mayo, cotija, and chili powder (Elote style!).
- Chips & Salsa: Always a crowd-pleaser.
- Taco Tuesday Twist: Serve enchiladas with all the taco toppings – let everyone build their own plate.
- Breakfast for Dinner: Top with a fried egg and serve with hash browns.
- Southwest Salad: Slice enchiladas, chop, and toss into a big salad with corn, black beans, and avocado.
- Wrap individual enchiladas tightly in plastic wrap.
- Place wrapped enchiladas in a large freezer bag, squeezing out all air.
- Label with the date.
- Preheat oven to 350°F (175°C).
- Place enchiladas in an oven-safe dish. Add 1-2 tablespoons of sauce, broth, or water around them to prevent drying.
- Cover tightly with foil.
- Bake for 15-25 minutes, until heated through (165°F internal temp).
- Uncover and bake for 3-5 more minutes to crisp the top if desired.
- Rest for 5 minutes before serving.
- Perfect Texture Guaranteed: Crisp edges, tender tortillas, hot filling, melty cheese – no sogginess, no dryness.
- Unbeatable Convenience: Straight from freezer to oven. Minimal prep, hands-off baking.
- Consistent Results: Oven heat is reliable and even, unlike microwaves or stovetops.
- Customizable & Scalable: Easy to dress up for guests or keep simple for a quick meal. Works for one or a crowd.
- Safe & Reliable: Ensures the frozen filling reaches a safe internal temperature.
Fix: If they’re already baking and seem soggy, uncover them immediately and bake for an extra 5-10 minutes to evaporate moisture. For next time, ensure proper spacing and don’t add unnecessary liquid.
Dry Enchiladas? Don’t Let Them Turn to Dust!
Dryness happens when moisture evaporates too fast before the filling heats through. Causes:
Fix: If they’re drying out mid-bake, carefully add 2-4 tablespoons of sauce, broth, or water around the edges, re-cover tightly with foil, and bake for 5 more minutes. For next time, double-check your foil seal and stick to 375°F.
Filling Not Hot Enough? Safety First!
Frozen food must reach 165°F (74°C) internally to be safe. If the center still feels cold or frozen after the covered bake:
Fix: Re-cover tightly with foil and bake for another 5-10 minutes. Use a meat thermometer inserted into the center of an enchilada to verify it hits 165°F. Never serve undercooked frozen food.
Cheese Not Melting? Beat the Cheese Conundrum
Sometimes cheese (especially pre-shredded) doesn’t melt smoothly due to anti-caking agents.
Fix: If cheese isn’t melting during the uncovered phase, sprinkle a tiny bit of water or broth over it and return to the oven for 2-3 more minutes.
Level Up Your Frozen Enchiladas: Easy Customizations
Your frozen enchiladas are a fantastic base. Transform them from “good” to “wow” with these simple, no-effort upgrades. All happen after baking and resting!
Fresh Toppings: The Flavor Bomb
This is where you shine. Skip the plain plate! Top each serving with:
These fresh elements cut through the richness and add vibrant color and texture. It takes 60 seconds but makes your dish look and taste restaurant-quality.
Sidekick Sides: Complete the Meal
Frozen enchiladas are hearty, but a simple side balances the plate:
Don’t overcomplicate it. One simple side is perfect. The enchiladas are the star!
Make it a Fiesta: Themed Nights
Use your customized enchiladas as the centerpiece for fun themes:
Frozen enchiladas are incredibly versatile. Let your mood (and your fridge contents) guide you!
Storing & Reheating Leftovers (Yes, They’re Amazing!)
Great news: properly cooked frozen enchiladas reheat beautifully. Here’s how to keep them tasting fresh.
Storing for Maximum Freshness
Let leftovers cool completely (about 1-2 hours) before storing. This prevents condensation inside the container, which leads to sogginess. Transfer to an airtight container. You can layer them with parchment paper between layers if stacking. Store in the refrigerator for up to 3-4 days. For longer storage (up to 3 months), freeze them:
Freezing cooked enchiladas is a fantastic way to have a ready-made meal later!
Reheating Like a Pro (Oven Method Preferred)
For the best texture (crisp tortillas, melty cheese), always reheat in the oven, not the microwave.
Microwave Shortcut (Acceptable for One): Place on a microwave-safe plate. Cover loosely with a damp paper towel. Microwave on medium power (50%) for 2-3 minutes, checking and stirring gently halfway. Less ideal texture, but works in a pinch.
Why This Method Beats Every Other Way (The Final Verdict)
Let’s recap why cooking frozen enchiladas in the oven using this method is the undisputed champion:
It’s not just about convenience; it’s about quality. This method respects the frozen product and leverages your oven’s strengths to deliver enchiladas that taste like you spent hours in the kitchen (even though you spent 10 minutes prepping). Ditch the microwave myths and embrace the oven. Your taste buds (and your family) will thank you.
So next time that frozen enchilada box calls your name, remember: preheat to 375°F, seal tight with foil, bake covered until bubbling hot, crisp uncovered briefly, and REST. It’s that simple. You’ve got the foolproof guide to how to cook frozen enchiladas in the oven mastered. Now go enjoy that hot, cheesy, satisfying meal – you’ve earned it!
Frequently Asked Questions
What temperature should I bake frozen enchiladas at?
Always bake frozen enchiladas at 375°F (190°C). This temperature is high enough to crisp the tortillas and melt the cheese effectively, but not so high that it burns the outside before the frozen center heats through. Avoid higher temperatures as they cause drying.
Can I add extra cheese or sauce before baking?
Yes, but sparingly. If the package seems dry, add 1/4 to 1/2 cup of enchilada sauce, broth, or water before covering with foil. For extra cheese, sprinkle freshly shredded cheese (not pre-shredded) during the last 5 minutes of the uncovered baking phase. Avoid overloading, which can cause sogginess.
How do I know frozen enchiladas are fully cooked?
The sauce should be bubbling vigorously around the edges, the cheese should be fully melted and possibly slightly browned, and the tortilla edges should look set and golden. For safety, use a meat thermometer to check that the center of an enchilada reaches 165°F (74°C).
Can I cook frozen enchiladas in a glass dish?
Yes, a 9×13-inch glass baking dish is ideal for cooking frozen enchiladas in the oven. Glass conducts heat evenly and allows you to monitor the cooking progress. Just ensure it’s oven-safe and avoid sudden temperature changes (like placing a hot dish on a cold counter).
Are frozen enchiladas healthy?
Frozen enchiladas vary widely in nutritional content. Check the label for sodium, saturated fat, and calorie counts. You can make them healthier by choosing brands with lean proteins and veggies, adding extra fresh toppings like veggies and avocado, and serving with simple sides like rice or salad instead of heavy refried beans.
Can I freeze cooked leftover enchiladas?
Yes! Cool completely, wrap individual portions tightly in plastic wrap, then place in a freezer bag. Freeze for up to 3 months. Reheat in a 350°F oven, covered with foil and a splash of liquid, until hot throughout (about 20-25 minutes). They reheat very well!