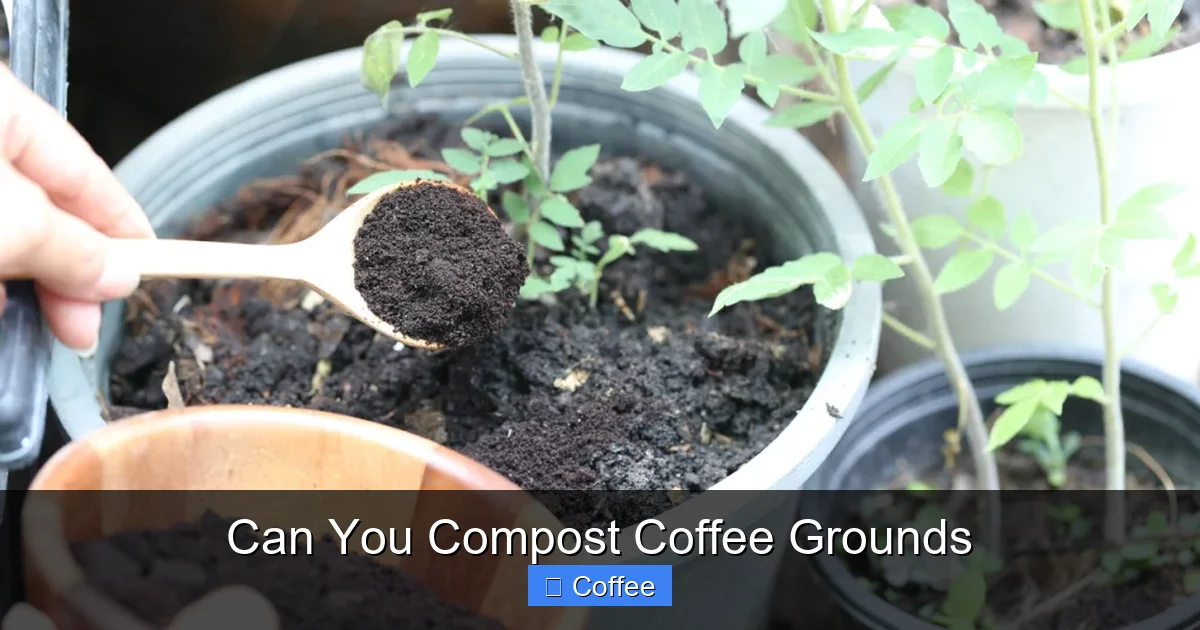
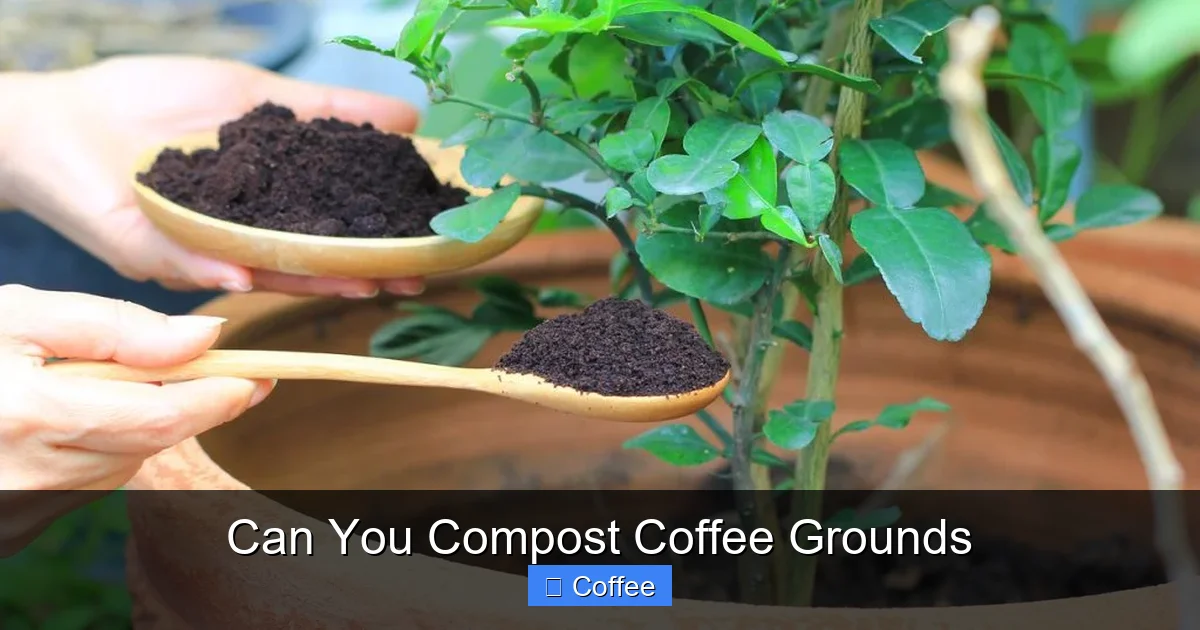
You absolutely can compost coffee grounds—they’re a nitrogen-rich “green” material that supercharges your compost pile! Contrary to myths, they won’t make soil acidic or attract pests when used correctly. Just mix them with “browns” like leaves or cardboard, and you’ll create nutrient-dense compost for your garden in weeks.
Key Takeaways
- Coffee grounds are compost gold: They’re packed with nitrogen (2% by volume), acting as a “green” material that feeds microbes and speeds up decomposition.
- They don’t acidify soil: Despite coffee’s acidity, used grounds are near-neutral (pH 6.5–6.8) and won’t harm most plants when composted properly.
- Balance is critical: Never add more than 20% coffee grounds to your pile—pair them with “browns” like shredded paper or dry leaves to avoid slimy, smelly messes.
- Filters and tea bags work too: Unbleached paper filters and natural-fiber tea bags (remove staples!) compost alongside grounds.
- Pest-repelling perk: Coffee grounds deter slugs, ants, and cats—sprinkle them around seedlings for natural protection.
- Avoid fresh grounds on plants: Direct application can create mold or block water; always compost first for safe soil enrichment.
Quick Answers to Common Questions
Can I compost coffee filters?
Yes! Unbleached paper filters are perfect “browns” for composting. Tear them up and mix with grounds to add carbon and absorb moisture. Avoid bleached or plastic-lined filters.
How much coffee grounds should I add to compost?
Never exceed 20% of your total pile volume. For a standard bin, that’s about 1–2 cups of grounds per 5–6 cups of browns (like leaves or cardboard).
Do coffee grounds attract rodents?
Not if composted correctly. Rodents are drawn to food scraps, not grounds themselves. Always bury grounds under browns and avoid leaving them exposed on soil.
Can I put coffee grounds in a worm bin?
Absolutely! Worms love them. Add a thin layer (max 10% of bin volume) weekly. Avoid citrus or onions, which can harm worms.
How long do coffee grounds take to compost?
In a hot compost pile, they break down in 2–4 weeks. In cold composting or worm bins, it takes 2–3 months. Finished compost is dark, crumbly, and earthy-smelling.
📑 Table of Contents
- Can You Compost Coffee Grounds? The Short Answer Is a Resounding Yes!
- Why Coffee Grounds Are a Compost Superstar (The Science Simplified)
- Busting the Biggest Coffee Ground Composting Myths
- How to Compost Coffee Grounds: Step-by-Step for Beginners
- Troubleshooting Common Coffee Ground Compost Problems
- Beyond Compost: 5 Genius Ways to Use Coffee Grounds in Your Garden
- Conclusion: Your Coffee Habit Just Got Greener
Can You Compost Coffee Grounds? The Short Answer Is a Resounding Yes!
Picture this: You’re savoring your morning brew, then toss the soggy coffee grounds into the trash. Sound familiar? Millions of coffee lovers do this daily, unaware they’re throwing away a free, nutrient-packed compost booster. The truth is, composting coffee grounds isn’t just possible—it’s one of the easiest ways to turn waste into garden gold. Whether you’re a casual coffee drinker or a multi-cup-a-day enthusiast, those spent grounds can transform your compost pile from sluggish to spectacular.
But let’s cut through the noise. You’ve probably heard myths: “Coffee grounds make soil too acidic!” or “They’ll attract rats!” Spoiler: Most of these are outdated or flat-out wrong. Modern composting science shows that used coffee grounds are a near-perfect “green” material—rich in nitrogen, low in moisture, and teeming with microbial life. When balanced correctly, they speed up decomposition, enrich soil structure, and give your plants a slow-release nutrient feast. In this guide, we’ll debunk the myths, share pro tips, and show you exactly how to turn your daily ritual into a win for your garden and the planet.
Why Coffee Grounds Are a Compost Superstar (The Science Simplified)
Let’s geek out for a sec—but keep it simple. Coffee grounds are what composters call a “green” material. That means they’re nitrogen-rich, moist, and full of organic matter microbes love to munch on. Fresh grass clippings and vegetable scraps are other greens. But coffee grounds have special superpowers that make them stand out.
Visual guide about Can You Compost Coffee Grounds
Image source: cdn.diys.com
The Nitrogen Powerhouse
Nitrogen is the engine of your compost pile. It fuels the bacteria and fungi that break down waste into humus—the dark, crumbly stuff that makes soil fertile. Coffee grounds pack a surprising punch: they contain about 2% nitrogen by volume. Compare that to manure (1.5–2.5%) or grass clippings (4–5%), and you see why they’re so valuable. A single cup of used grounds adds roughly 0.2 ounces of nitrogen to your pile—enough to energize decomposition without overwhelming it.
Here’s the kicker: Coffee grounds also have a near-ideal carbon-to-nitrogen (C:N) ratio of 20:1. For context, the “sweet spot” for hot composting is 25–30:1. That means they’re slightly nitrogen-heavy but still balanced enough to work seamlessly with carbon-rich “browns” like dried leaves or shredded cardboard. No fancy calculations needed—just mix 1 part grounds with 3–4 parts browns, and you’re golden.
Microbial Magic in Every Grain
Ever wonder why coffee smells so earthy when it’s brewing? That’s microbes at work! Used coffee grounds are teeming with beneficial bacteria and fungi—the same tiny workers that power your compost pile. When you add them to your bin, you’re essentially “seeding” it with decomposers. Studies show coffee grounds can increase microbial activity by up to 30%, helping your pile heat up faster and break down tougher materials like twigs or eggshells.
Plus, coffee grounds improve soil structure as they decompose. They’re fine and fluffy, which helps aerate heavy clay soils and retain moisture in sandy ones. Over time, this creates a crumbly, loamy texture that plant roots adore. Think of it as a natural soil conditioner that keeps giving long after the compost is finished.
Busting the Biggest Coffee Ground Composting Myths
Before we dive into how-to tips, let’s tackle the rumors holding you back. Misinformation about coffee grounds is everywhere—but the science tells a different story.

Visual guide about Can You Compost Coffee Grounds
Image source: tipsbulletin.com
Myth #1: “Coffee Grounds Make Soil Acidic”
This is the #1 myth, and it’s completely false. Yes, brewed coffee is acidic (pH 4.8–5.1), but used coffee grounds are nearly neutral—typically pH 6.5–6.8. Why? The acids get extracted into your cup during brewing, leaving the grounds chemically neutral. Research from Oregon State University confirms this: when added to compost, grounds don’t alter soil pH significantly. In fact, they’re safer for acid-loving plants like blueberries than fresh pine needles!
So go ahead—add them to your compost without fear. Your tomatoes, roses, and lettuce won’t mind a bit.
Myth #2: “They Attract Pests Like Rats and Flies”
Not true—if you compost correctly. Coffee grounds themselves aren’t a pest magnet. The problem arises when they’re dumped in a thick, wet layer on top of soil or in a poorly managed pile. This creates anaerobic (oxygen-starved) conditions where fruit flies or gnats might breed. But when mixed into a balanced compost pile with browns? They actually repel pests. Slugs hate the caffeine and coarse texture, ants avoid the grounds, and cats won’t dig in them. One study even found coffee grounds reduced slug damage by 50%!
Bottom line: Proper composting neutralizes any pest risks. Just don’t leave wet grounds sitting exposed on your garden beds.
Myth #3: “They Cause Mold or Slow Down Decomposition”
Only if you overdo it. Coffee grounds are high in moisture and nitrogen, so dumping a whole week’s worth into a small bin without browns can create a slimy, moldy mess. But in balanced proportions? They accelerate decomposition. Their fine particles increase surface area for microbes to work on, and their nitrogen content keeps the pile “cooking.” The key is layering: always cover grounds with dry leaves or shredded paper to absorb excess moisture.
Fun fact: Coffee grounds contain lignin—a compound that breaks down slowly—but microbes in a hot compost pile handle it effortlessly. No special treatment needed!
How to Compost Coffee Grounds: Step-by-Step for Beginners
Ready to turn those soggy leftovers into black gold? It’s easier than you think. Follow these steps, and you’ll have rich compost in 2–6 months.

Visual guide about Can You Compost Coffee Grounds
Image source: aproductivehousehold.com
Step 1: Collect and Store Your Grounds
Don’t toss grounds straight into your outdoor bin—they’ll dry out or get moldy. Instead:
- Use a lidded container: A small ceramic crock, stainless steel bin, or even a repurposed coffee can works. Keep it on your countertop for daily scraps.
- Add filters and tea bags: Toss in unbleached paper filters (they’re carbon-rich “browns”!) and natural-fiber tea bags (remove metal staples first).
- Store smart: If you make multiple cups a day, freeze excess grounds in a bag. They’ll keep for months and won’t smell.
Pro tip: Coffee shops often give away free grounds! Call local cafes—many save them for gardeners. Just ask: “Do you have spent coffee grounds I could take for composting?”
Step 2: Balance Your Pile Like a Pro
This is where most people fail. Coffee grounds are “greens,” but compost needs “browns” too—carbon-rich materials that provide energy and absorb moisture. Aim for a 1:3 ratio (1 part grounds to 3–4 parts browns).
- Best browns to pair with grounds: Shredded cardboard, dry leaves, straw, or torn-up newspaper.
- How to layer: Add a 1-inch layer of grounds, then 3–4 inches of browns. Repeat until your bin is full.
- Avoid these mistakes: Don’t add more than 20% of your pile as coffee grounds. Skip glossy paper, plastic-coated filters, or tea bags with synthetic fibers.
Example: If you have 2 cups of grounds, mix with 6–8 cups of shredded leaves. Turn the pile weekly to aerate it.
Step 3: Choose Your Composting Method
Not all piles are created equal. Here’s how to adapt for your setup:
- Hot composting (fastest results): Ideal for large piles (3x3x3 ft). Coffee grounds help reach 130–160°F, killing pathogens and weeds. Turn weekly—you’ll have compost in 8–12 weeks.
- Cold composting (low effort): For smaller bins or lazy gardeners. Layer grounds with browns, but don’t worry about heating up. Takes 6–12 months but still works great.
- Vermicomposting (worm bins): Worms LOVE coffee grounds! Add a thin layer (max 10% of bin volume) weekly. Avoid citrus or onions though—they upset worms.
No outdoor space? Try a Bokashi bucket! Ferment grounds with bran, then bury the pre-compost in soil.
Troubleshooting Common Coffee Ground Compost Problems
Even pros hit snags. Here’s how to fix the most frequent issues:
Problem: My Pile Smells Like Sewage
This means it’s too wet or lacks oxygen—classic “anaerobic” conditions. Coffee grounds are likely the culprit if you didn’t add enough browns.
- Quick fix: Turn the pile immediately with a pitchfork. Add dry browns (shredded cardboard works fast) until the smell fades.
- Prevention: Always cover fresh grounds with browns. If your pile’s soggy, drill holes in the bin for drainage.
Don’t panic—this is fixable in 24–48 hours!
Problem: It’s Not Breaking Down
Slow decomposition usually means low nitrogen or cold temps. Coffee grounds can help—but only if added correctly.
- Boost nitrogen: Add more greens like fruit scraps or fresh grass clippings.
- Insulate the pile: Cover it with a tarp or straw bales to retain heat.
- Chop materials: Smaller pieces decompose faster. Run coffee grounds through a food processor if they’re clumping.
If it’s winter, patience is key—composting slows below 50°F.
Problem: Mold or Fungus Appearing
White mold is usually harmless (it’s just fungi doing its job), but black or green mold means trouble.
- Safe mold: White, fluffy growth? Turn the pile—it’s normal.
- Harmful mold: Fuzzy black/green spots? Remove affected material and add browns to dry it out.
- Prevention: Never let grounds sit wet on the surface. Always bury them under browns.
When in doubt, trust your nose. If it smells earthy, it’s good. If it reeks, fix the balance.
Beyond Compost: 5 Genius Ways to Use Coffee Grounds in Your Garden
Composting isn’t the only trick up coffee grounds’ sleeve. Try these clever hacks:
1. Direct Soil Amendment (Sparingly!)
While fresh grounds shouldn’t be dumped thickly on soil (they can form a water-repellent crust), a light sprinkle mixed into planting holes works wonders. For roses or azaleas, blend 1/4 cup grounds into the soil when transplanting. The slow-release nitrogen feeds roots without burning them.
2. Natural Pest Deterrent
Sprinkle dry grounds around seedlings to repel slugs, snails, and ants. The caffeine and coarse texture irritate their soft bodies. For cats digging in flower beds, a ring of grounds creates a barrier they won’t cross. Reapply after rain!
3. Fertilizer for Acid-Loving Plants
Remember that pH myth? While grounds won’t acidify soil, they’re perfect for plants that thrive in slightly acidic conditions—like blueberries, hydrangeas, or gardenias. Mix 1/2 cup into the top inch of soil monthly during growing season.
4. Boost Your Lawn
Tired of yellow grass? Coffee grounds are a gentle, slow-release fertilizer. Spread 1–2 cups per 100 sq ft of lawn, then water lightly. The nitrogen green-ups grass without the chemical burn of synthetic fertilizers.
5. Worm Bin Superfood
Red wigglers go crazy for coffee grounds! Add a thin layer (no more than 10% of bin volume) weekly. It speeds up vermicomposting and creates “worm castings”—the ultimate plant superfood.
Warning: Never use fresh grounds as mulch. They compact when wet, blocking air and water. Always compost first or mix lightly into soil.
Conclusion: Your Coffee Habit Just Got Greener
So, can you compost coffee grounds? Absolutely—and you should. It’s a simple, science-backed way to slash waste, enrich your soil, and close the loop on your daily ritual. No more guilt about tossing those soggy leftovers; instead, you’re fueling a cycle that turns trash into treasure. Remember: balance is everything. Pair your grounds with browns, avoid overloading your pile, and watch as microbes work their magic.
This isn’t just about composting—it’s about rethinking waste. Every cup you brew can nurture your garden, deter pests, and build healthier soil for future harvests. Start small: save one day’s grounds, mix them with shredded paper, and toss them in your bin. In weeks, you’ll see the difference. Your plants will thank you, your wallet will thank you (goodbye, store-bought fertilizer!), and the planet will breathe a little easier. So grab that coffee can, fill it with grounds, and join the millions of gardeners turning java into jungle. Your compost pile—and your garden—will never be the same.
Frequently Asked Questions
Are coffee grounds good for all plants?
Coffee grounds work well for most plants when composted first, but avoid direct application on seedlings or delicate herbs. They’re especially beneficial for nitrogen-hungry plants like tomatoes, corn, and leafy greens.
Can I use coffee grounds as fertilizer without composting?
It’s not recommended. Fresh grounds can form a water-repellent crust, promote mold, or temporarily tie up nitrogen in soil. Always compost them first for safe, balanced nutrition.
Do coffee grounds kill weeds?
Not reliably. While some gardeners use them as a mulch barrier, studies show they don’t suppress weeds effectively. For weed control, stick to landscape fabric or thick organic mulch like wood chips.
Can I compost coffee grounds from a Keurig?
Only if the pod is compostable! Most plastic K-Cups aren’t suitable. Remove coffee from reusable metal mesh filters first, then compost the grounds and filter.
Why do my coffee grounds smell bad in compost?
Foul odors mean your pile is too wet or lacks oxygen. Turn it immediately and add dry browns like shredded cardboard. Properly balanced piles smell earthy, not sour.
How often should I add coffee grounds to my compost?
Add them as you collect them—daily or weekly is fine. Just ensure each addition is covered with 3–4 times as much brown material to maintain balance and prevent smells.