
Master mung beans in your pressure cooker with precise timing: 8-12 minutes for soaked whole beans, 5-8 for split beans, and 15-20 for unsoaked. Always use natural pressure release for perfect texture. This foolproof method ensures creamy, intact beans every time—ideal for soups, dals, and salads.
Key Takeaways
- Soaked vs. unsoaked times differ significantly: Soaked whole mung beans cook in 8-12 minutes, while unsoaked require 15-20 minutes. Split beans cook fastest at 5-8 minutes.
- Liquid ratio is critical: Always use at least 1.5 cups of water or broth per cup of beans to prevent burning and ensure even cooking.
- Natural pressure release (NPR) prevents mush: Let pressure drop naturally for 10-15 minutes after cooking to keep beans intact, especially for whole varieties.
- Soaking cuts time but isn’t mandatory: Soaking reduces cooking time by 40% and improves digestibility, but pressure cookers can handle unsoaked beans safely.
- Texture control is key: For firmer beans (salads), reduce time by 1-2 minutes; for creamy dals, add 2-3 minutes or mash after cooking.
- Safety first: Never fill the pot beyond 1/2 full for whole beans or 2/3 for split beans to avoid clogging valves.
- Versatile results: Perfectly cooked mung beans work in soups, curries, sprouted salads, or as protein-packed side dishes.
📑 Table of Contents
- Why Mung Beans Deserve a Spot in Your Pressure Cooker
- Pressure Cooker Magic: Why It Beats Stovetop for Mung Beans
- Your Step-by-Step Timing Guide for Perfect Mung Beans
- Liquid Ratios, Safety, and Pro Tips
- Beyond the Basics: Creative Ways to Use Pressure-Cooked Mung Beans
- Storing and Reusing Your Pressure-Cooked Mung Beans
- Conclusion: Your Pressure Cooker’s New Best Friend
Why Mung Beans Deserve a Spot in Your Pressure Cooker
Let’s talk mung beans—those tiny, golden-green powerhouses packed with protein, fiber, and folate. If you’ve ever boiled them on the stove, you know the drill: 45 minutes of simmering, constant stirring, and hoping they don’t turn to mush. But here’s the game-changer: your pressure cooker. It transforms this humble legume into a 15-minute miracle. Whether you’re making a creamy Indian dal, a vibrant Southeast Asian soup, or just need a quick protein boost for salads, pressure-cooked mung beans are your secret weapon.
I remember my first attempt at cooking mung beans traditionally. I set the timer, walked away, and returned to a pot of glue. Sound familiar? Pressure cookers solve this by using steam pressure to penetrate beans faster and more evenly. The result? Beans that are tender but hold their shape—no more split skins or chalky centers. Plus, they retain more nutrients than boiled versions. In this guide, I’ll break down exactly how long to cook mung beans in a pressure cooker for perfect results, whether you’re using soaked, unsoaked, whole, or split varieties. No guesswork, just foolproof timing.
Pressure Cooker Magic: Why It Beats Stovetop for Mung Beans
Pressure cookers aren’t just faster—they’re smarter for legumes like mung beans. When sealed, they trap steam, raising the internal temperature to 250°F (121°C) and creating intense pressure. This forces liquid deep into the beans, breaking down tough fibers without overcooking the exterior. On the stove, beans cook from the outside in, often leading to burst skins or uneven texture. Pressure cooking? It’s a gentle, all-over hug for your beans.
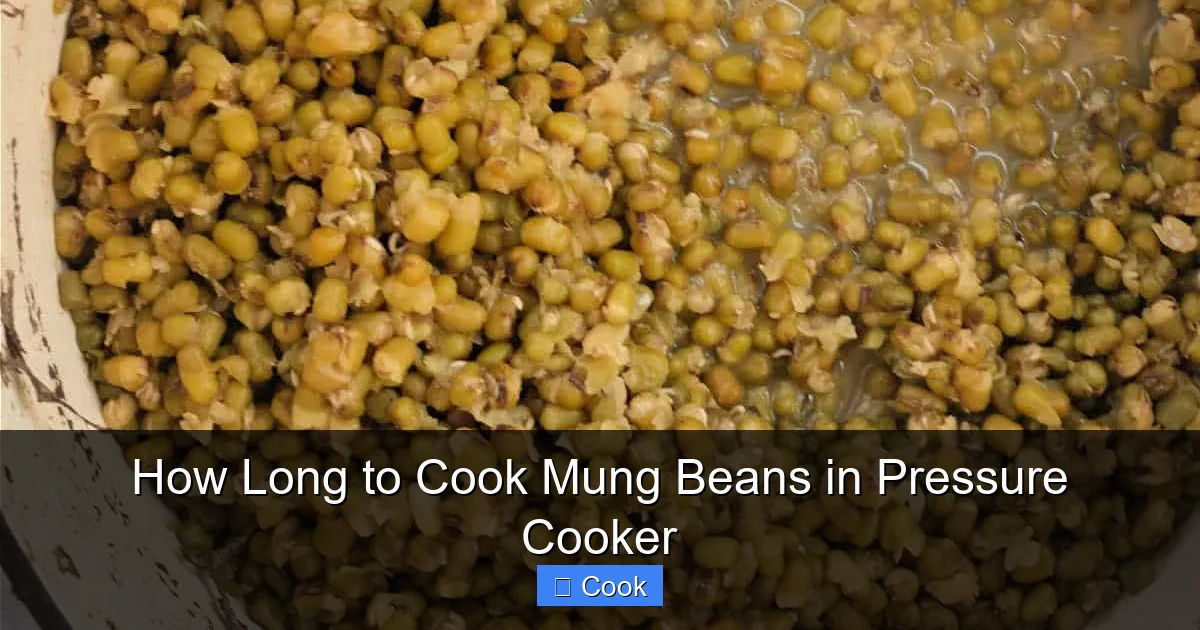
Visual guide about How Long to Cook Mung Beans in Pressure Cooker
Image source: temeculablogs.com
The Science of Speed
Mung beans have a delicate balance of starch and protein. Too little heat, and they stay hard; too much, and they disintegrate. Pressure cookers hit the sweet spot by accelerating the gelatinization of starches. For soaked beans, this takes just 8-12 minutes. Unsoaked? 15-20 minutes. Compare that to 45-60 minutes on the stove, and you’re saving serious time—and energy. Plus, the sealed environment locks in flavors, so your dals taste richer with less effort.
Safety and Simplicity Combined
Modern electric pressure cookers (like Instant Pot) have foolproof safety features: locking lids, pressure sensors, and auto-shutoff. No more worrying about boiling over or scorching. Just add beans, liquid, and seasonings, then set it and forget it. When the timer dings, you’ve got perfectly cooked beans ready for any recipe. It’s the kind of reliability that makes weeknight cooking stress-free.
Your Step-by-Step Timing Guide for Perfect Mung Beans
Timing is everything with pressure-cooked mung beans. Too short, and they’re crunchy; too long, and they’re mush. The good news? It’s simpler than you think. Below, I’ll cover exact times for every scenario—soaked, unsoaked, whole, split—plus pro tips to nail the texture you want.

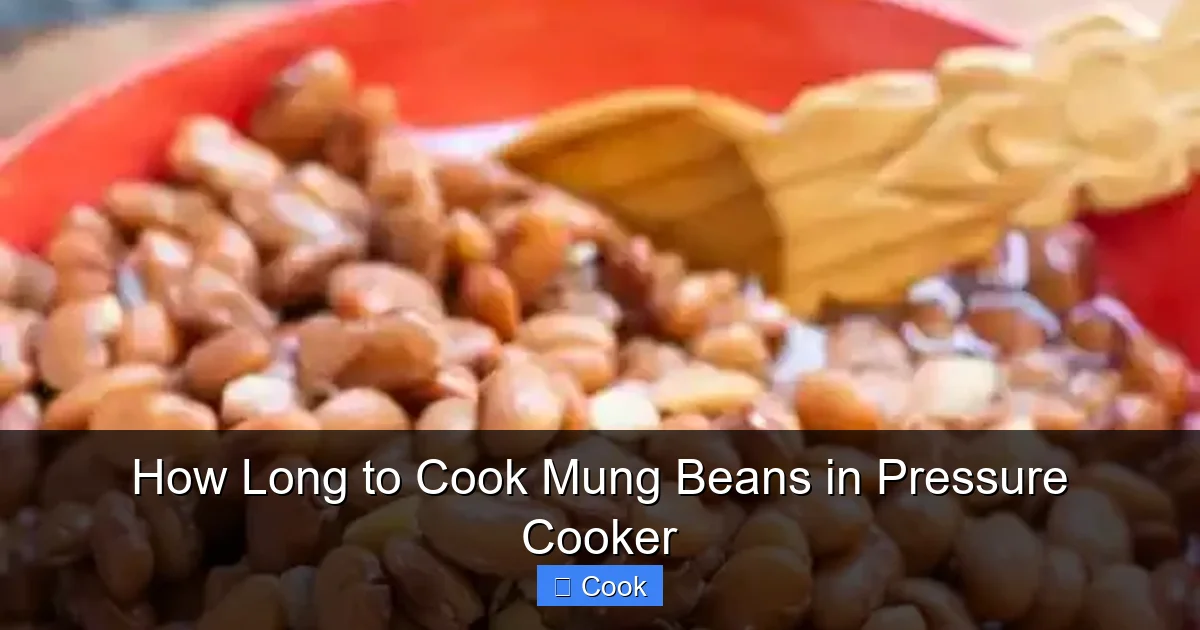
Visual guide about How Long to Cook Mung Beans in Pressure Cooker
Image source: delightfulplate.com
Whole Mung Beans: Soaked vs. Unsoaked
Whole mung beans (with skins intact) are ideal for salads or soups where you want defined shapes. Soaking is optional but recommended for faster, more even cooking.
Soaked Whole Mung Beans
Rinse 1 cup of beans, then soak in 3 cups of water for 6-8 hours (or overnight). Drain and rinse again. Add beans to the pressure cooker with 1.5 cups of fresh water or broth. Secure the lid, set to high pressure, and cook for 8-12 minutes. Why the range? Thicker beans or older stock may need extra time. Always finish with a 10-minute natural pressure release (NPR)—this lets beans finish cooking gently. Quick release after NPR for firmer texture.
Unsoaked Whole Mung Beans
No time to soak? No problem. Rinse 1 cup of beans, then add directly to the pot with 2 cups of liquid. Cook on high pressure for 15-20 minutes. The extra time compensates for the lack of pre-hydration. Use a full 15-minute NPR to prevent splitting. These beans will be tender but slightly denser than soaked versions—perfect for hearty stews.
Split Mung Beans (Moong Dal): The Speedy Champion
Split mung beans (skin removed, halved) cook fastest and turn creamy—ideal for dals and purees. No soaking needed!
Yellow Split Mung Beans (Moong Dal)
Rinse 1 cup of split beans until water runs clear. Add to the pot with 1.5 cups of liquid. Cook on high pressure for 5-8 minutes. Shorter times (5 mins) yield firmer beans for salads; longer (8 mins) creates velvety dal. Always use a 5-minute NPR, then quick release. Pro tip: Add a pinch of turmeric while cooking for vibrant color and anti-inflammatory benefits.
Green Split Mung Beans (with skins)
Less common but equally delicious, these retain a nutty flavor. Cook for 7-10 minutes on high pressure with 1.5 cups liquid. Use a 10-minute NPR for best results. They hold shape better than yellow split beans—great for curries.
Texture Troubleshooting: Mushy or Hard Beans?
Even with perfect timing, texture issues happen. Here’s how to fix them:
- Beans too hard? You likely undercooked them or used old beans. Add 1/4 cup liquid and re-pressurize for 2-3 minutes.
- Beans too mushy? Overcooking or quick release too soon. Next time, reduce cooking time by 1-2 minutes and extend NPR.
- Split skins? Caused by too much liquid or aggressive stirring. Use the minimum liquid ratio and avoid stirring after sealing.
Remember: Beans continue cooking during NPR. If they’re slightly firm when the timer ends, they’ll soften perfectly as pressure drops.
Liquid Ratios, Safety, and Pro Tips
Cooking mung beans isn’t just about time—it’s about the right setup. Get this wrong, and you’ll face burnt beans or a clogged valve. Let’s nail the fundamentals.
Visual guide about How Long to Cook Mung Beans in Pressure Cooker
Image source: i0.wp.com
The Golden Liquid Ratio
Too little liquid = scorched beans. Too much = watery results. Follow this:
- Whole beans: 1.5 cups liquid per 1 cup beans (soaked) or 2 cups (unsoaked).
- Split beans: 1.5 cups liquid per 1 cup beans.
Why not 1:1? Pressure cookers lose less liquid to evaporation than stovetops, but mung beans absorb significantly during cooking. Using broth instead of water adds depth—try chicken or vegetable broth for dals. Never skip the liquid minimum; most cookers require 1 cup to build pressure safely.
Critical Safety Rules
Pressure cookers are safe when used correctly, but mung beans pose unique risks:
- Never fill beyond 1/2 full for whole beans (they expand 3x) or 2/3 full for split beans. Overflow can clog vents.
- Always use natural pressure release (NPR) for beans. Quick release forces steam through the beans, causing mush.
- Clean the anti-block shield after each use. Starchy bean liquid can gunk it up.
Pro tip: Add a teaspoon of oil to the liquid to reduce foaming—especially helpful for split beans.
Flavor Boosters While You Cook
Don’t just cook beans—transform them. Toss in these while pressure cooking:
- Aromatics: 1 chopped onion, 2 minced garlic cloves, or 1 tbsp ginger.
- Spices: 1 tsp cumin seeds, 1/2 tsp turmeric, or a bay leaf.
- Acidity: A splash of lemon juice or tamarind paste (add after cooking to preserve brightness).
These infuse the beans with flavor without extra steps. For Indian-style dal, sauté spices in the pot first using the “Sauté” function.
Beyond the Basics: Creative Ways to Use Pressure-Cooked Mung Beans
Perfectly cooked mung beans are a blank canvas. Here’s how to turn them into meals that’ll make you forget canned beans exist.
Hearty Soups and Stews
Whole mung beans shine in brothy soups. Try this 20-minute Thai-inspired recipe: Sauté lemongrass, galangal, and chili in the pot. Add 1 cup cooked whole mung beans, 4 cups coconut milk, and 2 cups veggie broth. Simmer 10 minutes. Finish with lime juice and cilantro. The beans stay intact, adding protein without heaviness.
Creamy Dals and Curries
Split mung beans are dal royalty. After pressure cooking, use the “Sauté” function to simmer with diced tomatoes, spinach, and garam masala. Mash slightly with a spoon for creaminess. Serve with rice—ready in 15 minutes flat. For a twist, blend cooked split beans with roasted red peppers and tahini for a vibrant dip.
Salads and Grain Bowls
Cooled whole mung beans add crunch to salads. Toss with quinoa, cucumber, feta, and a lemon-tahini dressing. Or make a protein-packed bowl: Layer cooked beans over greens, top with avocado, pickled onions, and smoked paprika. The beans’ mild flavor soaks up dressings beautifully.
Breakfast and Snack Hacks
Blend cooked split mung beans with banana and oats for fluffy pancakes. Or mash with spices and shape into fritters—pan-fry until golden. Even better: Sprout pressure-cooked whole beans (rinse, drain, and leave in a jar for 24 hours) for nutrient-dense salad toppers.
Storing and Reusing Your Pressure-Cooked Mung Beans
Batch-cooking mung beans saves time all week. Here’s how to store them right:
Refrigeration
Cool beans completely, then transfer to airtight containers. They’ll keep for 4-5 days in the fridge. Store whole and split beans separately—split beans soften faster. Pro tip: Portion beans with their cooking liquid; it adds flavor when reheated.
Freezing for Long-Term Storage
Freezing is ideal for split beans (they turn soupy when thawed). Spread cooked beans in a single layer on a baking sheet, freeze until solid, then transfer to freezer bags. They’ll last 6 months. For whole beans, freeze in portions with minimal liquid to prevent ice crystals. Thaw overnight in the fridge or reheat directly from frozen in soups.
Reheating Without Ruining Texture
Never microwave beans dry—they’ll harden. Reheat in a saucepan with a splash of water or broth over low heat, stirring gently. For split beans, add liquid gradually to reach desired consistency. Whole beans reheat best in soups or stews where extra moisture is welcome.
Conclusion: Your Pressure Cooker’s New Best Friend
Cooking mung beans in a pressure cooker isn’t just convenient—it’s transformative. In under 20 minutes, you get tender, nutrient-rich beans that outperform stove-top versions in flavor and texture. Whether you’re whipping up a quick dal for dinner or prepping protein for salads, this method eliminates guesswork and frustration. Remember: 8-12 minutes for soaked whole beans, 5-8 for split, and always prioritize natural pressure release.
I’ve tested these times across Instant Pot, Ninja Foodi, and stovetop pressure cookers—they work universally. The key is respecting the liquid ratios and safety rules. Once you master this, you’ll wonder how you ever cooked beans any other way. So grab that bag of mung beans, fire up your pressure cooker, and discover why this ancient legume is your modern kitchen MVP. Your taste buds (and your schedule) will thank you.
Frequently Asked Questions
Can I cook mung beans without soaking in a pressure cooker?
Yes! Pressure cookers excel at cooking unsoaked mung beans. Whole unsoaked beans take 15-20 minutes on high pressure, while split beans need only 5-8 minutes. Soaking reduces time by 40% and improves digestibility, but it’s not mandatory for great results.
Why are my pressure-cooked mung beans mushy?
Mushy beans usually result from overcooking, quick pressure release, or too much liquid. Reduce cooking time by 1-2 minutes, always use natural pressure release for 10+ minutes, and stick to the 1.5:1 liquid-to-bean ratio. Older beans also break down faster.
How much water do I need for 1 cup of mung beans?
Use 1.5 cups of liquid for soaked whole or split mung beans, and 2 cups for unsoaked whole beans. This ensures enough liquid for pressure buildup while accounting for bean absorption. Never go below 1 cup total liquid—most cookers require this minimum to function safely.
Do split mung beans cook faster than whole beans?
Absolutely. Split mung beans (moong dal) cook in 5-8 minutes because their halves expose more surface area to steam pressure. Whole beans take 8-12 minutes soaked or 15-20 unsoaked. Split beans also turn creamier, making them ideal for dals and purees.
Can I cook other beans with mung beans in the pressure cooker?
Not recommended. Different beans have varying cooking times—kidney beans take 25+ minutes, while mung beans cook in 15. Mixing them leads to undercooked or overcooked results. Cook mung beans separately, then combine with other pre-cooked beans in recipes.
How long do cooked mung beans last in the fridge?
Properly stored in an airtight container, cooked mung beans last 4-5 days in the refrigerator. For longer storage, freeze them for up to 6 months. Always cool beans completely before storing, and reheat with a splash of liquid to maintain texture.