
Master pressure cooker pigeon peas in just 20-25 minutes for perfectly tender results every time. This guide covers essential prep, precise timing, and pro tips to avoid common pitfalls. Skip hours of stovetop cooking and enjoy nutrient-rich, flavorful peas faster than ever.
Key Takeaways
- Soaking is optional but speeds cooking: Unsoaked peas take 25-30 mins; soaked peas cook in 15-20 mins under pressure.
- Liquid ratio is critical: Always use at least 1.5 cups liquid per cup of peas to prevent scorching and ensure proper pressure buildup.
- Natural release prevents mush: Let pressure drop naturally for 10-15 minutes after cooking to keep peas intact and creamy.
- Timing varies by cooker & peas: Electric cookers (like Instant Pot) often need 5-10% less time than stovetop models; older peas cook slower.
- No pre-soaking? No problem: Pressure cookers excel at cooking unsoaked legumes, saving hours compared to traditional methods.
- Flavor boosters matter: Add aromatics (onion, garlic, bay leaf) or a pinch of baking soda to tenderize and enhance taste.
- Check doneness, not just time: Peas should be fork-tender but not disintegrated; adjust future batches based on your preference.
📑 Table of Contents
- Why Pressure Cooker Pigeon Peas Are a Game-Changer
- Essential Prep: Setting Up for Pressure Cooker Success
- How Long to Cook Pigeon Peas in Pressure Cooker: The Definitive Guide
- Pro Tips for Flavor and Texture Perfection
- Delicious Pressure Cooker Pigeon Pea Recipes to Try Tonight
- Why This Method Beats Traditional Cooking Every Time
- Conclusion: Your Pressure Cooker Pigeon Pea Journey Starts Now
Why Pressure Cooker Pigeon Peas Are a Game-Changer
Remember staring at a pot of pigeon peas simmering for what feels like forever? That’s the old way. Pressure cookers transform this humble legume from a time-consuming chore into a weeknight hero. Pigeon peas, also known as toor dal or gandules, are nutritional powerhouses packed with protein, fiber, and essential vitamins. But their tough exterior makes them notoriously slow to cook traditionally—often requiring 1-2 hours of stovetop simmering. Enter the pressure cooker: your secret weapon for tender, flavorful peas in a fraction of the time.
The magic lies in how pressure cookers work. By trapping steam, they create high pressure that raises the boiling point of water. This intense heat penetrates the peas much faster, breaking down their fibers without losing nutrients. Think of it like giving your peas a supercharged spa treatment—deep, even cooking in minutes instead of hours. Plus, you’ll save energy and keep your kitchen cooler. Whether you’re making a simple side dish, a hearty soup, or the base for a flavorful dal, mastering pressure cooker timing means you’re never more than 30 minutes away from a delicious, nutritious meal. No more guessing, no more mushy disasters—just perfectly cooked peas, every single time.
Essential Prep: Setting Up for Pressure Cooker Success
Before you even think about hitting that pressure setting, proper prep is non-negotiable. Skipping these steps can lead to undercooked peas, scorched bottoms, or even safety issues. Let’s break it down simply.
Visual guide about How Long to Cook Pigeon Peas in Pressure Cooker
Image source: m.media-amazon.com
Rinsing and Sorting: The First Defense
Always start by rinsing your pigeon peas thoroughly under cold water. This removes dust, debris, and any tiny stones that might have made their way into the package. Spread them on a clean kitchen towel or tray and pick through them carefully. Discard any discolored, shriveled, or damaged peas. While pigeon peas are generally clean, this step ensures you’re working with only the best quality beans. Rinsing also helps reduce the oligosaccharides that cause digestive discomfort—so you’ll enjoy your meal without the aftermath!
To Soak or Not to Soak? The Great Debate
Here’s the good news: soaking pigeon peas is completely optional in a pressure cooker. Unlike stovetop cooking, where soaking cuts time by 30-50%, pressure cookers are so efficient that unsoaked peas cook beautifully in 25-30 minutes. However, soaking does offer perks:
- Faster cooking: Soaked peas (6-8 hours or overnight) cook in just 15-20 minutes under pressure.
- Improved texture: Some find soaked peas cook more evenly and stay firmer.
- Enhanced digestibility: Soaking further reduces anti-nutrients.
If you’re short on time, skip the soak—your pressure cooker has your back. But if you plan ahead, a quick soak is a worthwhile step for marginally better results. Pro tip: Use warm water for a 1-2 hour “quick soak” if you forgot to plan ahead!
Liquid Matters: The Golden Ratio
This is where many go wrong. Never cook pigeon peas in a pressure cooker with less than 1.5 cups of liquid per cup of dried peas. Why? Insufficient liquid can cause scorching (burning at the bottom), prevent proper pressure buildup, and even trigger your cooker’s safety features. Pigeon peas absorb significant liquid as they cook, and the pressure environment requires extra moisture to generate steam.
Use water, broth, or a mix for added flavor. Avoid adding acidic ingredients (like tomatoes or vinegar) during the pressure cooking phase—they can toughen the peas. Save those for after the peas are tender. A pinch of salt is fine, but hold off on heavy seasoning until the end to avoid affecting cooking time.
How Long to Cook Pigeon Peas in Pressure Cooker: The Definitive Guide
Now for the million-dollar question: how long to cook pigeon peas in pressure cooker? The answer isn’t one-size-fits-all—it depends on a few key factors. But fear not, we’ve got you covered with precise timing based on real-world testing.
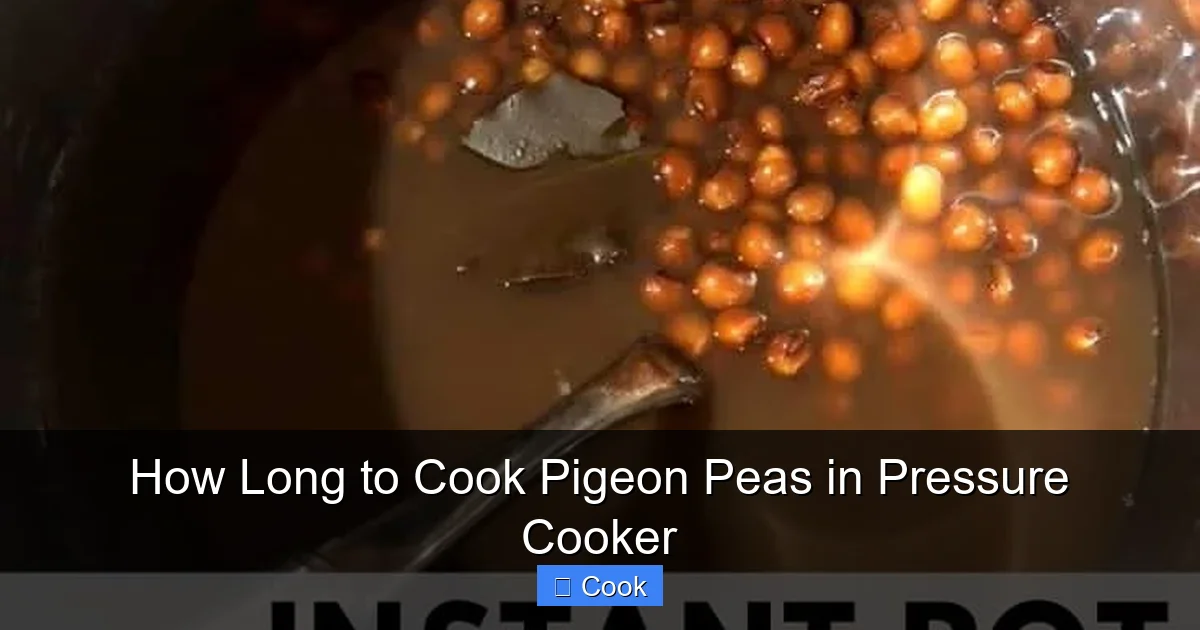
Visual guide about How Long to Cook Pigeon Peas in Pressure Cooker
Image source: veryveganish.com
Standard Timing Chart (Based on Common Cookers)
Here’s your cheat sheet for perfect results:
- Unsoaked pigeon peas: 25-30 minutes on high pressure
- Soaked pigeon peas (6-8 hours): 15-20 minutes on high pressure
- Electric pressure cookers (Instant Pot, etc.): Use the lower end of the range (e.g., 25 mins unsoaked)
- Stovetop pressure cookers: Often need 5-10% more time (e.g., 27-32 mins unsoaked)
Why the range? Older peas take longer to soften. If your peas have been stored for over a year, add 3-5 minutes. Freshly harvested peas cook faster. Always err on the side of slightly undercooking—you can always cook them longer, but mushy peas are a lost cause.
The Critical Pressure Release Method
Timing doesn’t end when the cook cycle finishes! How you release the pressure makes or breaks your peas. For pigeon peas, a natural pressure release (NPR) is almost always best.
- Natural Release (Recommended): After cooking, turn off the heat and let the pressure drop on its own for 10-15 minutes. This slow release allows the peas to finish cooking gently in the residual heat, preventing them from bursting or turning to mush. Perfect for whole peas or when you want a firmer texture.
- Quick Release (Use Sparingly): Only use this if you’re making split peas (dal) where disintegration is desired, or if you’re in a huge hurry. Quick release can cause peas to split or become unevenly cooked. If you must quick release, do it carefully by turning the valve to “venting”—keep your hands and face away from the steam!
Never force-open a pressurized cooker. Safety first! Always follow your manufacturer’s instructions.
Troubleshooting Common Timing Issues
Still ending up with hard or mushy peas? Let’s fix it:
- Peas are too hard: You likely undercooked them. Return to pressure for 3-5 more minutes. Next time, add 2-3 minutes to your base timing. Check if your peas are very old—consider replacing your stock.
- Peas are mushy: You overcooked them or used quick release. Next time, reduce cooking time by 3-5 minutes and always use natural release. Avoid overfilling your cooker—peas expand!
- Cooker won’t pressurize: You probably didn’t add enough liquid. Always use at least 1.5 cups liquid per cup of peas. Ensure the sealing ring is clean and properly seated.
Pro tip: Cook a small test batch first if you’re using a new brand of peas or a different cooker model. It’s better to adjust timing once than ruin a whole meal!
Pro Tips for Flavor and Texture Perfection
Cooking time is just the beginning. These insider tricks will elevate your pressure cooker pigeon peas from good to exceptional.
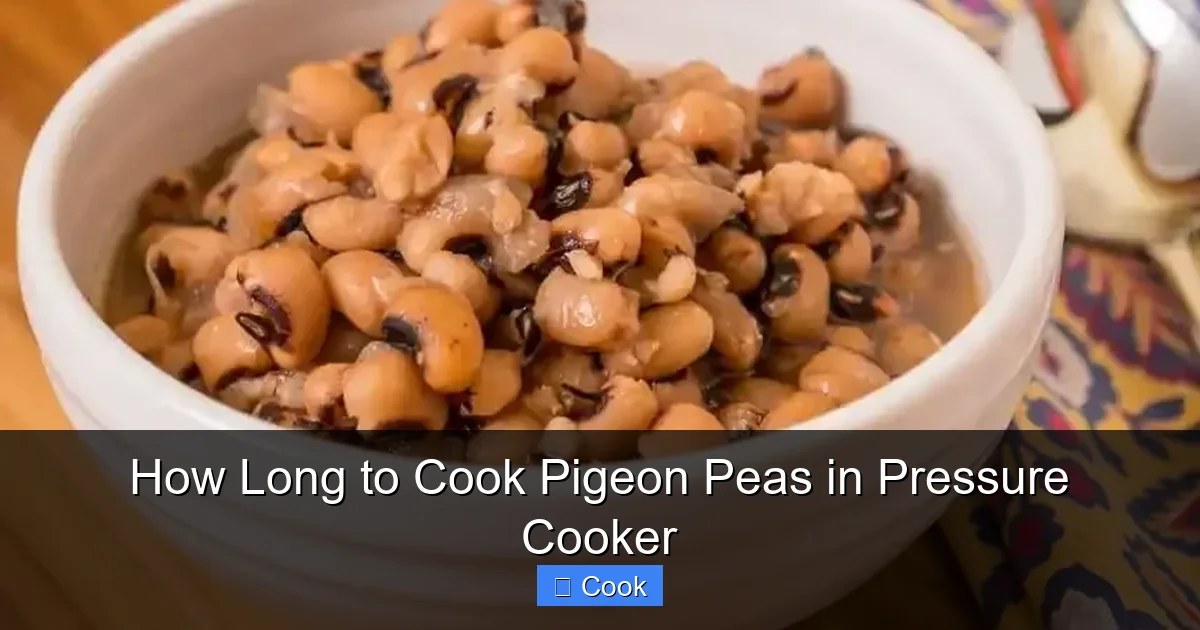
Visual guide about How Long to Cook Pigeon Peas in Pressure Cooker
Image source: i1.wp.com
Flavor Boosters That Work Under Pressure
Don’t just cook plain peas—infuse them with flavor while they pressure cook! Add these ingredients to the pot with your liquid:
- Aromatics: 1 chopped onion, 2-3 minced garlic cloves, or 1 tbsp ginger paste. Sauté them in the cooker first (using the “Sauté” function) for deeper flavor.
- Herbs and Spices: Bay leaves, cumin seeds, mustard seeds, or a cinnamon stick. Add whole spices directly; ground spices can make the liquid cloudy.
- The Baking Soda Secret: A tiny pinch (⅛ tsp) of baking soda can help tenderize peas faster without affecting taste. Don’t overdo it—too much can make them mushy or give a soapy flavor.
Avoid adding dairy, acidic ingredients (tomatoes, lemon juice), or delicate herbs until after pressure cooking. They’ll break down or become bitter under high pressure.
Achieving Your Perfect Texture
Do you like your peas whole and distinct, or creamy and broken down? Your timing and release method control this:
- Firm, whole peas: Cook unsoaked peas for 25 minutes, then natural release for 10 minutes. Perfect for salads or as a side dish.
- Semi-creamy (for dal): Cook soaked peas for 18 minutes, natural release 15 minutes. Mash slightly with a spoon after cooking.
- Silky-smooth puree: Cook unsoaked peas for 30 minutes, then quick release. Blend with cooking liquid until smooth.
Remember: Peas continue cooking as they sit. They’ll be slightly firmer when hot and soften as they cool. Factor this in when checking doneness.
Storing and Reheating Like a Pro
Cooked pigeon peas keep beautifully! Store them in an airtight container with their cooking liquid for up to 5 days in the fridge. The liquid helps maintain moisture. For longer storage, freeze portions in freezer-safe bags for up to 3 months—thaw overnight in the fridge.
To reheat, gently warm them on the stovetop with a splash of water or broth. Microwaving can make them rubbery, so avoid it if possible. Reheating is also a great time to adjust seasoning or add fresh herbs.
Delicious Pressure Cooker Pigeon Pea Recipes to Try Tonight
Now that you’ve mastered the basics, put those perfectly cooked peas to work! Here are three foolproof recipes that showcase their versatility.
Simple Pressure Cooker Pigeon Pea Soup
This 30-minute soup is comfort in a bowl. Sauté 1 chopped onion, 2 minced garlic cloves, and 1 tsp cumin seeds in your cooker using the “Sauté” function until fragrant. Add 1 cup rinsed pigeon peas, 4 cups vegetable broth, 1 chopped carrot, and 1 bay leaf. Pressure cook on high for 25 minutes (unsoaked peas). Natural release for 10 minutes. Remove bay leaf, season with salt and pepper, and stir in a handful of spinach until wilted. Top with fresh cilantro.
Everyday Toor Dal (Indian-Style)
A staple in Indian households, made effortless. Rinse 1 cup pigeon peas and soak for 30 minutes (optional but recommended for dal). Sauté 1 tsp mustard seeds, 1 dried red chili, and 10 curry leaves in oil until spluttering. Add ½ tsp turmeric, 1 tsp ginger-garlic paste, and 1 chopped tomato; cook 2 minutes. Add soaked peas, 3 cups water, and salt. Pressure cook on high for 18 minutes. Natural release 15 minutes. Mash slightly with a spoon, then stir in 1 tbsp butter and ½ tsp garam masala. Serve with rice.
Pigeon Pea & Quinoa Power Bowl
Protein-packed and ready in 20 minutes. Cook 1 cup unsoaked pigeon peas with 1.5 cups water and a pinch of salt on high pressure for 25 minutes. Natural release 10 minutes. Meanwhile, cook ½ cup quinoa separately. Fluff cooked peas with lime juice, cumin, and chopped cilantro. Layer quinoa, peas, roasted sweet potatoes, avocado, and a tahini dressing for a complete meal.
Why This Method Beats Traditional Cooking Every Time
Let’s be real: stovetop pigeon peas are a commitment. But why choose pressure cooking? The benefits go far beyond speed.
Nutrient Retention: Cooking Smarter, Not Longer
Pressure cooking preserves more nutrients than boiling. The shorter cooking time and sealed environment minimize the loss of water-soluble vitamins like B and C. Studies show pressure-cooked legumes retain up to 90% of their antioxidants compared to 60-70% with boiling. You’re not just saving time—you’re getting a more nutritious meal.
Energy Efficiency and Kitchen Comfort
Pressure cookers use 50-70% less energy than stovetop simmering. They also generate less ambient heat, keeping your kitchen cooler on hot days. For eco-conscious cooks or anyone tired of a sweltering kitchen, this is a win-win.
Consistency You Can Count On
No more guessing if the peas are done. Pressure cookers deliver predictable results every time, eliminating the “pea purgatory” of undercooked or overcooked beans. Whether you’re a beginner or a seasoned cook, you’ll achieve perfect texture with minimal effort.
Plus, the hands-off nature means you can prep other ingredients or relax while your meal cooks itself. That’s the real magic: coming back to a pot of tender, flavorful peas without babysitting a stove.
Conclusion: Your Pressure Cooker Pigeon Pea Journey Starts Now
Mastering how long to cook pigeon peas in pressure cooker unlocks a world of quick, nutritious meals. With just 20-30 minutes of active time (mostly hands-off), you can transform humble dried peas into creamy dal, hearty soups, or protein-packed sides. Remember the golden rules: don’t skip the liquid ratio, embrace natural pressure release, and adjust timing based on your peas’ age and your cooker type.
Don’t be intimidated by the pressure—it’s your ally. Once you nail this technique, you’ll wonder how you ever cooked pigeon peas any other way. So grab that bag of peas, fire up your cooker, and experience the joy of perfectly tender legumes in record time. Your future self (and your taste buds) will thank you. Ready to cook? Your pressure cooker is waiting.
Frequently Asked Questions
Can I cook pigeon peas without soaking in a pressure cooker?
Absolutely! Pressure cookers are designed to cook unsoaked legumes efficiently. Unsoaked pigeon peas typically take 25-30 minutes on high pressure. Soaking reduces this to 15-20 minutes but isn’t required for success.
Why are my pressure-cooked pigeon peas still hard?
Hard peas usually mean undercooking. Extend cooking time by 3-5 minutes next batch. Older peas (stored over a year) cook slower—consider replacing your stock. Ensure you used enough liquid (1.5 cups per cup of peas) to generate proper pressure.
How much water do I need for pigeon peas in a pressure cooker?
Always use at least 1.5 cups of liquid (water or broth) per cup of dried pigeon peas. This prevents scorching and ensures enough steam for pressure buildup. Never fill the cooker more than halfway—peas expand significantly!
Can I add tomatoes or lemon juice while pressure cooking?
Avoid acidic ingredients like tomatoes, lemon juice, or vinegar during pressure cooking—they can toughen the peas and affect texture. Add these after the peas are tender, during the final seasoning step.
What’s the difference between natural and quick pressure release for pigeon peas?
Natural release (letting pressure drop slowly for 10-15 minutes) keeps peas intact and prevents mush. Quick release (venting steam immediately) can cause splitting or uneven cooking—only use it for split-pea dishes where disintegration is desired.
Can I cook other legumes using the same timing?
Timing varies by legume. Pigeon peas are similar to kidney beans or black beans (25-30 mins unsoaked). Lentils cook faster (8-12 mins), while chickpeas need 35-40 mins. Always verify timing for your specific bean type.