
Keeping your Ninja Air Fryer Oven’s interior spotless is crucial for preventing smoke, bad odors, and uneven cooking. This guide gives you simple, safe methods using everyday supplies to tackle grease and food splatters without damaging the non-stick coating. Follow these steps after every use for consistently perfect results and a longer-lasting appliance.
Key Takeaways
- Clean Immediately After Use: Wipe the interior while slightly warm (not hot) to prevent grease from hardening and becoming stubborn.
- Avoid Harsh Chemicals & Abrasives: Never use oven cleaner, steel wool, or bleach; they damage the non-stick coating and leave toxic residues.
- Focus on the Drip Tray & Basket: These collect the most grease; clean them thoroughly after every cook to avoid smoke and fire hazards.
- Use Gentle Cleaners: Warm soapy water, baking soda paste, or diluted vinegar are safe and effective for the oven cavity and accessories.
- Never Submerge the Main Unit: The control panel and heating elements must stay dry; only clean removable parts in water.
- Regular Deep Cleaning Prevents Problems: Schedule a deeper clean weekly or bi-weekly to stop baked-on grease buildup that causes smoke.
- Dry Completely Before Reassembly: Trapped moisture can cause rust or electrical issues; always air-dry parts fully.
Quick Answers to Common Questions
Can I use the dishwasher for the basket and drip tray?
Many Ninja models state the basket and drip tray are dishwasher safe, but hand washing is always recommended for longevity. Dishwasher detergents and high heat can degrade the non-stick coating over time. If you do use the dishwasher, place them on the top rack.
How often should I deep clean the inside?
Do a deep clean (using baking soda paste) once a month for regular use, or immediately after cooking very greasy foods like bacon or fried chicken. If you notice light smoke or sticky residue, it’s time for a deep clean.
Is it safe to use vinegar inside the oven?
Yes! Diluted white vinegar (1 part vinegar to 2 parts water) is safe and effective for cutting grease and odors on interior surfaces. Avoid using it undiluted near the heating element housing. Never mix it directly with baking soda for cleaning.
Why does my Ninja smoke even when I clean it?
Smoke usually means grease is still present, especially on the drip tray or near the heating element. Ensure you clean the drip tray thoroughly after every greasy cook. Also, avoid using cooking spray directly on the basket; brush oil onto food instead.
Can I use steel wool on tough grease spots?
Absolutely not! Steel wool or any abrasive scrubber will scratch and destroy the non-stick coating on your basket and drip tray. Always use soft cloths, sponges, or baking soda paste for tough grease.
📑 Table of Contents
- Why Cleaning the Inside of Your Ninja Air Fryer Oven Isn’t Optional (It’s Essential!)
- What You’ll Need: Simple Supplies for a Sparkling Clean
- Step-by-Step: How to Clean the Inside of Your Ninja Air Fryer Oven (The Right Way)
- Tackling Tough Grease & Smoke: Deep Cleaning Strategies
- Your Ninja Air Fryer Oven Cleaning Schedule: Prevention is Key
- What NOT to Do: Common Cleaning Mistakes That Damage Your Ninja
- Conclusion: A Clean Ninja is a Happy (and Healthy) Ninja
Why Cleaning the Inside of Your Ninja Air Fryer Oven Isn’t Optional (It’s Essential!)
Picture this: You just cooked crispy, golden french fries. Delicious! But as you pull them out, you notice a faint, unpleasant smell. Maybe there’s a little smoke. Or worse, your next batch of chicken comes out tasting slightly… off. Sound familiar? This isn’t just annoying – it’s a clear sign your Ninja Air Fryer Oven needs a good clean inside. Ignoring this simple task can turn your favorite kitchen gadget into a source of frustration and even potential safety hazards.
Unlike a traditional oven, the Ninja Air Fryer Oven’s compact, high-heat environment makes grease and food splatters bake on incredibly fast. That splatter from your bacon? It turns into a sticky, smoky residue almost overnight. Neglecting the interior doesn’t just affect taste; it can cause persistent smoke, trigger the smoke detector, reduce cooking efficiency, and even shorten your appliance’s lifespan. The good news? Cleaning the inside is surprisingly easy, quick, and requires minimal effort if you do it regularly. Think of it as essential maintenance, like changing the oil in your car – skip it, and things start to break down. Do it consistently, and you’ll enjoy perfect, smoke-free results every single time. This guide cuts through the confusion and gives you the straightforward, safe methods you need.
What You’ll Need: Simple Supplies for a Sparkling Clean
The beauty of cleaning your Ninja Air Fryer Oven interior is that you likely already have everything you need tucked away in your kitchen. Forget expensive specialty cleaners – harsh chemicals are a big no-no here. They can strip the protective non-stick coating on your basket and drip tray, leaving it vulnerable to rust and making food stick terribly later. Plus, residues could contaminate your food. Stick to these gentle, effective, and safe options:
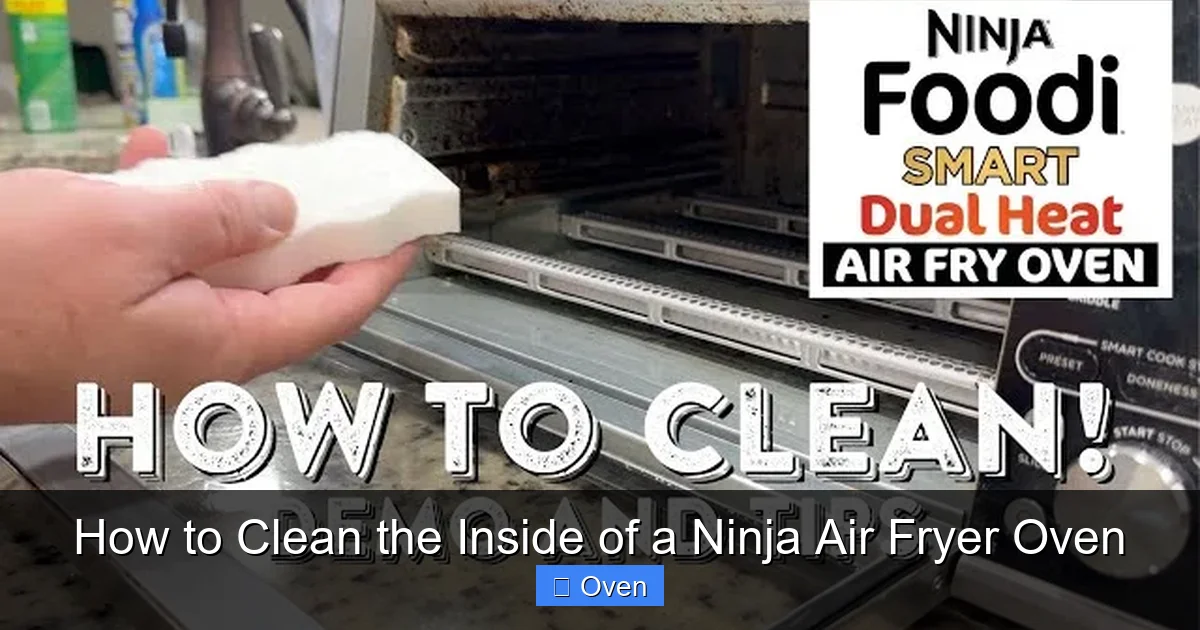
Visual guide about How to Clean the Inside of a Ninja Air Fryer Oven
Image source: i.ytimg.com
Your Cleaning Arsenal: Gentle & Effective
- Warm Water: The foundation of all cleaning. Hot water cuts grease better than cold.
- Mild Dish Soap: A few drops of your regular liquid dish soap (like Dawn or similar) are perfect. Avoid heavy degreasers.
- Soft Sponges or Cloths: Microfiber cloths, non-abrasive sponges (the soft side), or even old cotton t-shirts work great. Crucially, avoid anything scratchy like steel wool, copper scrubbers, or the rough green side of sponges.
- Baking Soda: Your secret weapon for tough, baked-on grease. Makes a gentle, effective paste.
- White Vinegar (Optional but Helpful): Great for cutting through grease and neutralizing odors. Use diluted (1 part vinegar to 2 parts water).
- Soft-Bristled Brush (Optional): A clean toothbrush or dedicated small nylon brush can help get into corners without scratching.
- Dry Towels or Paper Towels: For wiping and drying thoroughly.
What NOT to Use: Protect Your Investment
Resist the urge to grab that oven cleaner spray! Here’s why certain things are off-limits:
- Oven Cleaners, Degreasers, or Heavy-Duty Chemicals: These are far too harsh. They will strip the non-stick coating, leaving it dull and ineffective. Residues are also a health hazard.
- Abrasive Scrubbers (Steel Wool, Copper Pads, Green Scouring Sides): These will scratch the non-stick surface, creating tiny grooves where food and grease can lodge, making future cleaning harder and causing sticking.
- Bleach or Ammonia-Based Cleaners: Can react badly with food residues or other cleaners, produce toxic fumes, and damage surfaces.
- Your Dishwasher (For Most Parts): While the basket and drip tray are often dishwasher safe (check your manual!), the high heat and harsh detergents can degrade the non-stick coating over time. Hand washing is always gentler and recommended for longevity. Never put the main oven unit, control panel, or heating element housing in water!
Stick to the simple list above, and you’ll keep your Ninja performing like new for years.
Step-by-Step: How to Clean the Inside of Your Ninja Air Fryer Oven (The Right Way)
Cleaning the interior isn’t complicated, but doing it correctly matters. The key is timing and technique. Always unplug your Ninja Air Fryer Oven and let it cool down completely before starting any cleaning. Working on a hot unit is dangerous and can warp plastic parts. Once cool, follow these steps for a thorough clean:
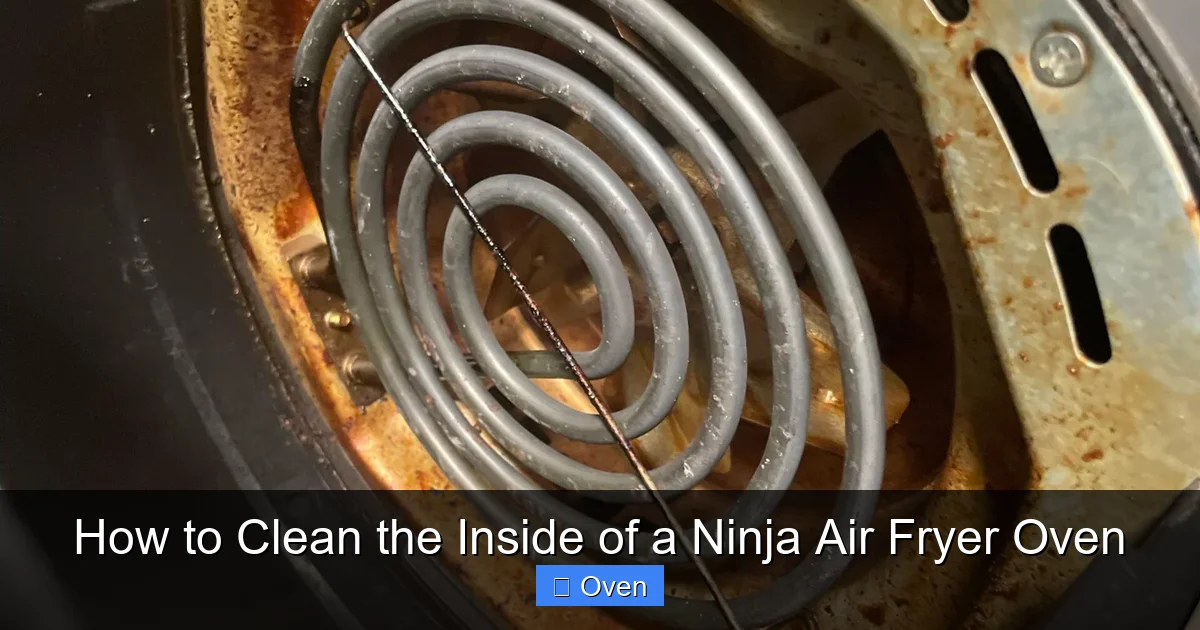
Visual guide about How to Clean the Inside of a Ninja Air Fryer Oven
Image source: howtocleaneasily.com
Step 1: Remove All Removable Parts
Start by taking out everything that comes out of the main cavity. This typically includes:
- The cooking basket (or trays, depending on your model)
- The drip tray (the large pan that sits at the bottom to catch drips)
- Any additional racks or accessories you used (like the broiler pan)
Set these parts aside on a clean towel or in your sink. Leaving them inside while you clean the cavity makes the job harder and risks getting water where it shouldn’t be.
Step 2: Wipe Down the Oven Cavity (The Main Interior)
This is where the magic happens! With the removable parts out, you have clear access to the inside walls, ceiling, and floor of the oven.
- For Light Splatters (After Most Cooks): Dampen a soft microfiber cloth or sponge with warm water. Wring it out well – it should be damp, not dripping wet. Wipe down all interior surfaces: the walls, the top (where the heating element is), and the bottom. Focus on any visible grease splatters or food bits. A quick wipe with warm water often does the trick for everyday messes. Dry immediately with a clean, dry towel.
- For Moderate Grease Buildup: Add a few drops of mild dish soap to your damp cloth or sponge. Wipe the interior surfaces thoroughly. Pay special attention to corners and seams where grease likes to hide. Rinse your cloth well in clean warm water, wring it out, and wipe again to remove any soap residue. Dry completely.
- For Stubborn, Baked-On Grease: This is where baking soda shines. Make a paste by mixing 2-3 tablespoons of baking soda with just enough water to form a thick, spreadable consistency (like toothpaste). Apply the paste directly to the greasy areas using your fingers (wear gloves if you prefer) or a soft cloth. Let it sit for 10-15 minutes – don’t let it dry out completely. Then, gently scrub with a soft cloth, sponge, or soft-bristled brush. The baking soda acts as a gentle abrasive. Wipe away the paste with a damp cloth, then dry thoroughly. For extra tough spots, a *very diluted* vinegar solution (1:2 vinegar to water) can help cut through the grease after the baking soda paste. Spray lightly, let sit 5 minutes, then wipe.
Critical Reminder: Avoid getting excessive water near the heating element housing or the control panel area at the front. Wipe these areas carefully with a barely damp cloth if needed, and dry immediately. Never spray cleaner directly onto the heating element.
Step 3: Clean the Removable Parts (Basket & Drip Tray)
These parts take the brunt of the grease and need the most attention.
- The Drip Tray: This is usually the greasiest part. Scrape off any large food chunks into the trash. Fill your sink with hot, soapy water. Submerge the drip tray and let it soak for 10-15 minutes to loosen grease. Use a soft sponge or cloth to wipe away the softened grease. For baked-on residue, use the baking soda paste method described above. Rinse thoroughly and dry completely before replacing.
- The Cooking Basket (or Trays): Scrape off large debris. Soak in hot, soapy water for 10-15 minutes. Use a soft sponge or cloth to clean the interior and exterior surfaces. Pay attention to the corners and the mesh bottom (if applicable). For stubborn grease inside the basket, the baking soda paste works wonders. Rinse extremely well to ensure no soap or baking soda residue remains, as this can affect taste. Dry completely. While dishwasher safe for many models, hand washing preserves the non-stick coating best.
Pro Tip: If your basket has a non-stick coating, avoid using cooking spray directly on it. Instead, lightly brush oil onto your food. This significantly reduces the amount of oil splattering onto the basket interior, making cleaning much easier.
Step 4: Tackle the Door and Window (If Applicable)
Many Ninja Air Fryer Ovens have a viewing window on the door. Grease splatters love to coat this!
- Mix a solution of equal parts water and white vinegar in a spray bottle.
- Spray the solution onto the interior glass surface (not the exterior yet).
- Let it sit for a minute to cut the grease.
- Wipe clean with a soft microfiber cloth. For streaks, use a second dry microfiber cloth.
- For the exterior glass, you can use the same solution or a dedicated glass cleaner. Avoid getting cleaner inside the door mechanism.
Clean glass means you can actually see your food cooking – a nice bonus!
Step 5: The Final Dry & Reassemble
This step is non-negotiable. Moisture trapped inside can lead to rust, mold, or electrical problems.
- Ensure all parts – the oven cavity, basket, drip tray, racks – are completely dry. Use dry towels to blot, then let everything air dry for at least 15-20 minutes with the oven door open.
- Once bone dry, carefully reassemble your Ninja. Slide the drip tray back in first, then the basket or racks.
- Plug your unit back in and do a quick 5-minute test run (empty) on a low setting like “Warm” or “Dehydrate” to ensure everything is dry and functioning before your next cook.
Taking that extra time to dry properly prevents future headaches.
Tackling Tough Grease & Smoke: Deep Cleaning Strategies
Even with regular wiping, grease can build up over time, especially if you cook fatty foods like bacon, sausages, or chicken skin frequently. This baked-on grease is the primary culprit behind that dreaded smoke and acrid smell. Don’t panic – it’s fixable with a targeted deep clean.
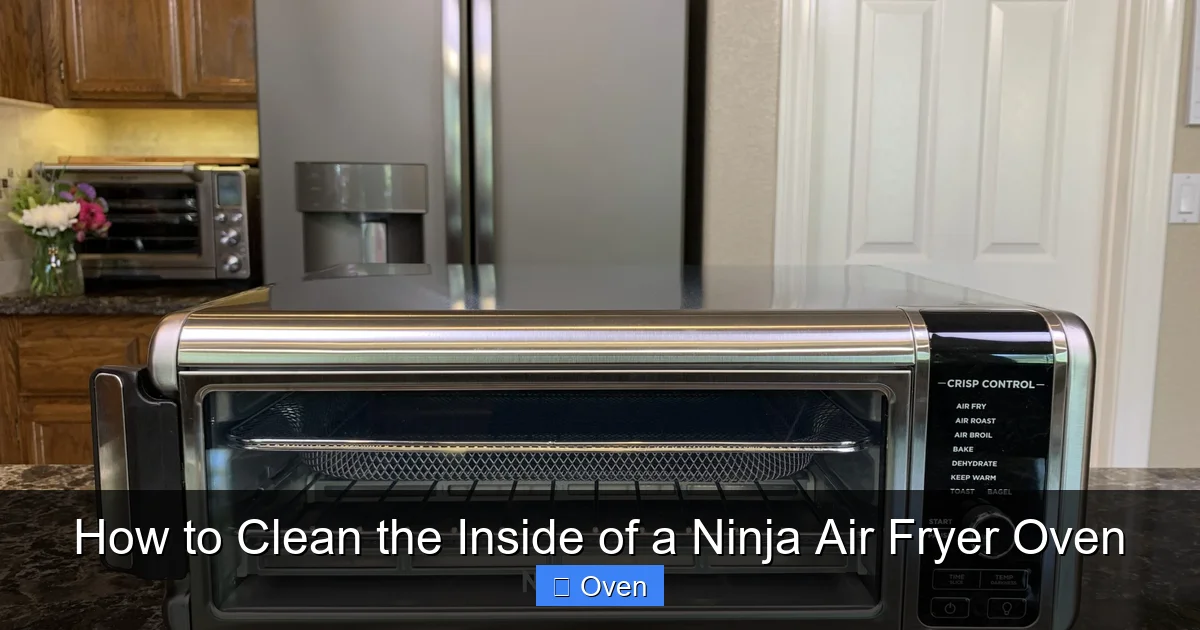
Visual guide about How to Clean the Inside of a Ninja Air Fryer Oven
Image source: nutmegnotebook.com
Identifying When You Need a Deep Clean
Here’s how to know it’s time to go beyond the quick wipe:
- You see visible, dark, sticky residue on the interior walls or bottom, especially near the heating element.
- Your food consistently tastes slightly smoky or off, even when cooked fresh.
- You notice thin wisps of smoke during preheating or cooking, even with clean food.
- The interior surfaces feel sticky to the touch.
- It’s been more than 1-2 weeks since your last thorough clean (or after cooking particularly greasy meals).
Catching it early makes the deep clean much easier!
The Baking Soda Power Clean Method
This is the safest and most effective way to tackle baked-on grease without damaging your oven.
- Unplug and Cool: Safety first! Ensure the unit is completely cool.
- Remove Parts: Take out the basket, drip tray, and any racks.
- Apply Paste Generously: Make a thick baking soda paste (3-4 tbsp baking soda + minimal water). Using a soft cloth or your fingers (gloves recommended), apply a generous layer to all greasy interior surfaces – walls, ceiling, floor. Focus on the worst spots. Avoid the heating element housing and control panel.
- Let it Work: Cover the paste-covered interior loosely with plastic wrap to prevent it from drying out too fast. Let it sit for at least 30 minutes, ideally 1-2 hours for heavy buildup. The paste will draw out and soften the grease.
- Gentle Scrubbing: After sitting, use a soft sponge, cloth, or soft-bristled brush to gently scrub the paste. The grease should lift away much more easily now. Reapply paste to stubborn areas if needed.
- Rinse & Dry Thoroughly: Wipe away all paste residue with a damp cloth, then dry completely with clean towels. Air dry with the door open for 30+ minutes before reassembling.
Why Baking Soda Works: It’s a mild alkali that breaks down grease (which is acidic) through saponification, turning it into soap that’s easy to wipe away. It’s non-toxic and won’t harm your non-stick surfaces.
Vinegar Boost for Stubborn Spots & Odors
If baking soda alone isn’t cutting it, or you’re dealing with lingering odors:
- After using the baking soda paste and wiping most grease away, spray a solution of 1 part white vinegar to 2 parts water onto any remaining greasy spots.
- Let it sit for 5-10 minutes. The vinegar will help dissolve any residual grease and neutralize odors.
- Wipe clean with a damp cloth, then dry thoroughly.
- For Persistent Odors: Place a small bowl of undiluted white vinegar inside the cool, empty oven cavity. Close the door and let it sit overnight. The vinegar will absorb odors. Wipe out the next day.
Never mix baking soda and vinegar directly for cleaning! They react and neutralize each other, making both less effective. Use them sequentially as described.
When to Consider a Professional (Rarely Needed)
For virtually all home users, the baking soda/vinegar methods will solve even significant grease buildup. Professional cleaning services are generally unnecessary and expensive for air fryer ovens. The only time you might need professional help is if grease has caused significant damage to internal components (like melted wiring), which is extremely rare with proper maintenance. Focus on prevention and regular cleaning to avoid ever getting to that point.
Your Ninja Air Fryer Oven Cleaning Schedule: Prevention is Key
The absolute best way to make cleaning easy is to do it consistently. Waiting until there’s a thick layer of baked-on grease turns a 5-minute job into a 30-minute chore. Think of it like brushing your teeth – regular maintenance prevents major problems. Here’s a simple, realistic schedule:
After Every Single Use: The 2-Minute Wipe Down
This is the single most important habit you can develop. While your food is resting (or even while it’s cooking the next batch if safe), take two minutes:
- Unplug the unit (safety first!).
- Let it cool just enough so you can touch the interior (warm is okay, hot is not).
- Remove the basket and drip tray.
- Take a damp (not wet) microfiber cloth or sponge.
- Quickly wipe down the interior walls, ceiling, and floor to remove any loose splatters or grease.
- Wipe the basket and drip tray interior with the same damp cloth.
- Dry everything with a towel.
- Reassemble.
Why this works: Grease is infinitely easier to remove when it’s still soft and warm. Doing this consistently means you’ll rarely need anything more than this quick wipe. It prevents the buildup that causes smoke and odors in the first place.
Weekly or After Greasy Meals: The Thorough Clean
Even with the quick wipe, a deeper clean is needed regularly:
- Frequency: Once a week for regular users, or immediately after cooking particularly fatty foods (bacon, fried chicken, sausages, burgers with high fat content).
- What it involves: Follow the full Step-by-Step guide above. Soak the drip tray and basket, use soapy water or baking soda paste on the interior, clean the door window. This takes 10-15 minutes but keeps everything running smoothly.
Pro Tip: Make it part of your regular kitchen cleanup routine, like wiping down your stovetop. Do it while you’re cleaning up dinner plates – it becomes second nature.
Monthly (or As Needed): The Deep Clean
This is for tackling any minor buildup you might have missed or for general maintenance:
- Frequency: Once a month, or whenever you notice the first signs of light smoke or a sticky feel inside.
- What it involves: The Baking Soda Power Clean method described earlier. This ensures no hidden grease is accumulating near the heating element.
The Payoff: Sticking to this schedule means your Ninja will:
- Cook food evenly and perfectly every time.
- Never produce unpleasant smoke or odors.
- Maintain its non-stick performance.
- Last significantly longer.
- Save you time and frustration in the long run.
Treat your Ninja right, and it will treat your taste buds right, meal after meal.
What NOT to Do: Common Cleaning Mistakes That Damage Your Ninja
It’s easy to accidentally harm your air fryer oven while trying to clean it. Avoid these common pitfalls to keep your appliance in top condition:
Mistake 1: Using Harsh Chemicals or Abrasives
We’ve mentioned it, but it’s worth repeating because it’s so damaging. Oven cleaner, bleach, ammonia, steel wool, copper scrubbers – these are kryptonite to your Ninja’s non-stick surfaces. They strip the coating, leaving it dull, scratched, and prone to rust and sticking. Stick to soap, water, baking soda, and vinegar. Your basket will stay slippery and your food will release easily.
Mistake 2: Submerging the Main Unit or Getting Water Inside
This is a major safety hazard and will ruin your appliance. The control panel, heating element housing, and internal electronics must stay dry. Never:
- Run water over the main oven body.
- Spray cleaner directly onto the control panel or near the heating element vents.
- Put the main unit in the sink or dishwasher.
- Use a soaking wet cloth inside the cavity.
Always use a damp (not wet) cloth for the interior and dry immediately. If you accidentally get water near sensitive areas, unplug the unit and let it dry completely for 24 hours before using it again.
Mistake 3: Cleaning While the Oven is Hot
Cleaning a hot oven is dangerous (risk of burns) and can cause thermal shock, potentially cracking glass or warping plastic parts. Always unplug and let the unit cool completely to room temperature before starting any cleaning. Rushing this step risks injury and damage.
Mistake 4: Skipping the Drip Tray
The drip tray is the grease magnet. Neglecting it is the #1 cause of smoke and fire hazards in air fryers. Grease pooling in the tray can splatter onto the heating element during preheating or cooking, causing smoke or even flames. Clean the drip tray thoroughly after every use, especially after fatty foods. Don’t let grease accumulate.
Mistake 5: Not Drying Completely
Trapped moisture is a silent killer. It can lead to:
- Rust on metal parts (like the drip tray or basket frame).
- Mold or mildew growth in crevices.
- Electrical shorts or malfunctions.
Always dry every single part – interior surfaces, basket, drip tray, racks – with towels and then air dry with the door open for at least 15-20 minutes before reassembling and plugging in. Don’t skip this step!
Mistake 6: Ignoring the Manual
Your specific Ninja model might have slight variations. Always refer to your owner’s manual for:
- Which parts are dishwasher safe (if any).
- Any model-specific cleaning warnings.
- The exact location of sensitive components to avoid.
It’s a quick read and could save you from making a costly mistake.
Avoiding these mistakes ensures your cleaning efforts are effective and safe, protecting both your appliance and your kitchen.
Conclusion: A Clean Ninja is a Happy (and Healthy) Ninja
Cleaning the inside of your Ninja Air Fryer Oven isn’t just about keeping it looking shiny – it’s fundamental to how well it works and how long it lasts. That quick wipe after every use? It’s the secret sauce to preventing the smoke, the weird tastes, and the frustration of dealing with baked-on grease later. Think of it as showing your appliance some love; it回报s you with perfectly crispy fries, juicy chicken, and hassle-free cooking, time after time.
Remember, the process is simpler than you might think. Warm soapy water, a bit of baking soda for tough jobs, and a soft cloth are all you need. Avoid the harsh stuff, keep water away from the electronics, and always dry thoroughly. Stick to that easy schedule – the 2-minute wipe after every cook, the weekly deeper clean – and you’ll barely notice the effort. The payoff is huge: consistent results, no smoke alarms, and an air fryer that stays your go-to kitchen hero for years. So, next time you finish cooking, take those two minutes. Your taste buds (and your Ninja) will thank you. Now go enjoy that perfectly cooked meal – you’ve earned it!
Frequently Asked Questions
How do I clean baked-on grease inside my Ninja Air Fryer Oven?
Make a thick paste of baking soda and water. Apply it generously to the greasy areas, avoiding the heating element housing. Let it sit for 30-60 minutes, then gently scrub with a soft cloth or sponge. Wipe clean with a damp cloth and dry thoroughly. For extra stubborn spots, follow with a diluted vinegar spray.
Can I put the Ninja Air Fryer Oven basket in the dishwasher?
While many Ninja baskets are labeled dishwasher safe, hand washing is strongly recommended to preserve the non-stick coating. Dishwasher detergents and high heat can cause the coating to deteriorate faster over time, leading to food sticking.
Why is there a burning smell when I use my Ninja Air Fryer?
A burning smell is almost always caused by grease or food residue burning on the heating element or drip tray. This happens when the interior isn’t cleaned regularly, especially after cooking fatty foods. Clean the drip tray and interior thoroughly, focusing on areas near the heating element.
How often should I clean the inside of my air fryer oven?
Wipe the interior with a damp cloth after every single use to remove loose splatters. Do a more thorough clean (soaking parts, using soap or baking soda) weekly or immediately after cooking greasy foods. Schedule a deep clean with baking soda paste monthly or as needed when you notice buildup.
Can I use oven cleaner inside my Ninja Air Fryer?
No, never use oven cleaner or any harsh chemical cleaners inside your Ninja Air Fryer Oven. These products will strip the non-stick coating on the basket and drip tray, damage interior surfaces, and leave toxic residues that can contaminate your food.
What should I do if water gets inside the main unit of my Ninja?
Immediately unplug the unit. Do not attempt to use it. Leave the door open and allow it to air dry completely for at least 24 hours. Do not use heat guns or hair dryers, as they can cause further damage. Once fully dry, plug it in and do a short test run on a low setting before regular use. If it doesn’t work properly, contact Ninja customer support.