Discover the ultimate shortcut for fall-off-the-bone country style ribs! This pressure cooker method transforms tough pork shoulder cuts into melt-in-your-mouth perfection in under 60 minutes. Skip the oven hassle and enjoy restaurant-quality ribs with minimal effort.
Key Takeaways
- Country style ribs are pork shoulder cuts, not true ribs – they’re fattier and benefit from pressure cooking’s intense heat.
- Sear before pressure cooking for deep flavor; never skip this crucial step for rich, complex taste.
- Cook for 25-35 minutes on high pressure depending on thickness – thicker cuts need more time.
- Always use natural release (10-15 minutes) to prevent toughness and ensure tender meat.
- Finish under the broiler for caramelized edges and authentic “rib” texture after pressure cooking.
- Liquid is essential – use at least 1 cup broth, water, or sauce to create necessary steam.
- Check internal temperature (195-205°F) for guaranteed tenderness, even if timing seems off.
📑 Table of Contents
- Why Pressure Cooker Country Style Ribs Are a Game-Changer
- Understanding Country Style Ribs: Not Your Average Ribs!
- Essential Prep: Setting Up for Pressure Cooker Success
- The Pressure Cooking Process: Timing, Liquid, and Safety
- Finishing Touches: Achieving That Perfect “Rib” Texture
- Troubleshooting Common Pressure Cooker Rib Problems
- Serving and Storing Your Pressure Cooker Country Style Ribs
- Conclusion: Your Foolproof Path to Perfect Ribs
Why Pressure Cooker Country Style Ribs Are a Game-Changer
Hey there! Let’s talk about one of my absolute favorite pressure cooker tricks: making country style ribs. If you’ve ever stared at a package of these thick, meaty cuts wondering how to make them tender without spending hours in the oven, this is for you. Country style ribs aren’t actually ribs at all – they’re cut from the pork shoulder (Boston butt), which means they’re packed with flavor and marbling but can be stubbornly tough. That’s where your pressure cooker becomes your secret weapon.
Traditional methods like slow roasting or braising take 3-4 hours. Who has that kind of time on a Tuesday night? The pressure cooker slashes that time to under 60 minutes while delivering fall-off-the-bone tenderness you’d swear came from a all-day simmer. The intense, sealed environment breaks down collagen into gelatin incredibly fast, transforming that tough shoulder meat into something truly magical. Plus, you get all the caramelized, slightly charred edges that make ribs so craveable – just with way less fuss. Ready to learn how to cook country style ribs in pressure cooker? Let’s dive in!
Understanding Country Style Ribs: Not Your Average Ribs!
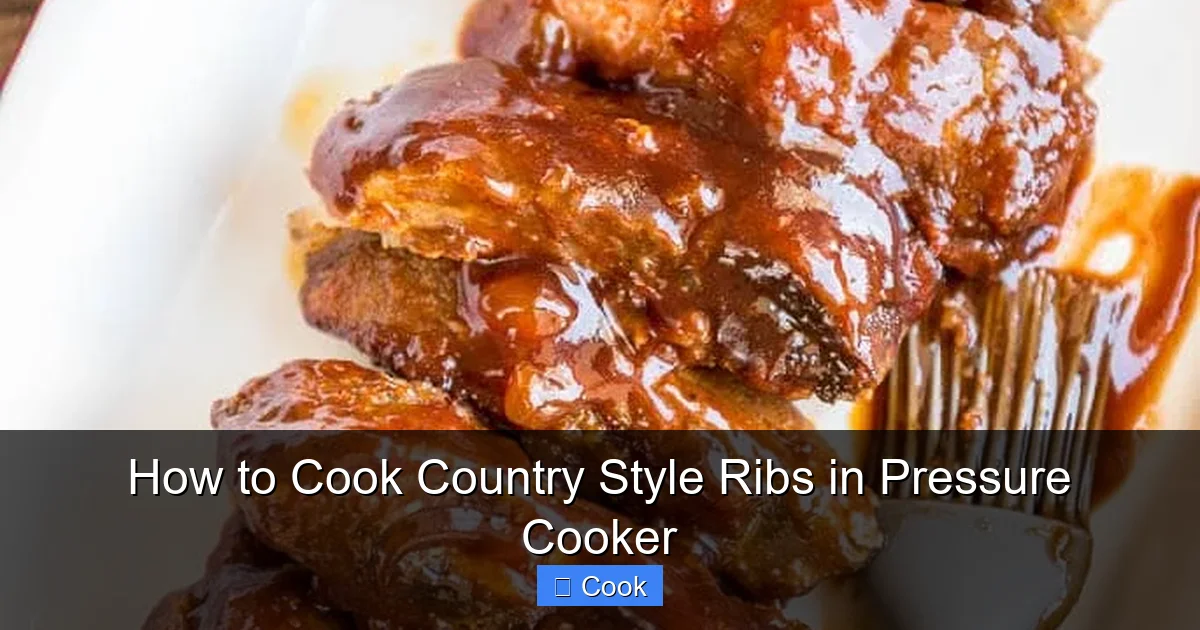
Before we fire up that Instant Pot or Ninja Foodi, let’s clear up a common confusion. True ribs (like spare ribs or baby backs) come from the pig’s ribcage. Country style ribs? They’re actually cross-cut sections of the pork shoulder. Think of them as thick, rectangular steaks with a little bone running through the center. This bone-in cut is why they’re called “ribs,” but their shoulder origin is key to how we cook them.
Visual guide about How to Cook Country Style Ribs in Pressure Cooker
Image source: cravingtasty.com
Why Shoulder Cuts Love the Pressure Cooker
Pork shoulder is notoriously tough because it’s a well-exercised muscle packed with connective tissue. Collagen is the enemy of tenderness… until heat and pressure get involved. Under pressure, collagen melts into gelatin at a much lower temperature and faster rate than it would in a regular pot or oven. This is why pressure cooking is PERFECT for country style ribs. The intense environment does the heavy lifting, turning that tough cut into succulent, shreddable meat in a fraction of the time. You get all the rich, porky flavor without the marathon cooking session.
Choosing the Best Cuts for Pressure Cooking
Not all country style ribs are created equal. Look for cuts that are:
- Bone-in: The bone adds flavor and helps conduct heat. Avoid boneless “country style ribs” – they’re usually just pork loin and won’t benefit the same way.
- Well-marbled: Fat equals flavor and tenderness. Look for white streaks running through the meat.
- Thick (1.5-2 inches): Thinner cuts can overcook easily under pressure. Aim for substantial slabs.
- Fresh or properly thawed: Never pressure cook frozen ribs – uneven cooking is a safety risk.
Pro Tip: If your ribs are very thick (over 2 inches), consider cutting them in half crosswise before cooking. This ensures even pressure penetration and prevents the outside from turning to mush while the inside stays tough.
Essential Prep: Setting Up for Pressure Cooker Success
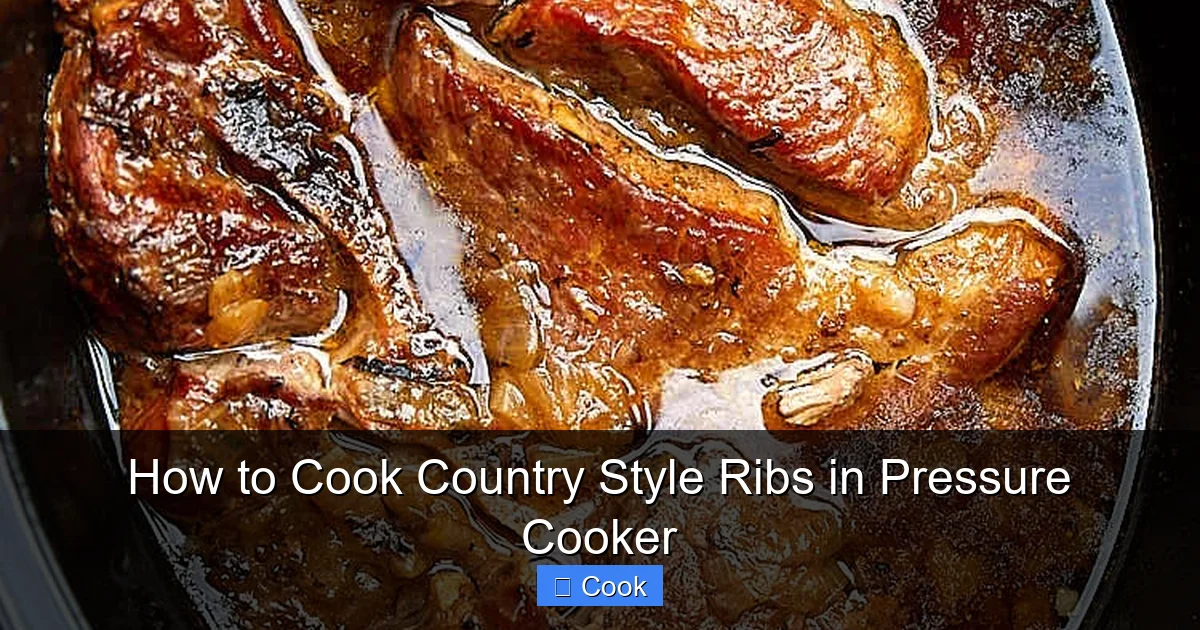
Great ribs start with smart prep. Rushing this step can lead to bland or uneven results. Don’t worry – it only takes 10 minutes, but it makes ALL the difference.
Visual guide about How to Cook Country Style Ribs in Pressure Cooker
Image source: grannysinthekitchen.com
The Non-Negotiable: Searing for Flavor
This is where many pressure cooker recipes go wrong. Skipping the sear means missing out on the Maillard reaction – that magical browning process that creates deep, complex flavors. Here’s how to do it right:
- Pat ribs DRY: Use paper towels. Moisture = steaming, not searing. Wet meat just boils in its own juices.
- Season generously: Salt is essential for flavor penetration. Use coarse kosher salt and freshly ground black pepper. Add garlic powder, onion powder, or smoked paprika if you like.
- Get your pot HOT: Use the “Sauté” function on high. Add a high-smoke-point oil (avocado, canola, or vegetable oil). Wait until the oil shimmers – a drop of water should sizzle.
- Sear all sides: Place ribs in the pot (don’t crowd them!). Sear for 3-4 minutes per side until deeply browned. Don’t move them until they release easily from the pot. This builds a flavorful fond (browned bits) on the bottom – we’ll deglaze that later!
Why this matters: That fond is pure flavor gold. Deglazing it with liquid (more on that next) incorporates all those tasty bits into your cooking liquid, creating a sauce base that’s infinitely better than just using plain broth.
Deglazing and Building the Liquid Base
After searing, you MUST deglaze the pot. Pour in about 1/2 cup of your chosen liquid (broth, water, or even beer) and scrape vigorously with a wooden spoon to lift all those browned bits off the bottom. This step prevents “Burn” warnings and builds incredible flavor.
Then, add your main cooking liquid. You need at least 1 cup total liquid (including the deglazing liquid) for most electric pressure cookers to come to pressure safely. Good options:
- Low-sodium chicken or beef broth: Adds depth without overpowering.
- Water + bouillon paste: A quick flavor boost.
- BBQ sauce (thinned): Use 1/2 cup sauce + 1/2 cup water/broth. Avoid thick sauces that can burn.
- Apple cider or pineapple juice: Adds subtle sweetness and tang.
Avoid: Milk, cream, or very acidic liquids (like straight vinegar) as they can curdle or affect texture under pressure.
The Pressure Cooking Process: Timing, Liquid, and Safety
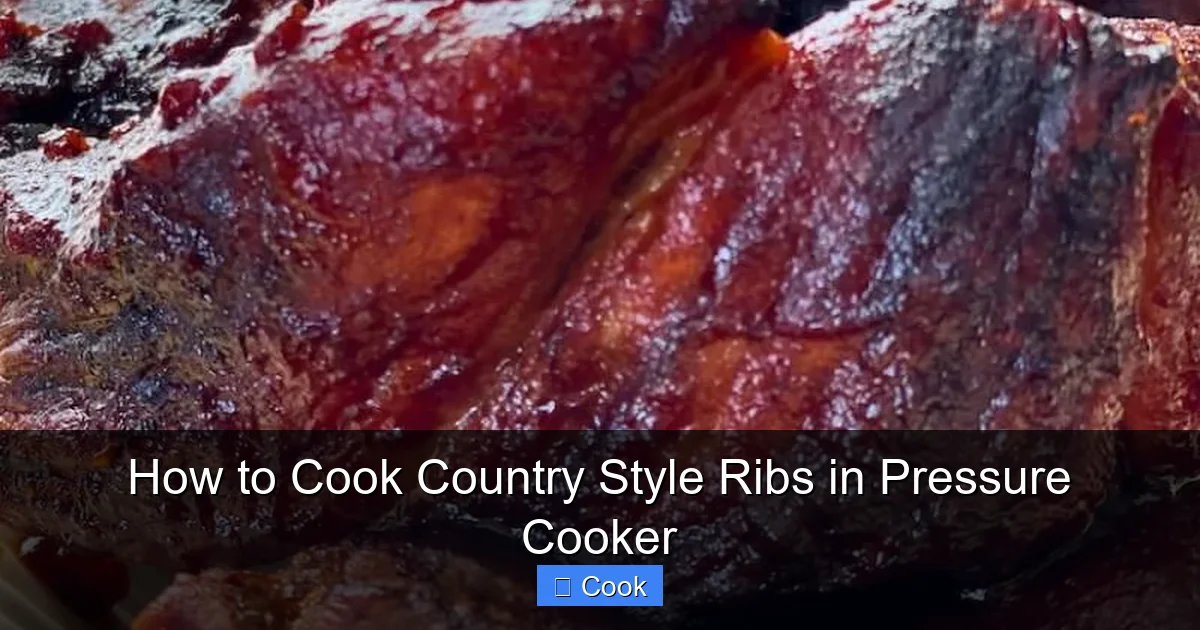
Now for the magic! Getting the pressure cooking phase right ensures tender, not tough, ribs.
Visual guide about How to Cook Country Style Ribs in Pressure Cooker
Image source: lowcarbinspirations.com
Layering Your Ingredients Correctly
Place your seared ribs back into the pot. Add any aromatics you like:
- 1/2 chopped onion
- 2-3 minced garlic cloves
- 1-2 chopped celery stalks
- A few sprigs of fresh thyme or rosemary
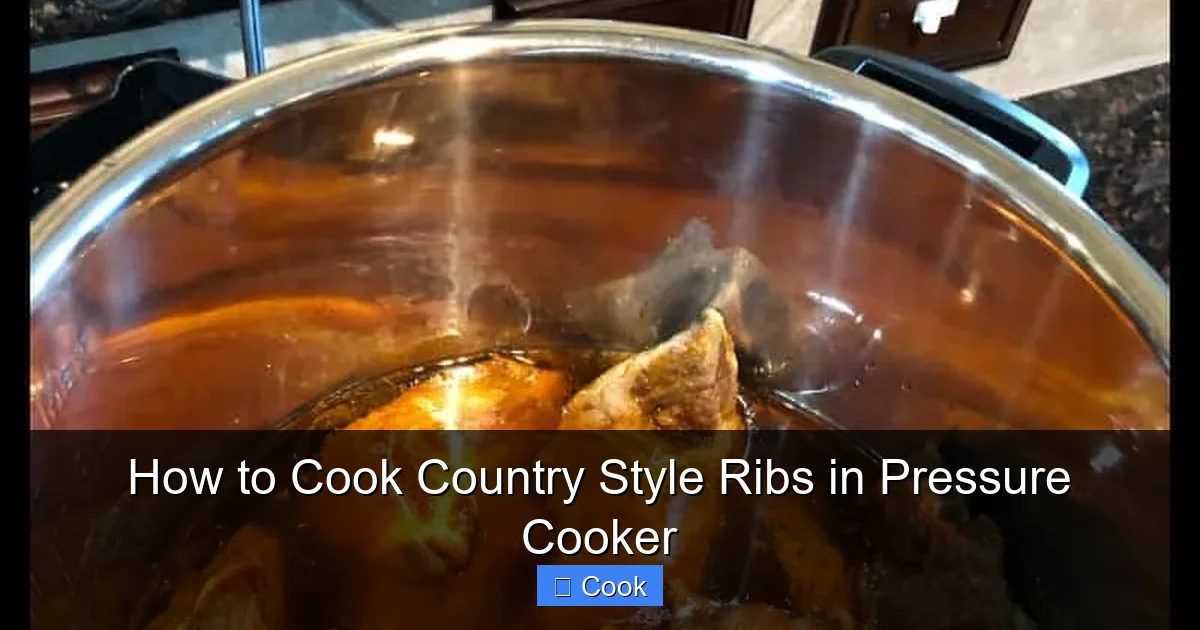
Pour in your liquid until it comes about halfway up the sides of the ribs. Never fill the pot more than 2/3 full – this is a critical safety rule. Liquid expands under pressure, and overfilling can cause dangerous spills or clog the valves.
Setting the Perfect Pressure Cooking Time
This is where many recipes fail. Country style ribs need significant time to break down, but overcooking turns them to mush. Here’s the sweet spot:
- 1.5-inch thick ribs: 25 minutes on High Pressure
- 2-inch thick ribs: 30-35 minutes on High Pressure
Why not longer? The pressure cooker is incredibly efficient. Going beyond 35 minutes often results in meat that’s tender but lacks texture – it can become stringy or fall apart too completely. Remember, we’ll finish them off for that perfect “rib” bite!
Pro Tip: If your ribs are very fatty, you might see excess grease pooling after cooking. Skim this off before serving for a cleaner taste.
The Critical Natural Pressure Release (NPR)
This step is NON-NEGOTIABLE for tender ribs. After the cooking time ends, DO NOT use the quick release valve immediately. Instead:
- Let the pressure release NATURALLY for 10-15 minutes. The float valve will slowly lower as the pressure decreases.
- After 10-15 minutes, carefully perform a quick release for any remaining pressure (stand back, use a long utensil).
Why Natural Release? Rapid pressure drop can cause the meat fibers to contract violently, making it tough. A slow release allows the collagen to set gently, resulting in melt-in-your-mouth tenderness. Skipping this is the #1 reason for tough pressure cooker ribs.
Finishing Touches: Achieving That Perfect “Rib” Texture
Pressure cooking gives you tender meat, but true rib lovers crave that slight resistance and caramelized exterior. This finishing step bridges the gap.
The Broiler Method (Highly Recommended)
This is my go-to for authentic texture:
- Carefully remove ribs from the pot (they’ll be very tender – use tongs!). Place them on a broiler-safe rack set over a baking sheet.
- Brush generously with your favorite BBQ sauce (or a mix of sauce and the cooking liquid).
- Broil on HIGH for 3-5 minutes, watching CLOSELY, until the sauce bubbles and caramelizes. Flip once if needed.
Why this works: The intense, direct heat creates that sticky, slightly charred exterior without overcooking the already-tender interior. It mimics the grill or oven-roasting step traditional rib recipes use.
Alternative Finishing Methods
No broiler? No problem!
- Air Fryer: Place ribs in basket, brush with sauce, cook at 400°F for 5-8 minutes until crispy.
- Stovetop Sear: Heat a skillet with oil over high heat. Sear ribs for 1-2 minutes per side after brushing with sauce.
- Oven Bake: Place ribs on rack, brush with sauce, bake at 425°F for 10-15 minutes.
Key Tip: Always pat the ribs dry with paper towels before applying sauce and finishing. Moisture prevents caramelization.
Troubleshooting Common Pressure Cooker Rib Problems
Even with the best plan, things can go sideways. Here’s how to fix the most common issues:
Ribs Are Still Tough After Cooking
Don’t panic! This usually means they needed a bit more time. Return them to the pot, add 1/4 cup liquid, and cook on High Pressure for 5-10 more minutes. Always use Natural Release. Also double-check your internal temperature – it should hit 195-205°F for optimal tenderness.
Ribs Are Too Mushy or Falling Apart
You likely overcooked them or used quick release too soon. Unfortunately, you can’t reverse mushiness, but you can still enjoy them! Shred the meat and use it in tacos, sandwiches, or pasta sauce. For next time: reduce cooking time by 5 minutes and ensure you use the full Natural Release.
Burn Notice During Cooking
This happens if you didn’t deglaze properly or didn’t have enough liquid. Carefully release pressure, check the bottom of the pot. If it’s just scorched bits (not burnt black), you can often salvage it by transferring everything to a new pot with extra liquid and continuing. Prevention is key: always deglaze thoroughly and ensure minimum liquid levels.
Liquid Level Too Low After Cooking
Some liquid evaporation is normal, but if it’s very low, your ribs might have absorbed it all – a good sign! If you want more sauce, simply simmer the cooking liquid on “Sauté” mode for 5-10 minutes to reduce and thicken it. Skim off excess fat first.
Serving and Storing Your Pressure Cooker Country Style Ribs
The fun part! Now that you’ve mastered how to cook country style ribs in pressure cooker, let’s talk about enjoying them.
Classic Serving Suggestions
Slice or chop the ribs against the bone. Serve with:
- Extra warm BBQ sauce on the side
- Classic sides: coleslaw, baked beans, cornbread, roasted potatoes
- A sprinkle of fresh parsley or green onions for color
Pro Presentation: Place ribs bone-side down on a platter. Drizzle with reduced cooking liquid or sauce. Garnish with sliced scallions.
Storing and Reheating Like a Pro
Luckily, these ribs taste even better the next day!
- Refrigerate: Store ribs and sauce separately in airtight containers for up to 4 days.
- Freeze: Freeze cooked ribs (sauce on the side) for up to 3 months. Thaw overnight in the fridge.
- Reheating: Gently reheat in a skillet with a splash of broth or sauce over medium-low heat. Microwave in 30-second intervals, covered, stirring occasionally. Avoid high heat to prevent drying out.
Make-Ahead Tip: Cook the ribs 1-2 days ahead. The flavors meld beautifully during storage. Reheat gently before serving.
Conclusion: Your Foolproof Path to Perfect Ribs
There you have it – the complete guide on how to cook country style ribs in pressure cooker! It’s truly one of the most rewarding pressure cooker feats. In less time than it takes to preheat your oven, you can have tender, flavorful, caramelized ribs that will impress everyone at the table. Remember the golden rules: sear hard, deglaze well, respect the natural release, and finish with a broil for that authentic texture.
Don’t be intimidated by the process. Once you nail this method, you’ll wonder how you ever lived without it. These ribs are perfect for busy weeknights, weekend cookouts (without the grill hassle), or even holiday gatherings where you want to serve something special without being chained to the kitchen. Grab your pressure cooker, pick up some country style ribs, and give this method a try. Your taste buds – and your schedule – will thank you. Now go make some magic happen!
Frequently Asked Questions
Are country style ribs actually ribs?
No, country style ribs are cut from the pork shoulder (Boston butt), not the ribcage. They’re thick, rectangular cuts with a small bone running through them, which is why they’re called “ribs.” Their shoulder origin makes them ideal for pressure cooking due to the high collagen content.
Can I use boneless country style ribs in the pressure cooker?
While possible, boneless cuts (often just pork loin) won’t benefit as much from pressure cooking. They lack the connective tissue that pressure breaks down into tenderness. If using boneless, reduce cooking time to 15-20 minutes and monitor closely to avoid dryness.
What’s the minimum liquid needed for pressure cooking ribs?
Most electric pressure cookers require at least 1 cup (8 oz) of liquid to build pressure safely. Always ensure your liquid covers at least the bottom of the pot and comes halfway up the ribs. Never fill the pot more than 2/3 full for safety.
Can I cook frozen country style ribs in the pressure cooker?
It’s not recommended. Frozen ribs can cause uneven cooking and potentially trigger burn warnings as ice melts slowly. Always thaw ribs completely in the refrigerator before pressure cooking for best results and safety.
Why are my pressure cooker ribs tough?
The most common causes are insufficient cooking time, skipping the natural pressure release, or not having enough liquid. Ensure you cook for 25-35 minutes (depending on thickness), use a 10-15 minute natural release, and have at least 1 cup liquid. Check internal temperature (195-205°F).
Can I make these ribs without BBQ sauce?
Absolutely! Cook them with broth, herbs, garlic, and onions for a savory, non-BBQ flavor. Finish with a sprinkle of fresh herbs or a squeeze of lemon. The pressure cooking method works beautifully with any flavor profile you prefer.